Montreal Highlight Reel

I have been fortunate enough to spend the last week on vacation with my family in Montreal, Quebec. It has been a wonderful week in a beautiful city. Here are some of the highlights.


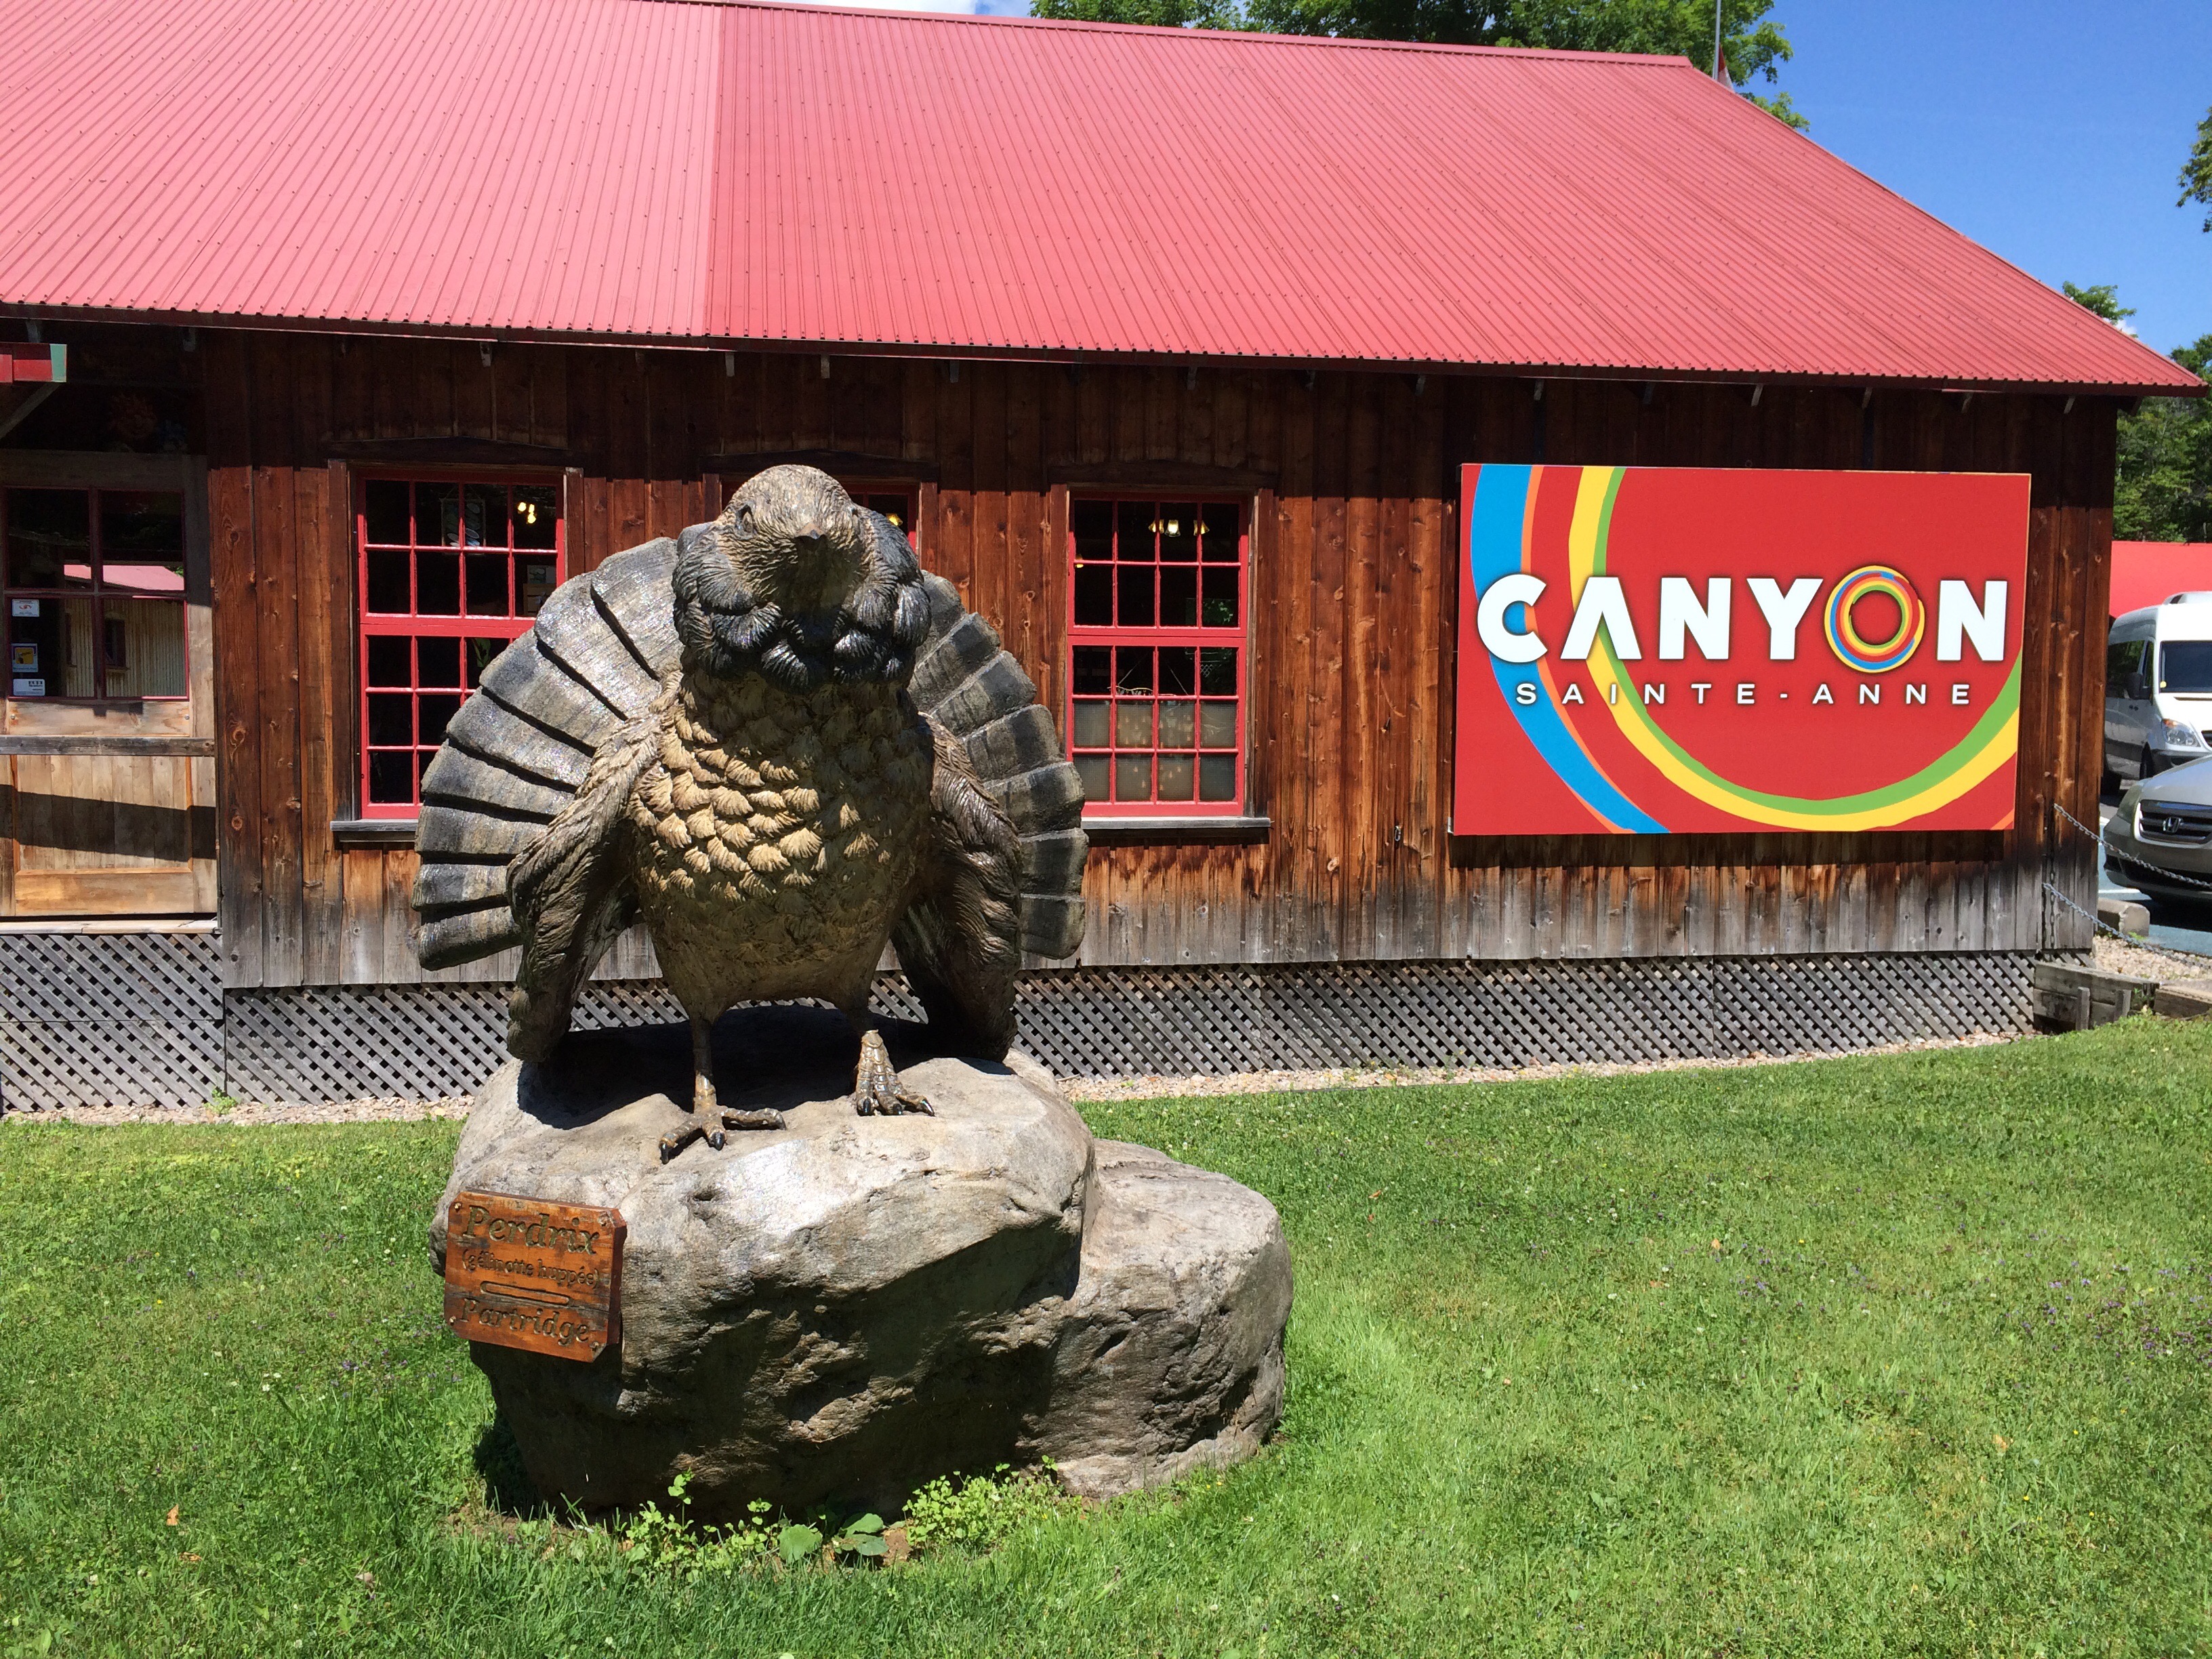
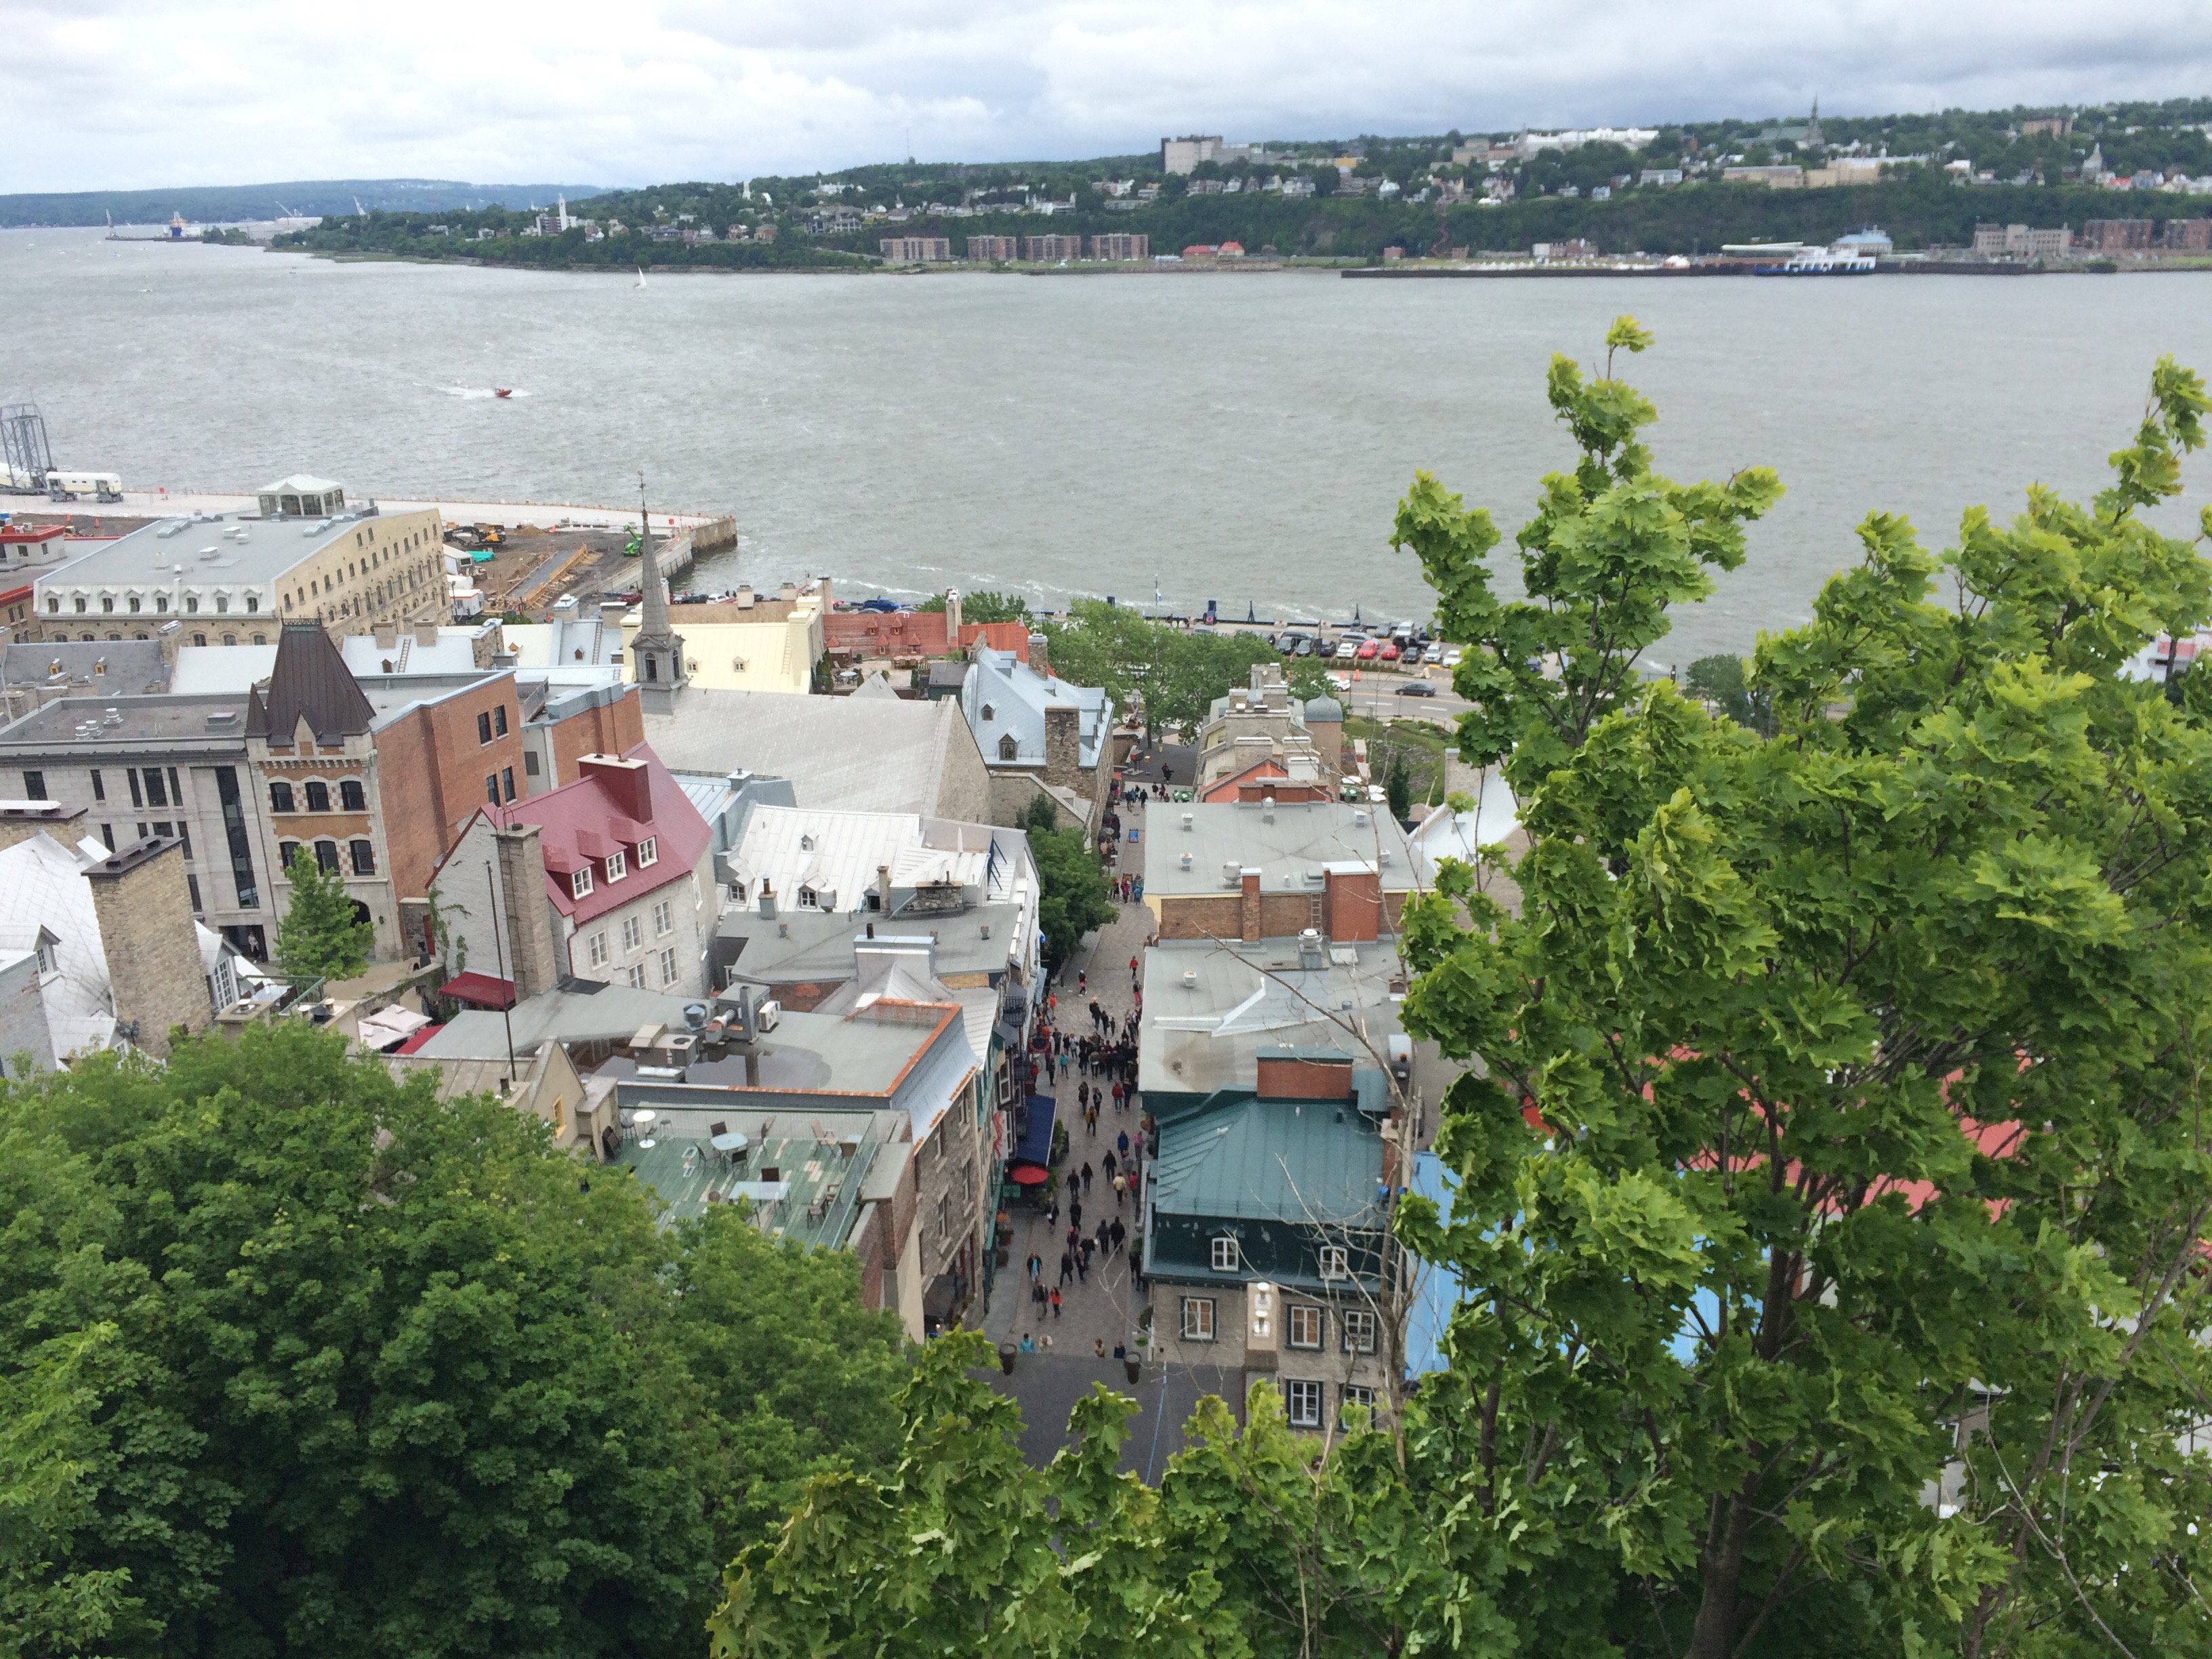
We started at the Expo Center. The view from the top of the lift was incredible. We could see the entire city!


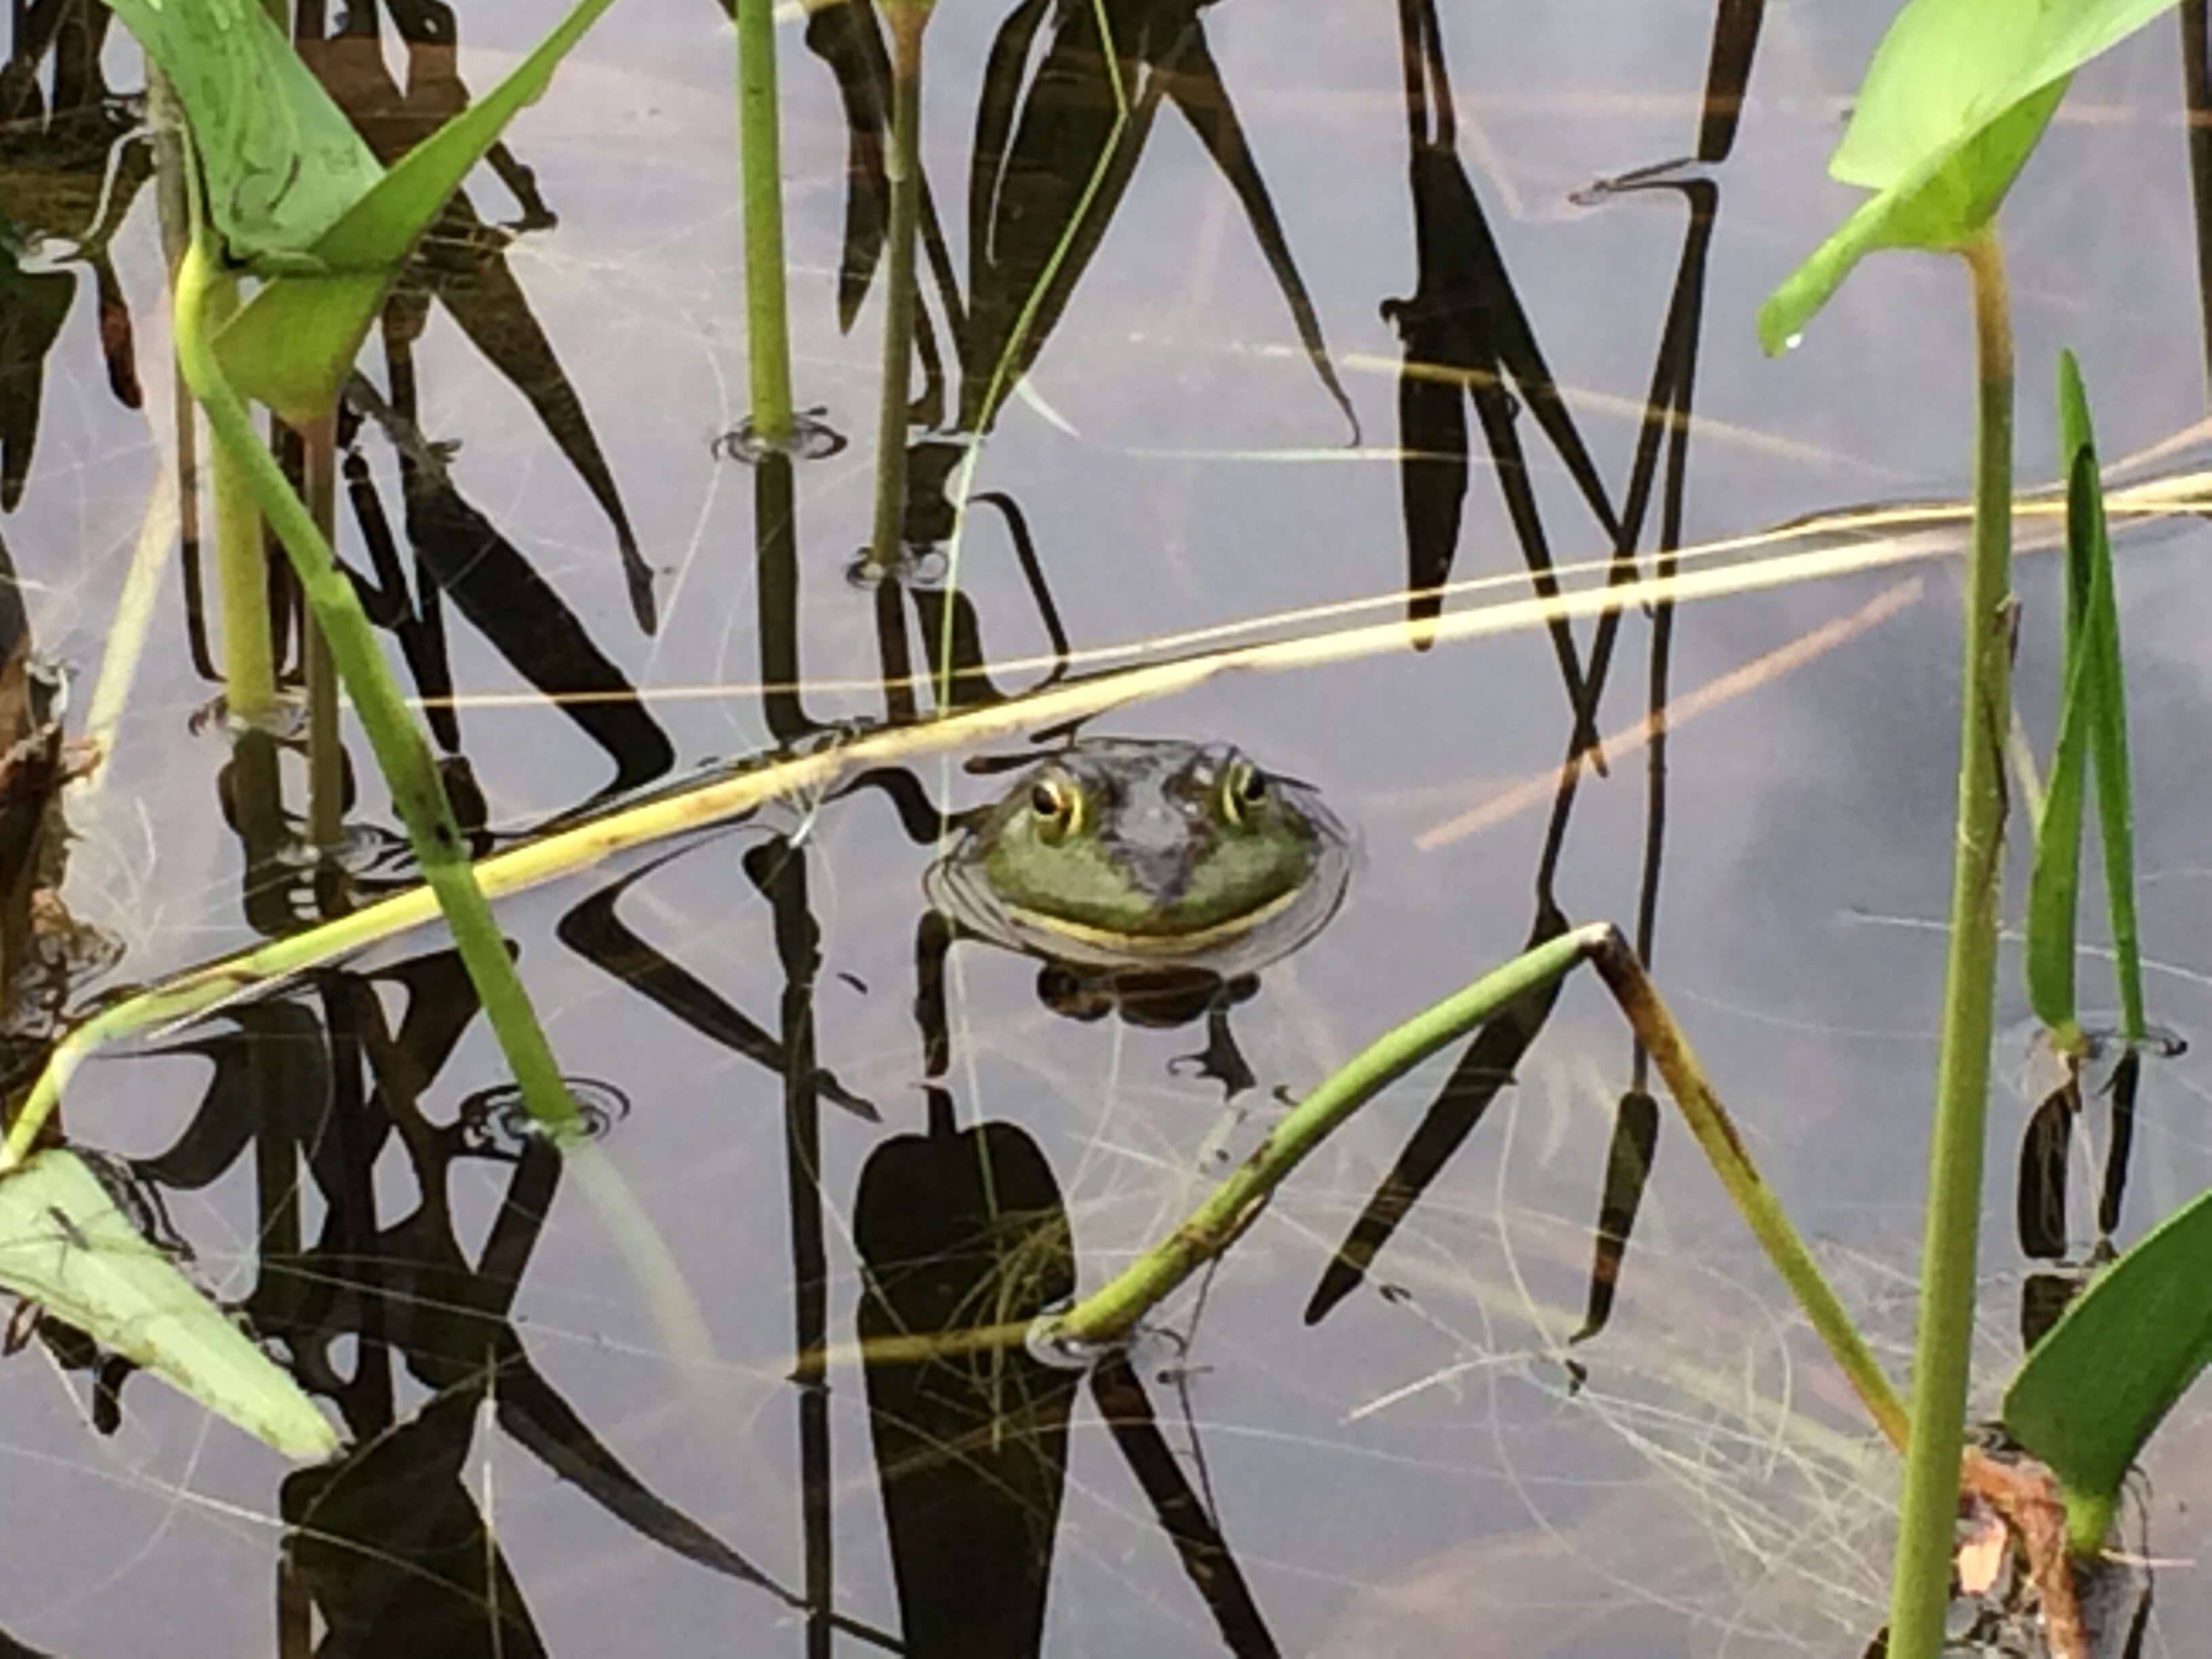
The Biodome was excellent, especially with kids. Four distinct habitats are on display with many different species in each. Everybody enjoyed this unique experience.


The whole family enjoyed seeing some old friends as well as making some new ones!


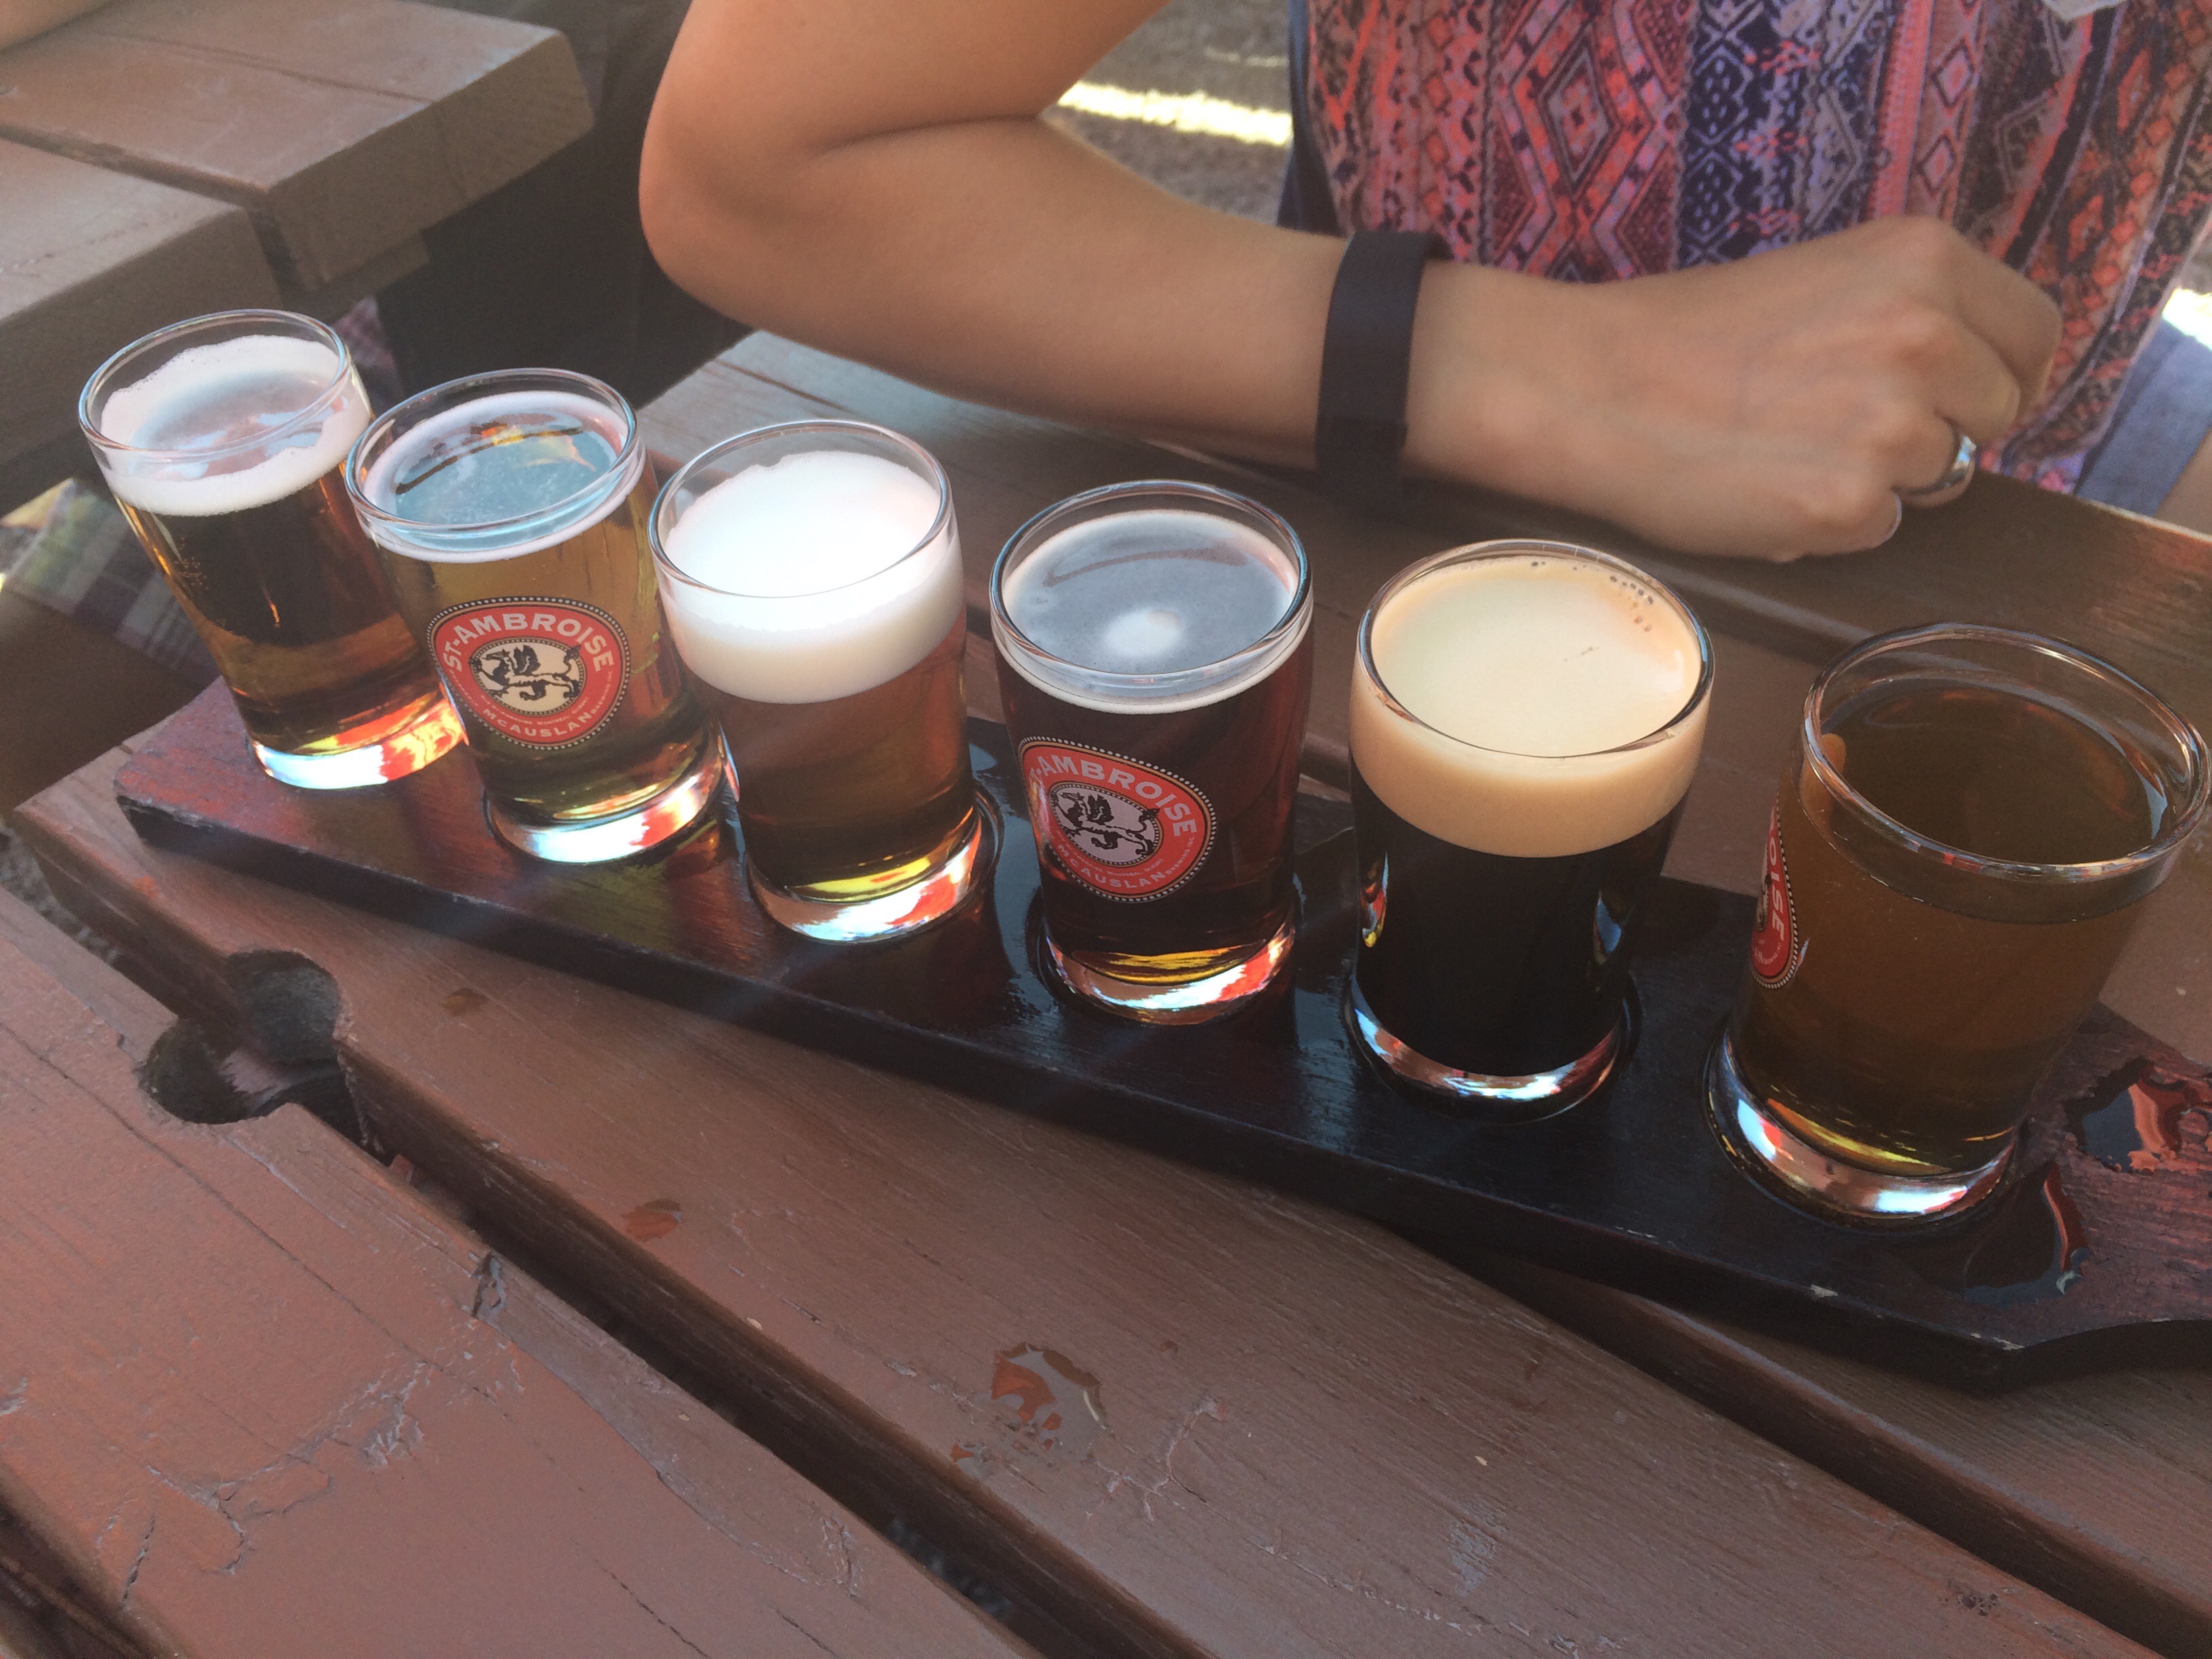
The view and the brew was superb at La Terrase St-Ambroise.


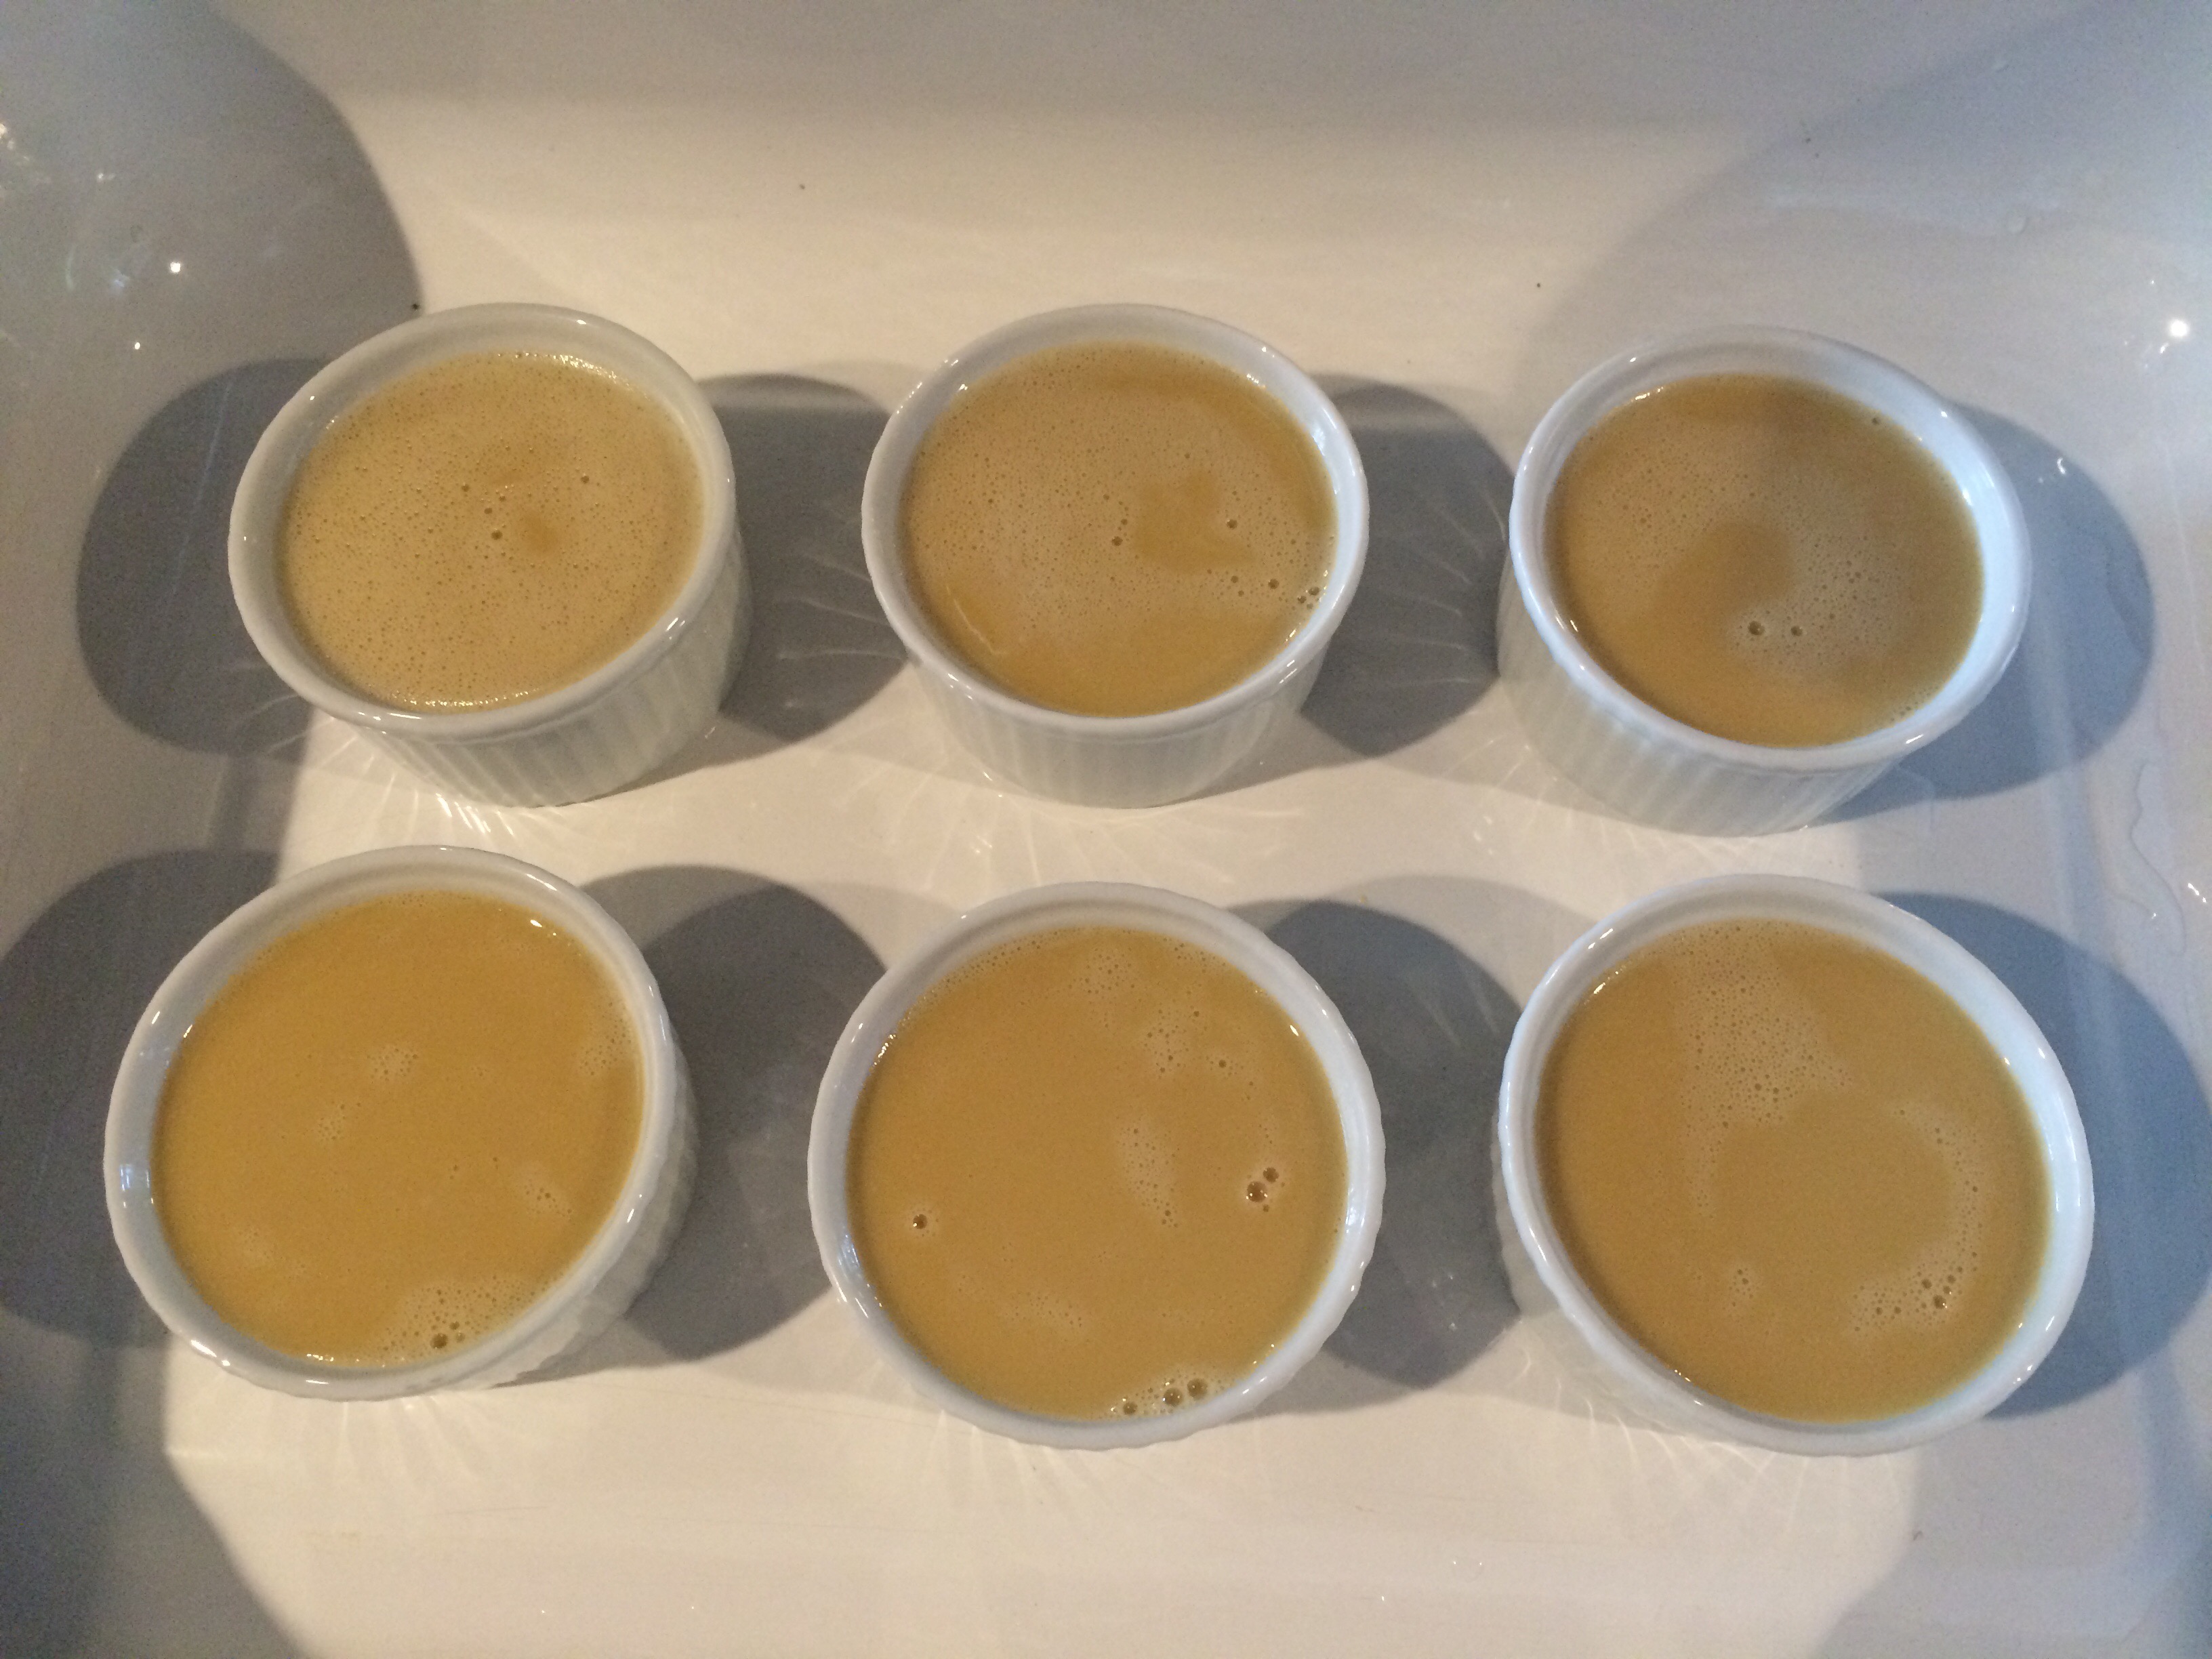
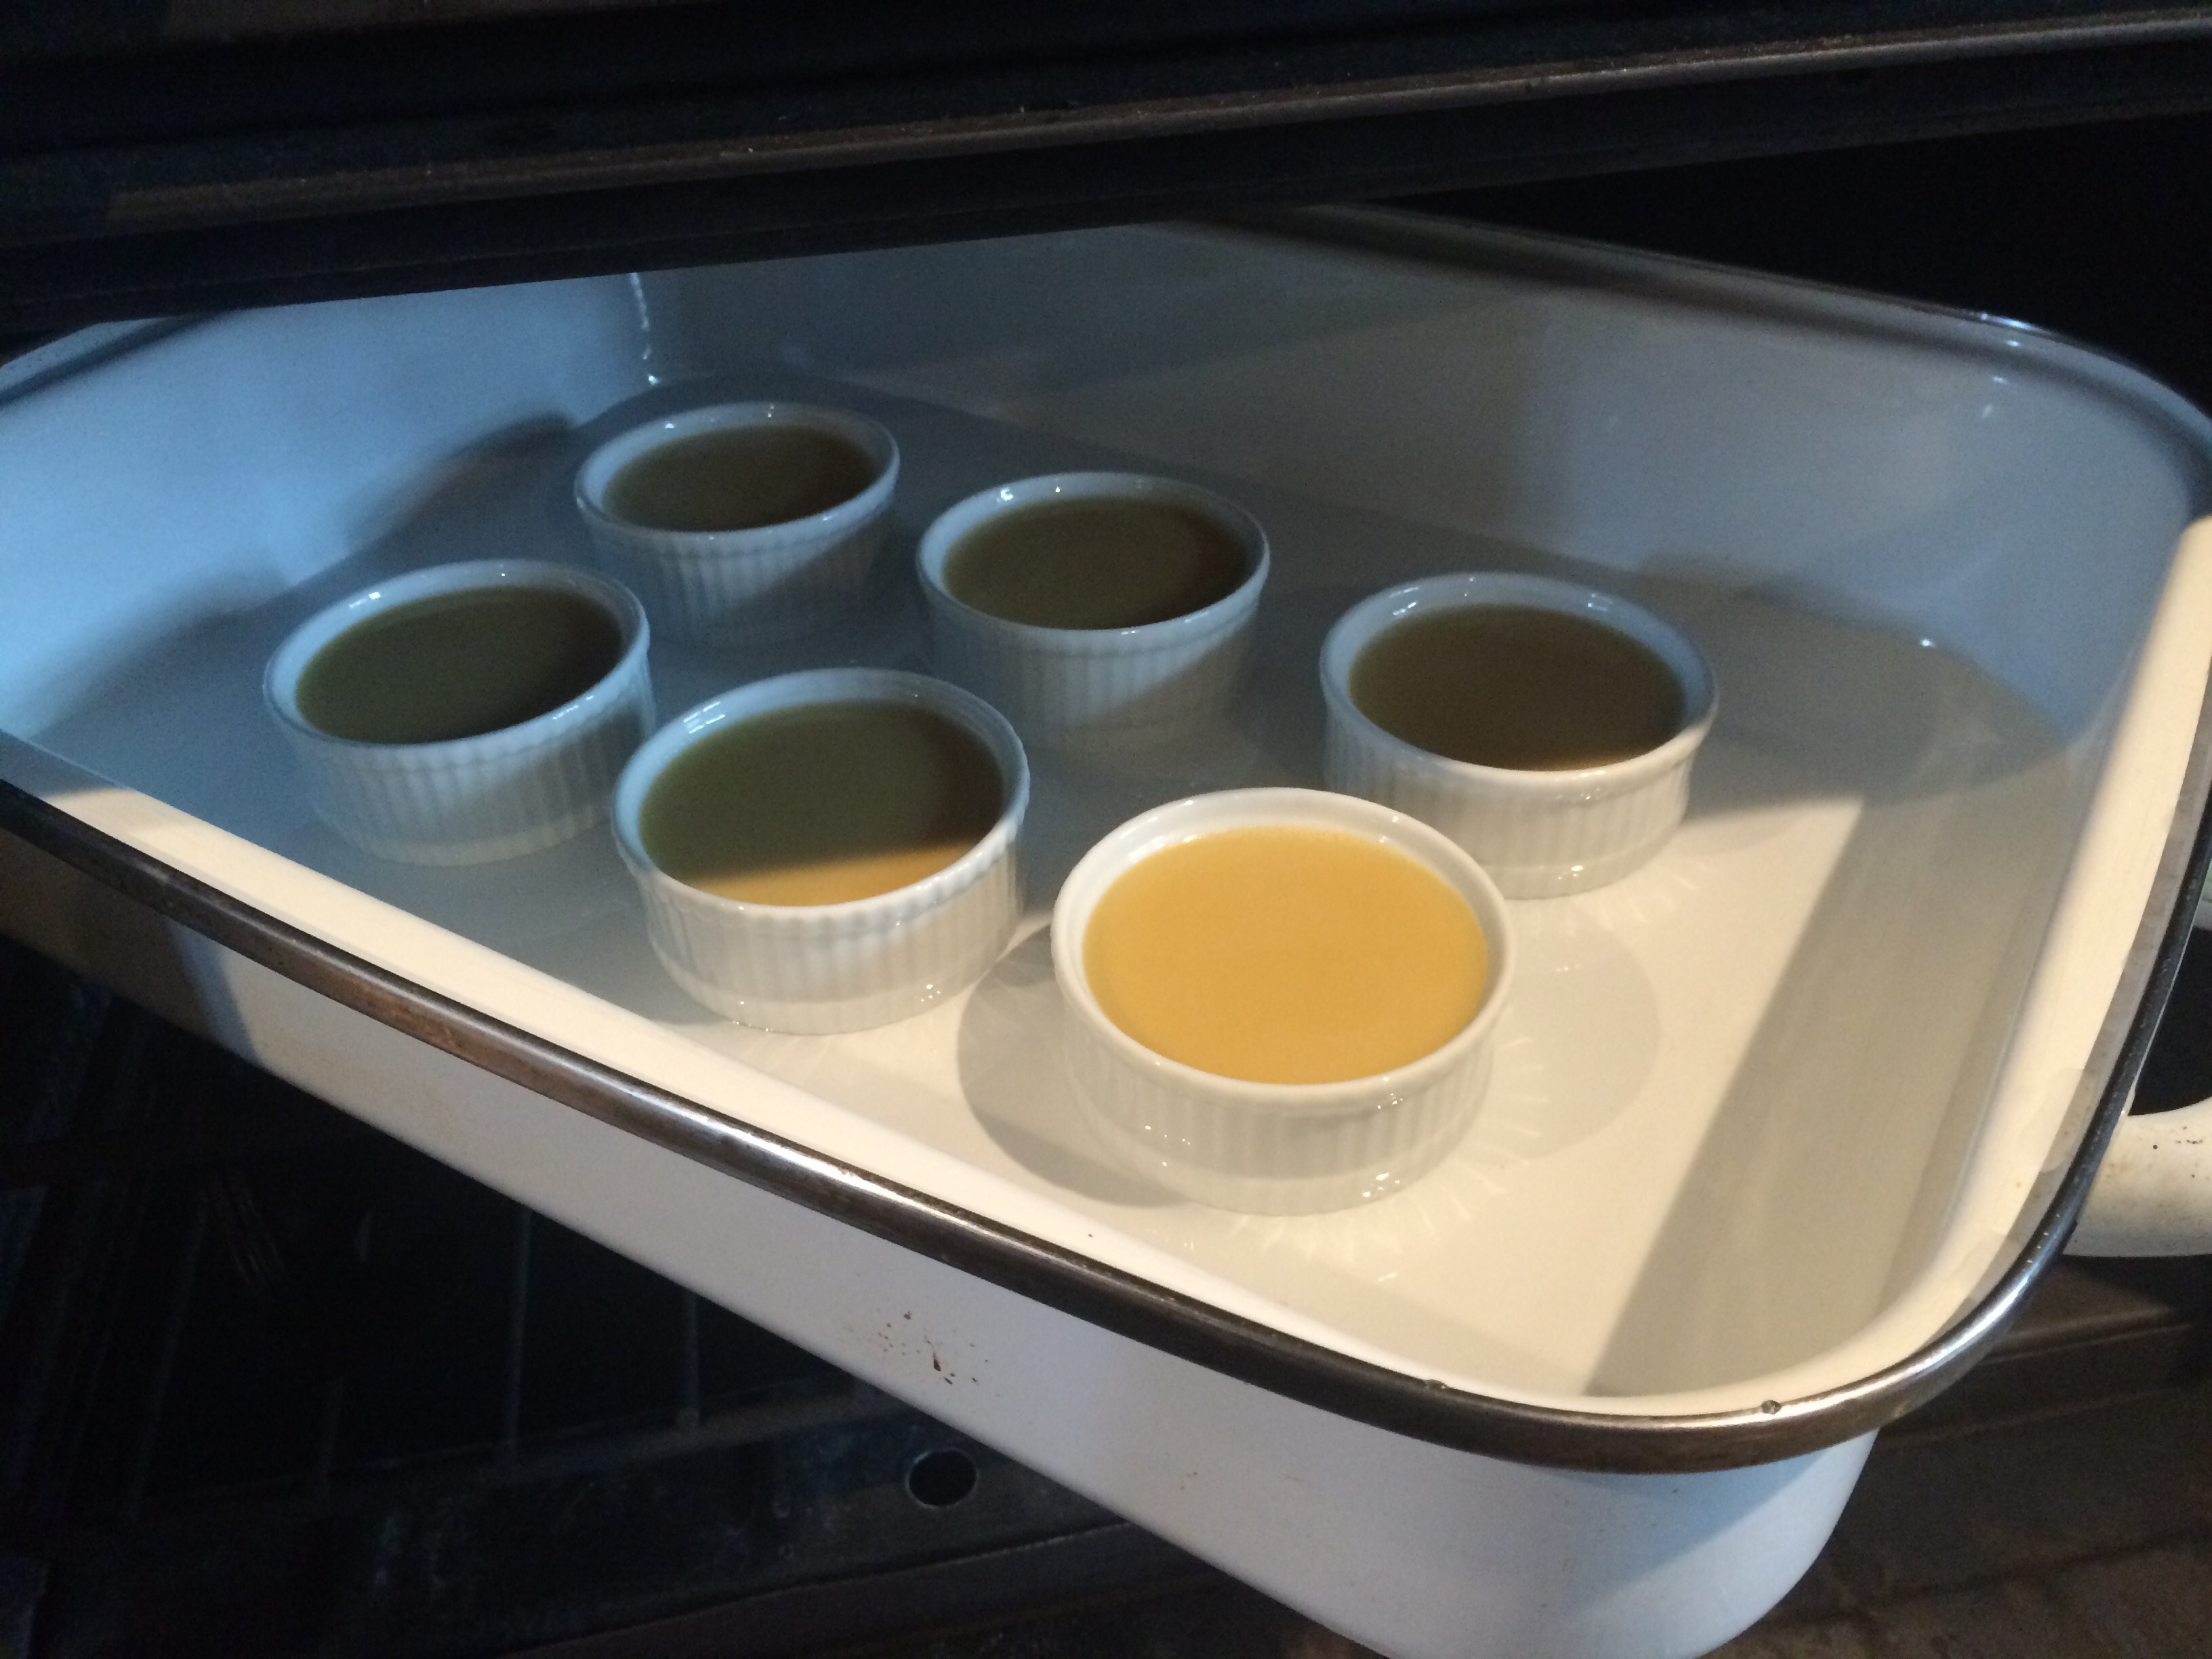
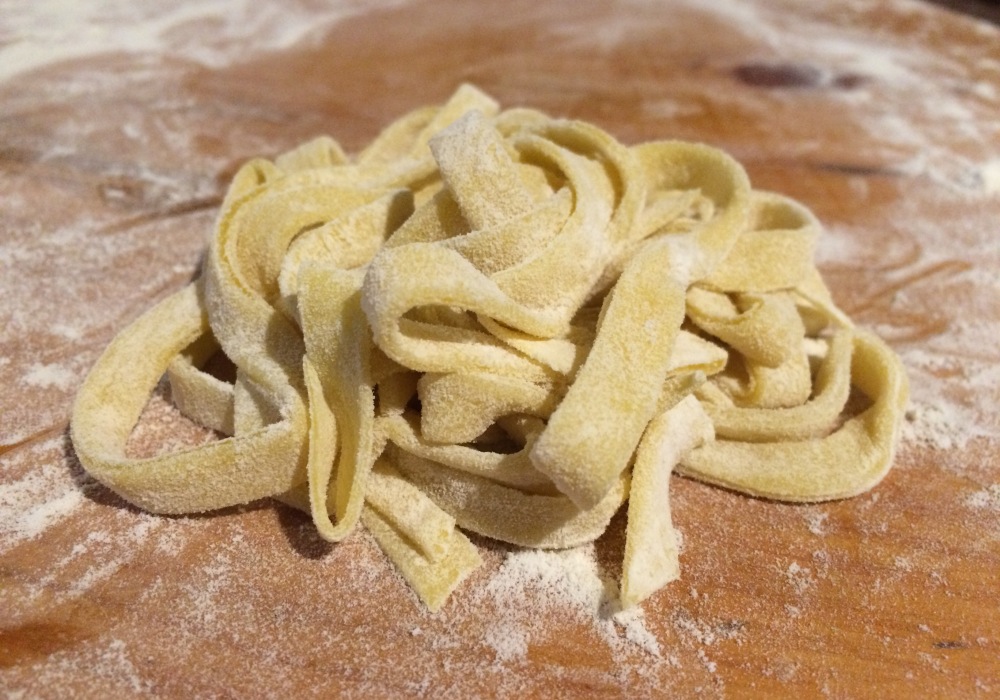
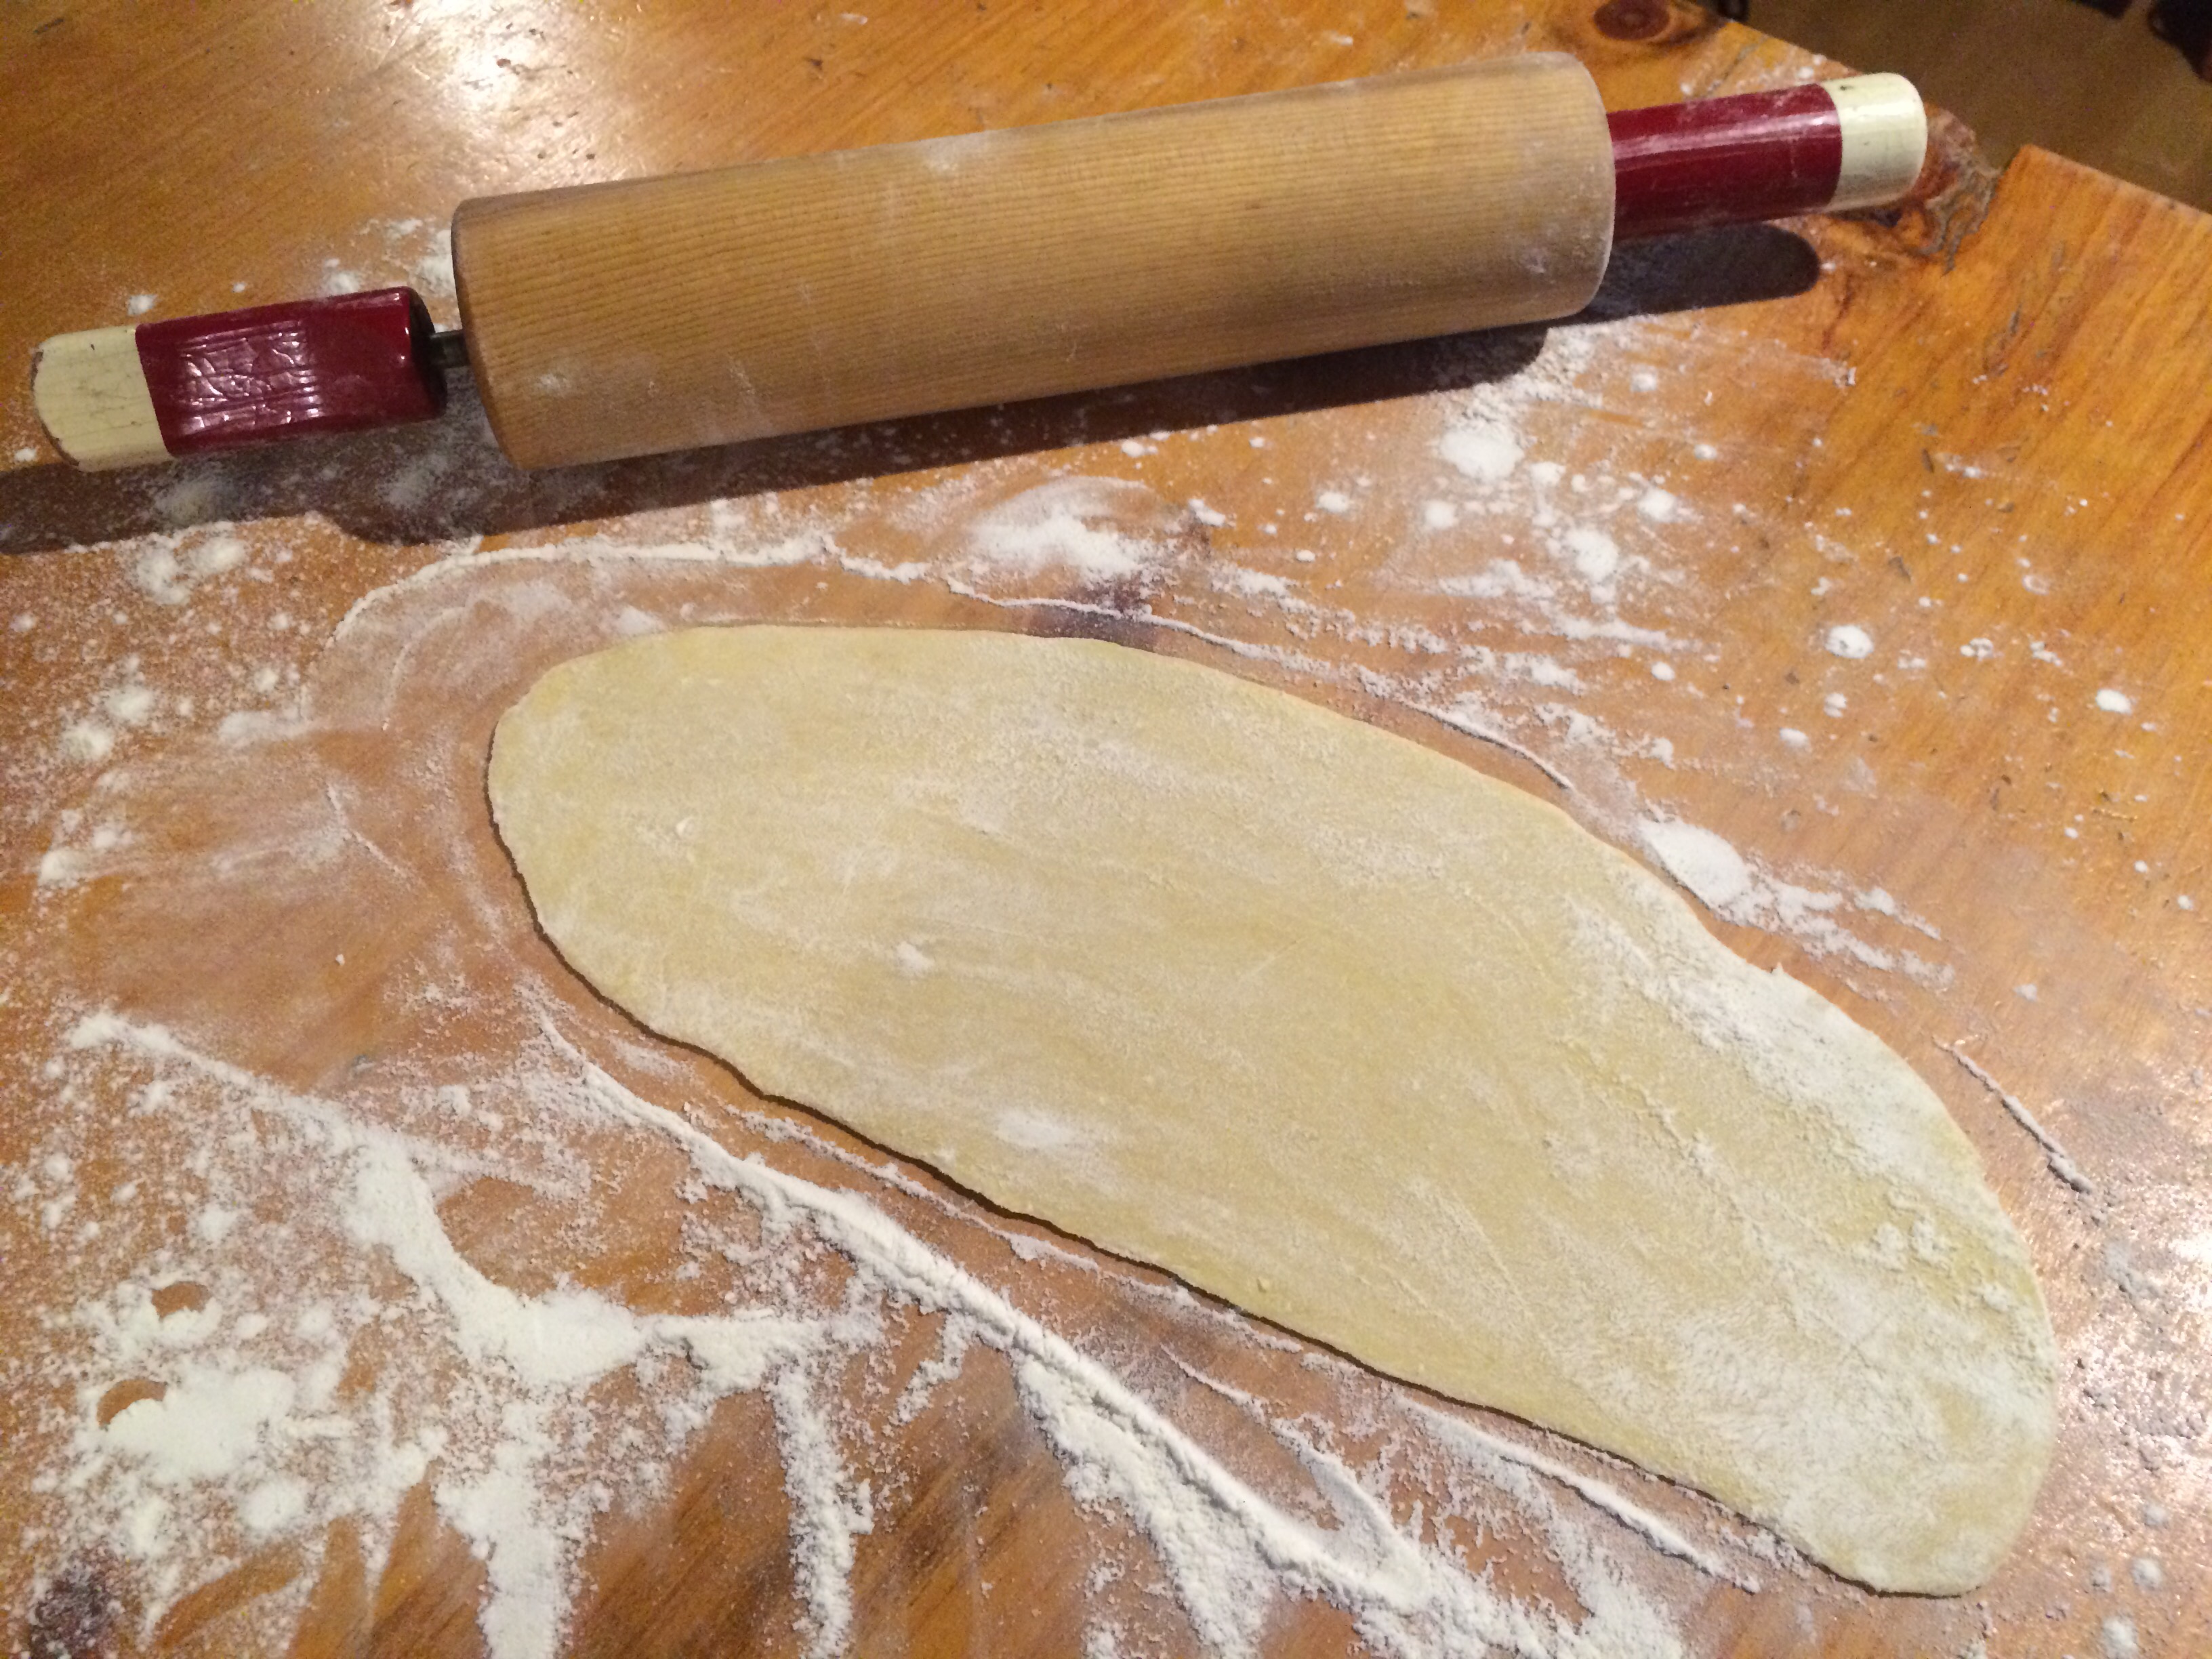
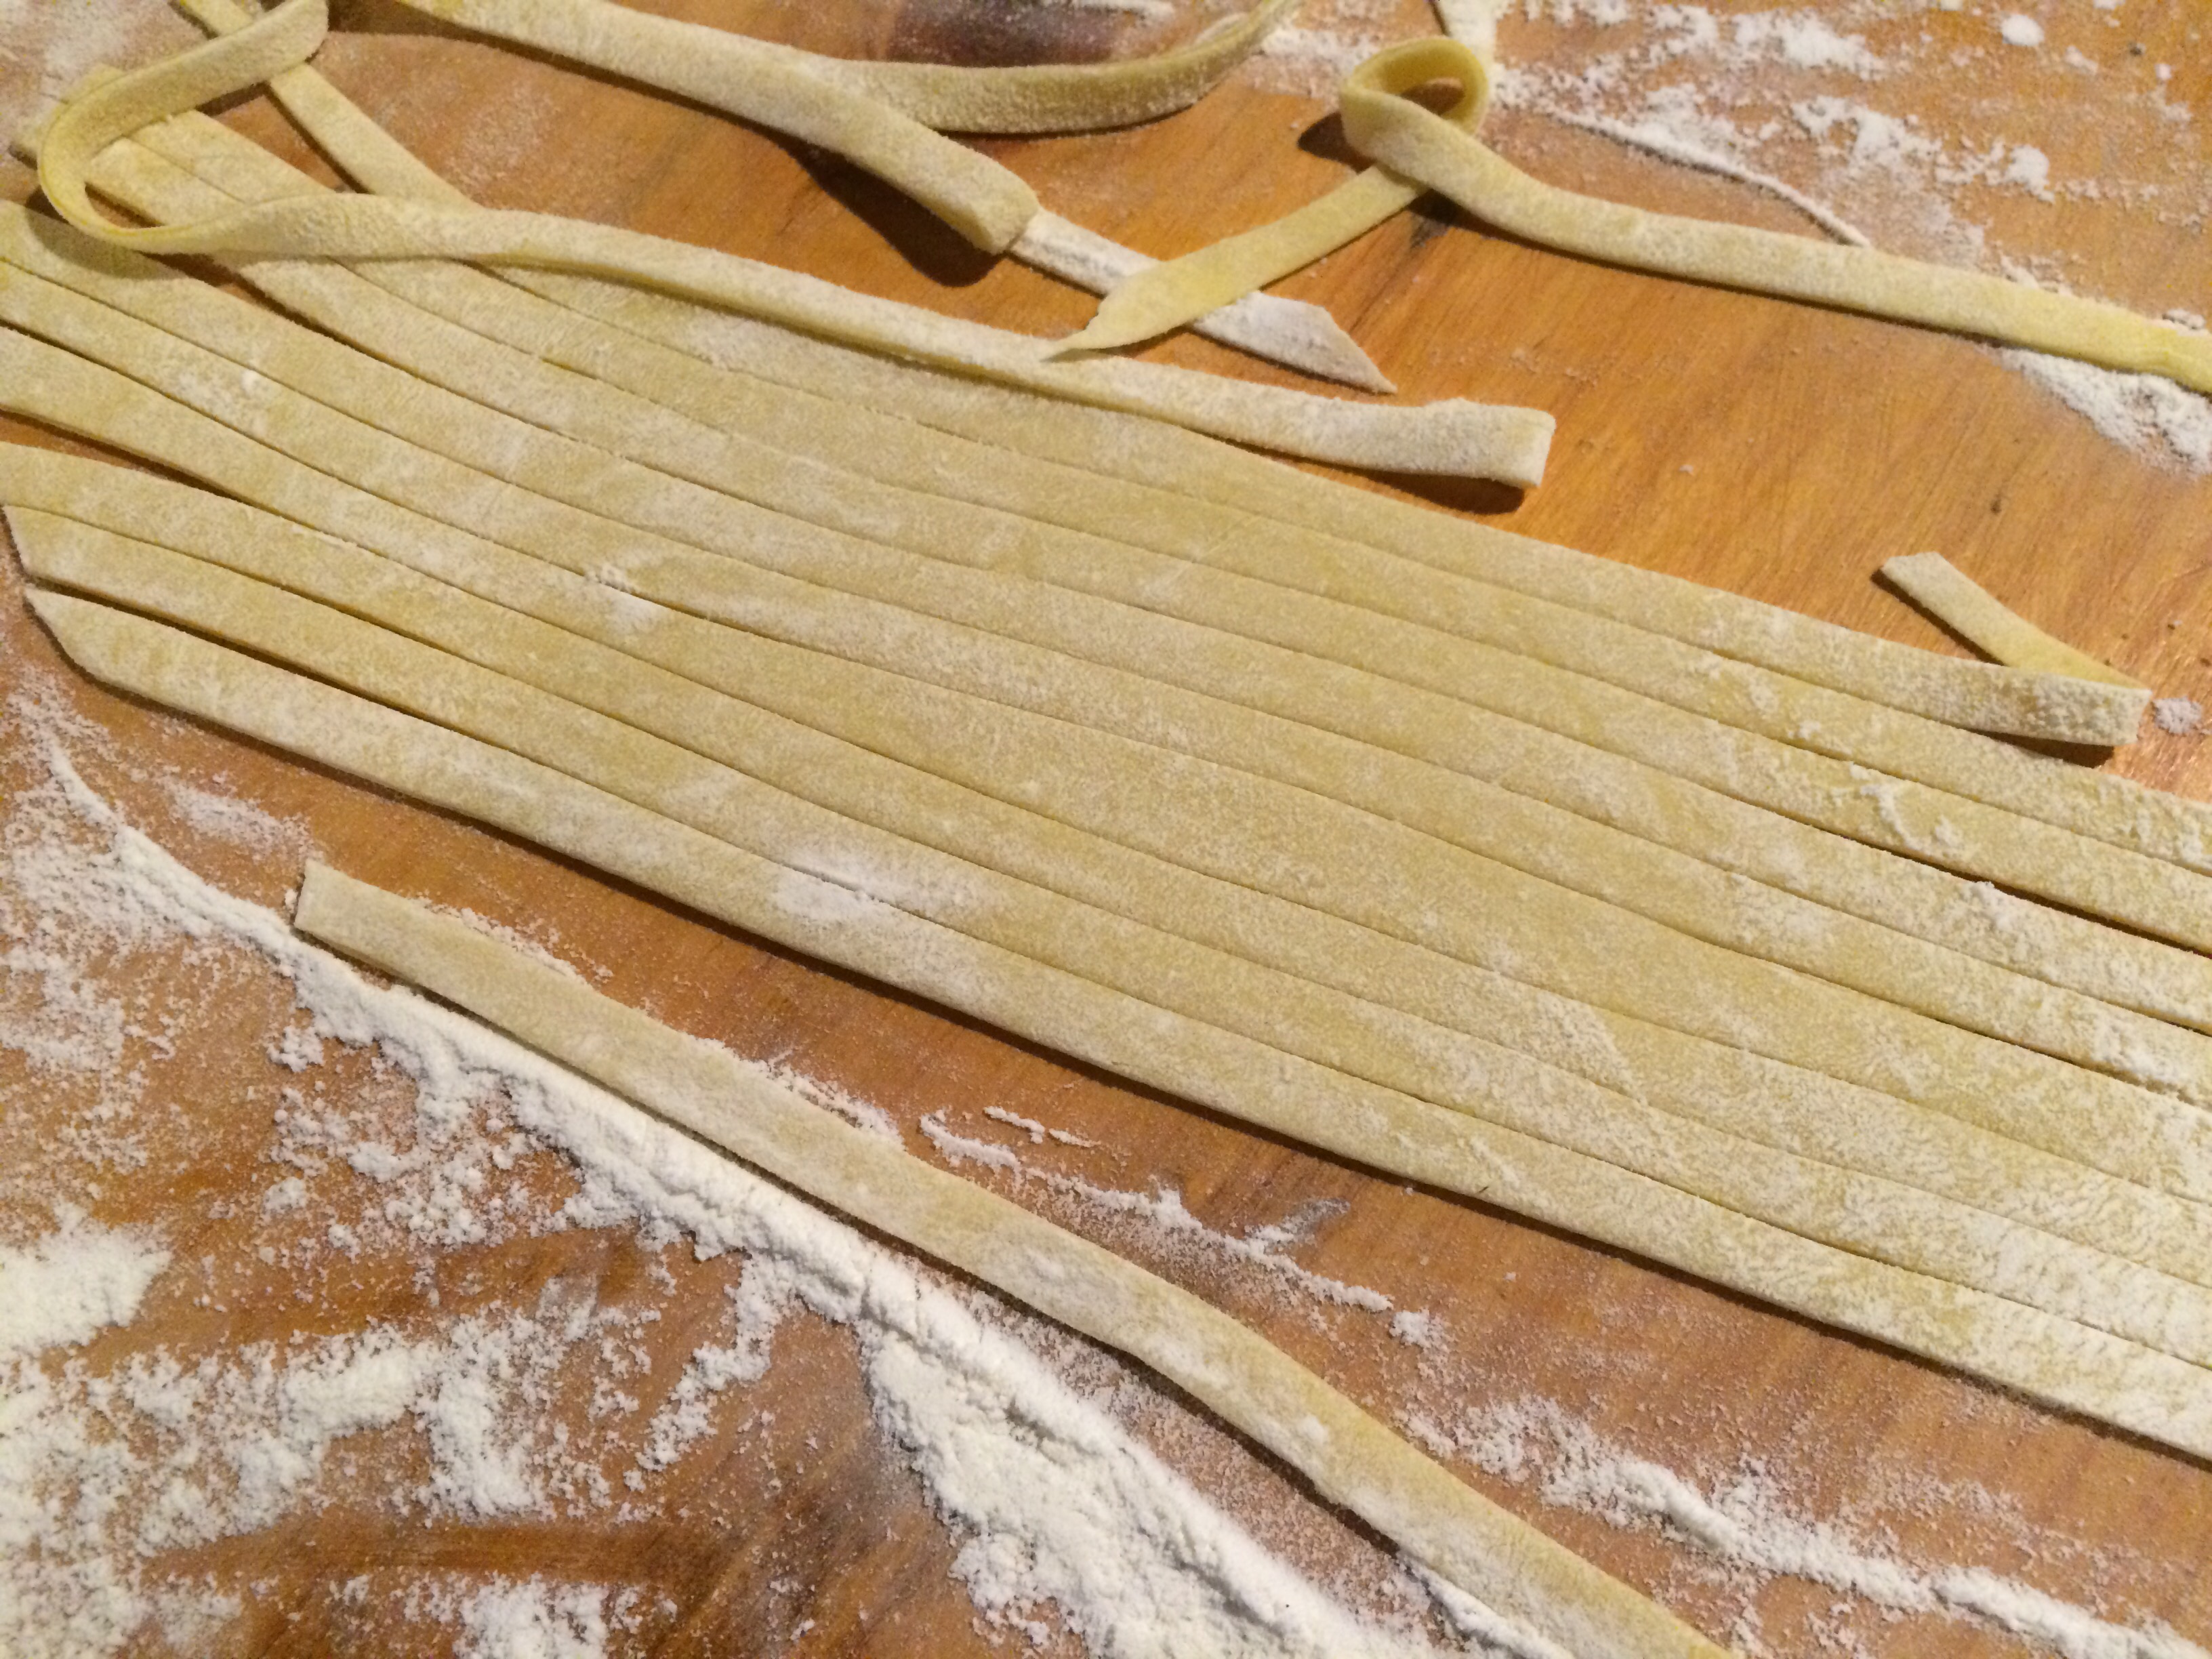
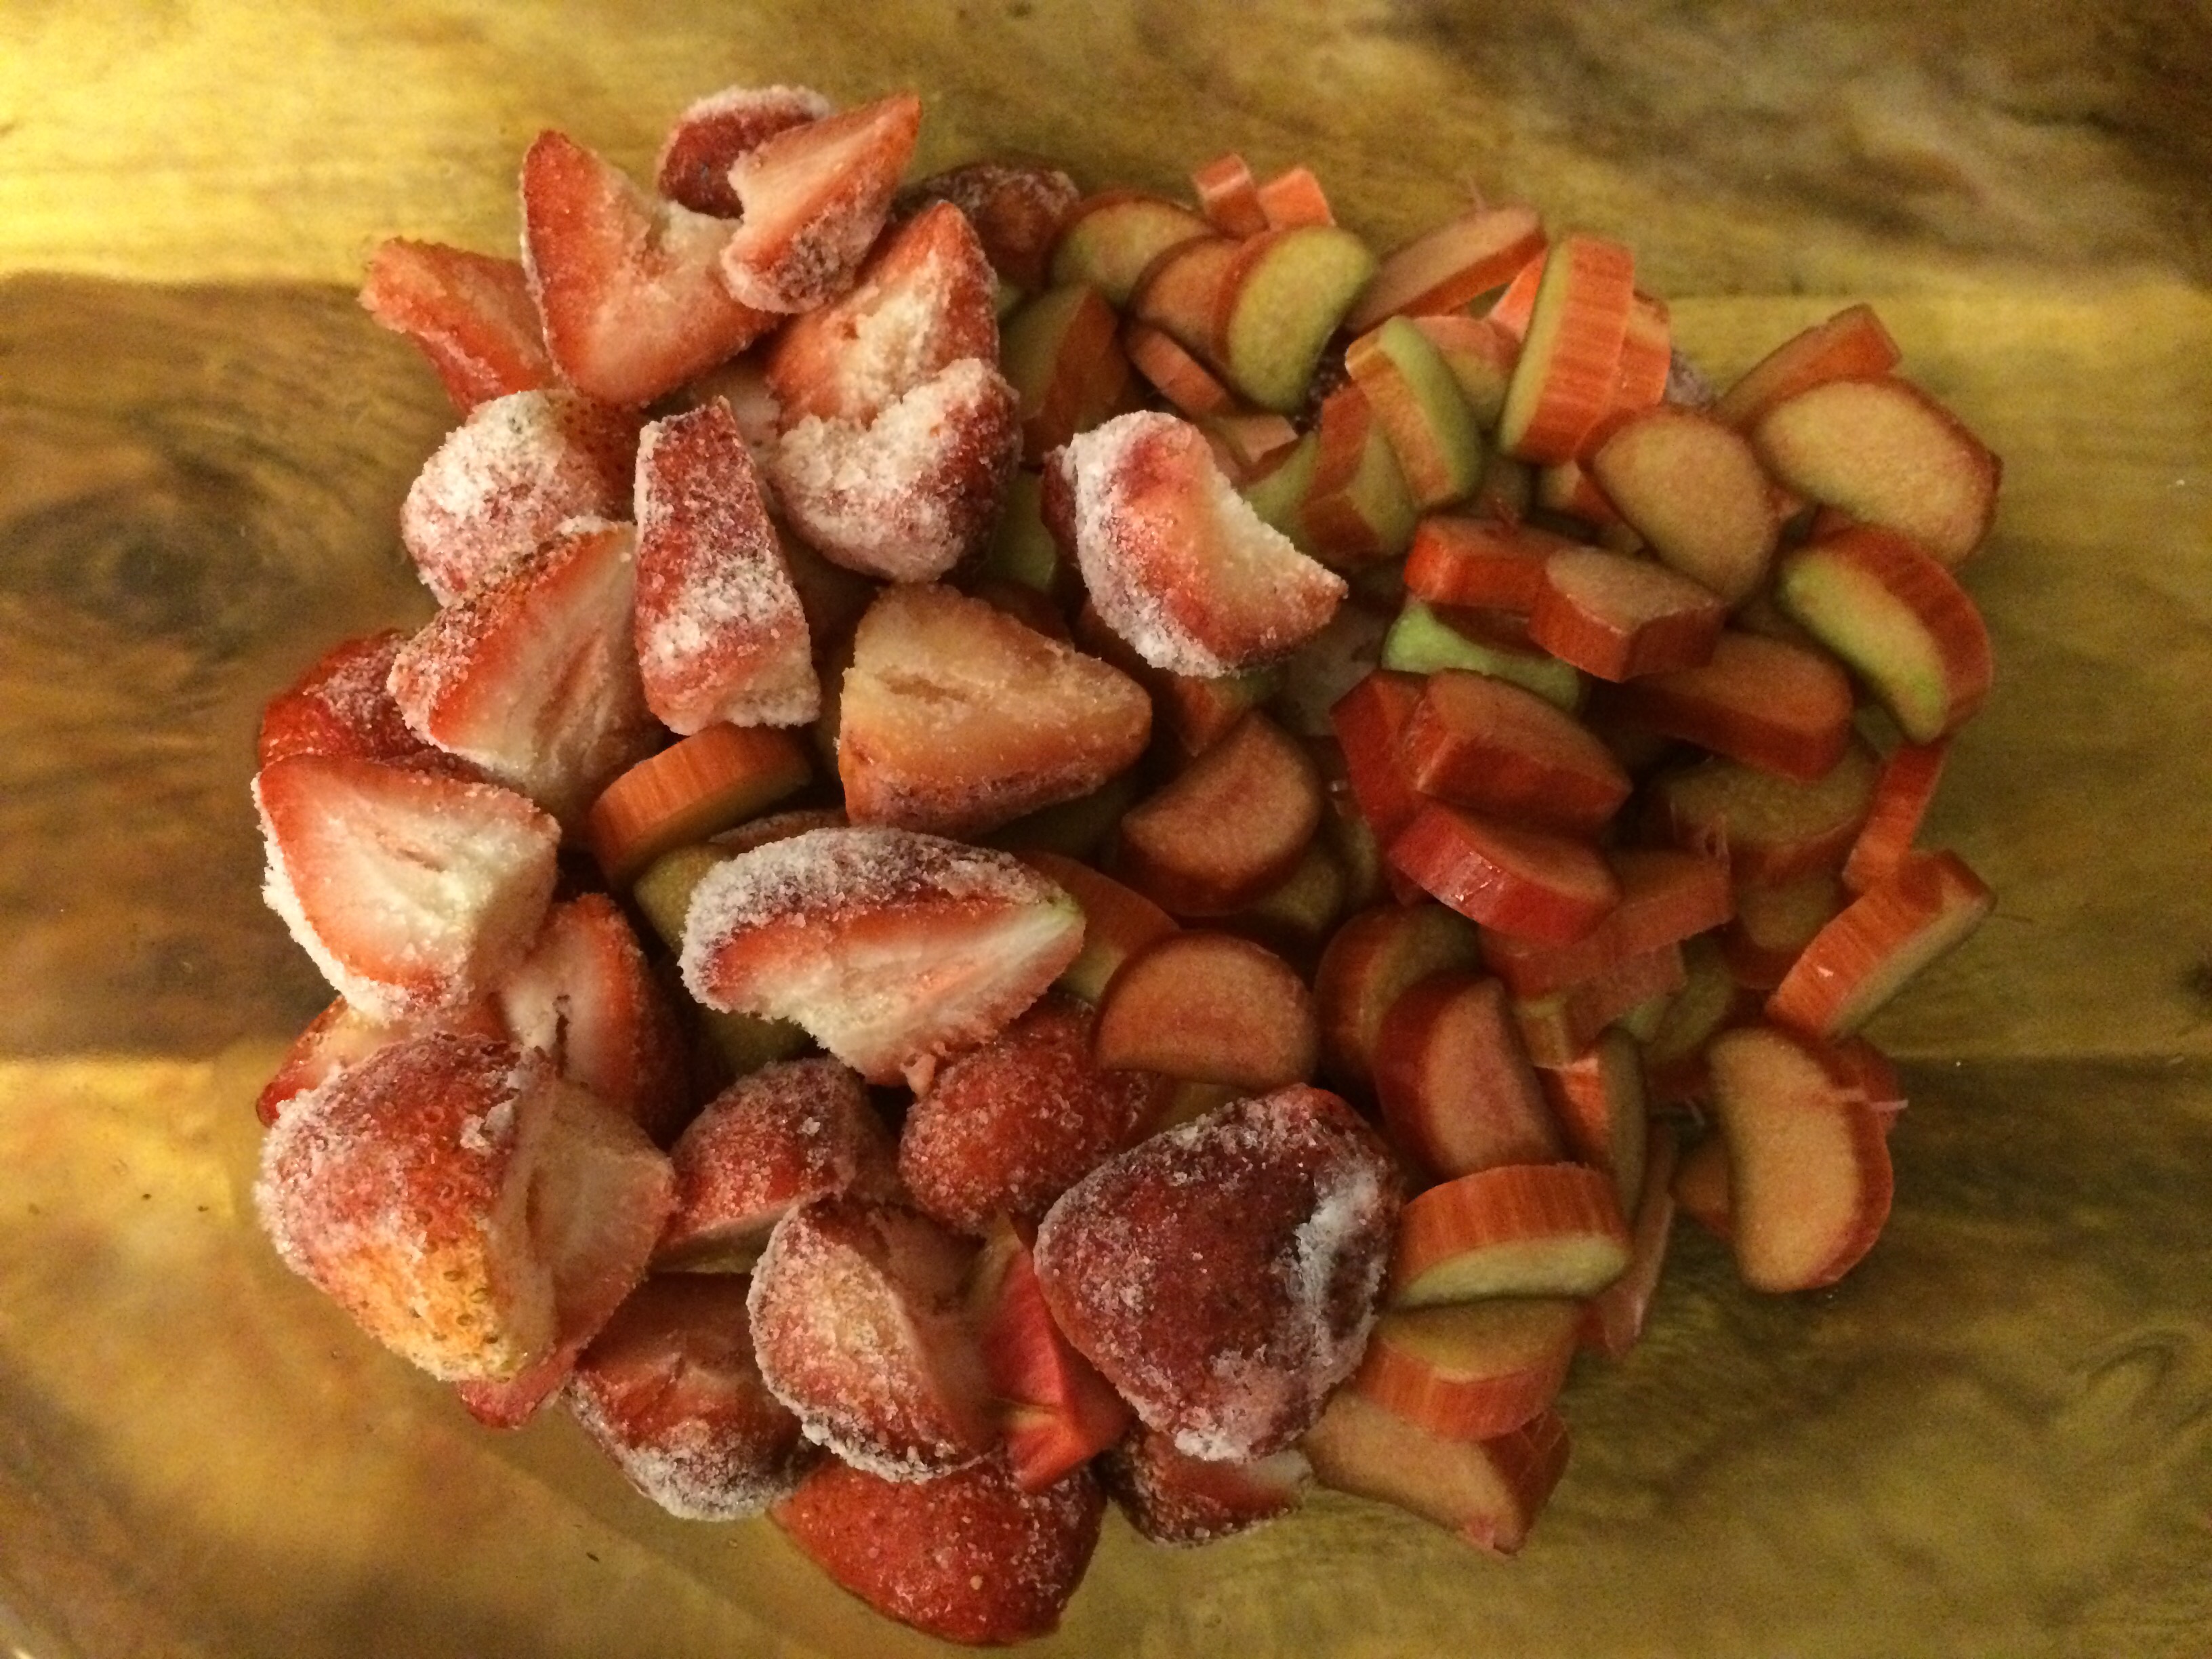
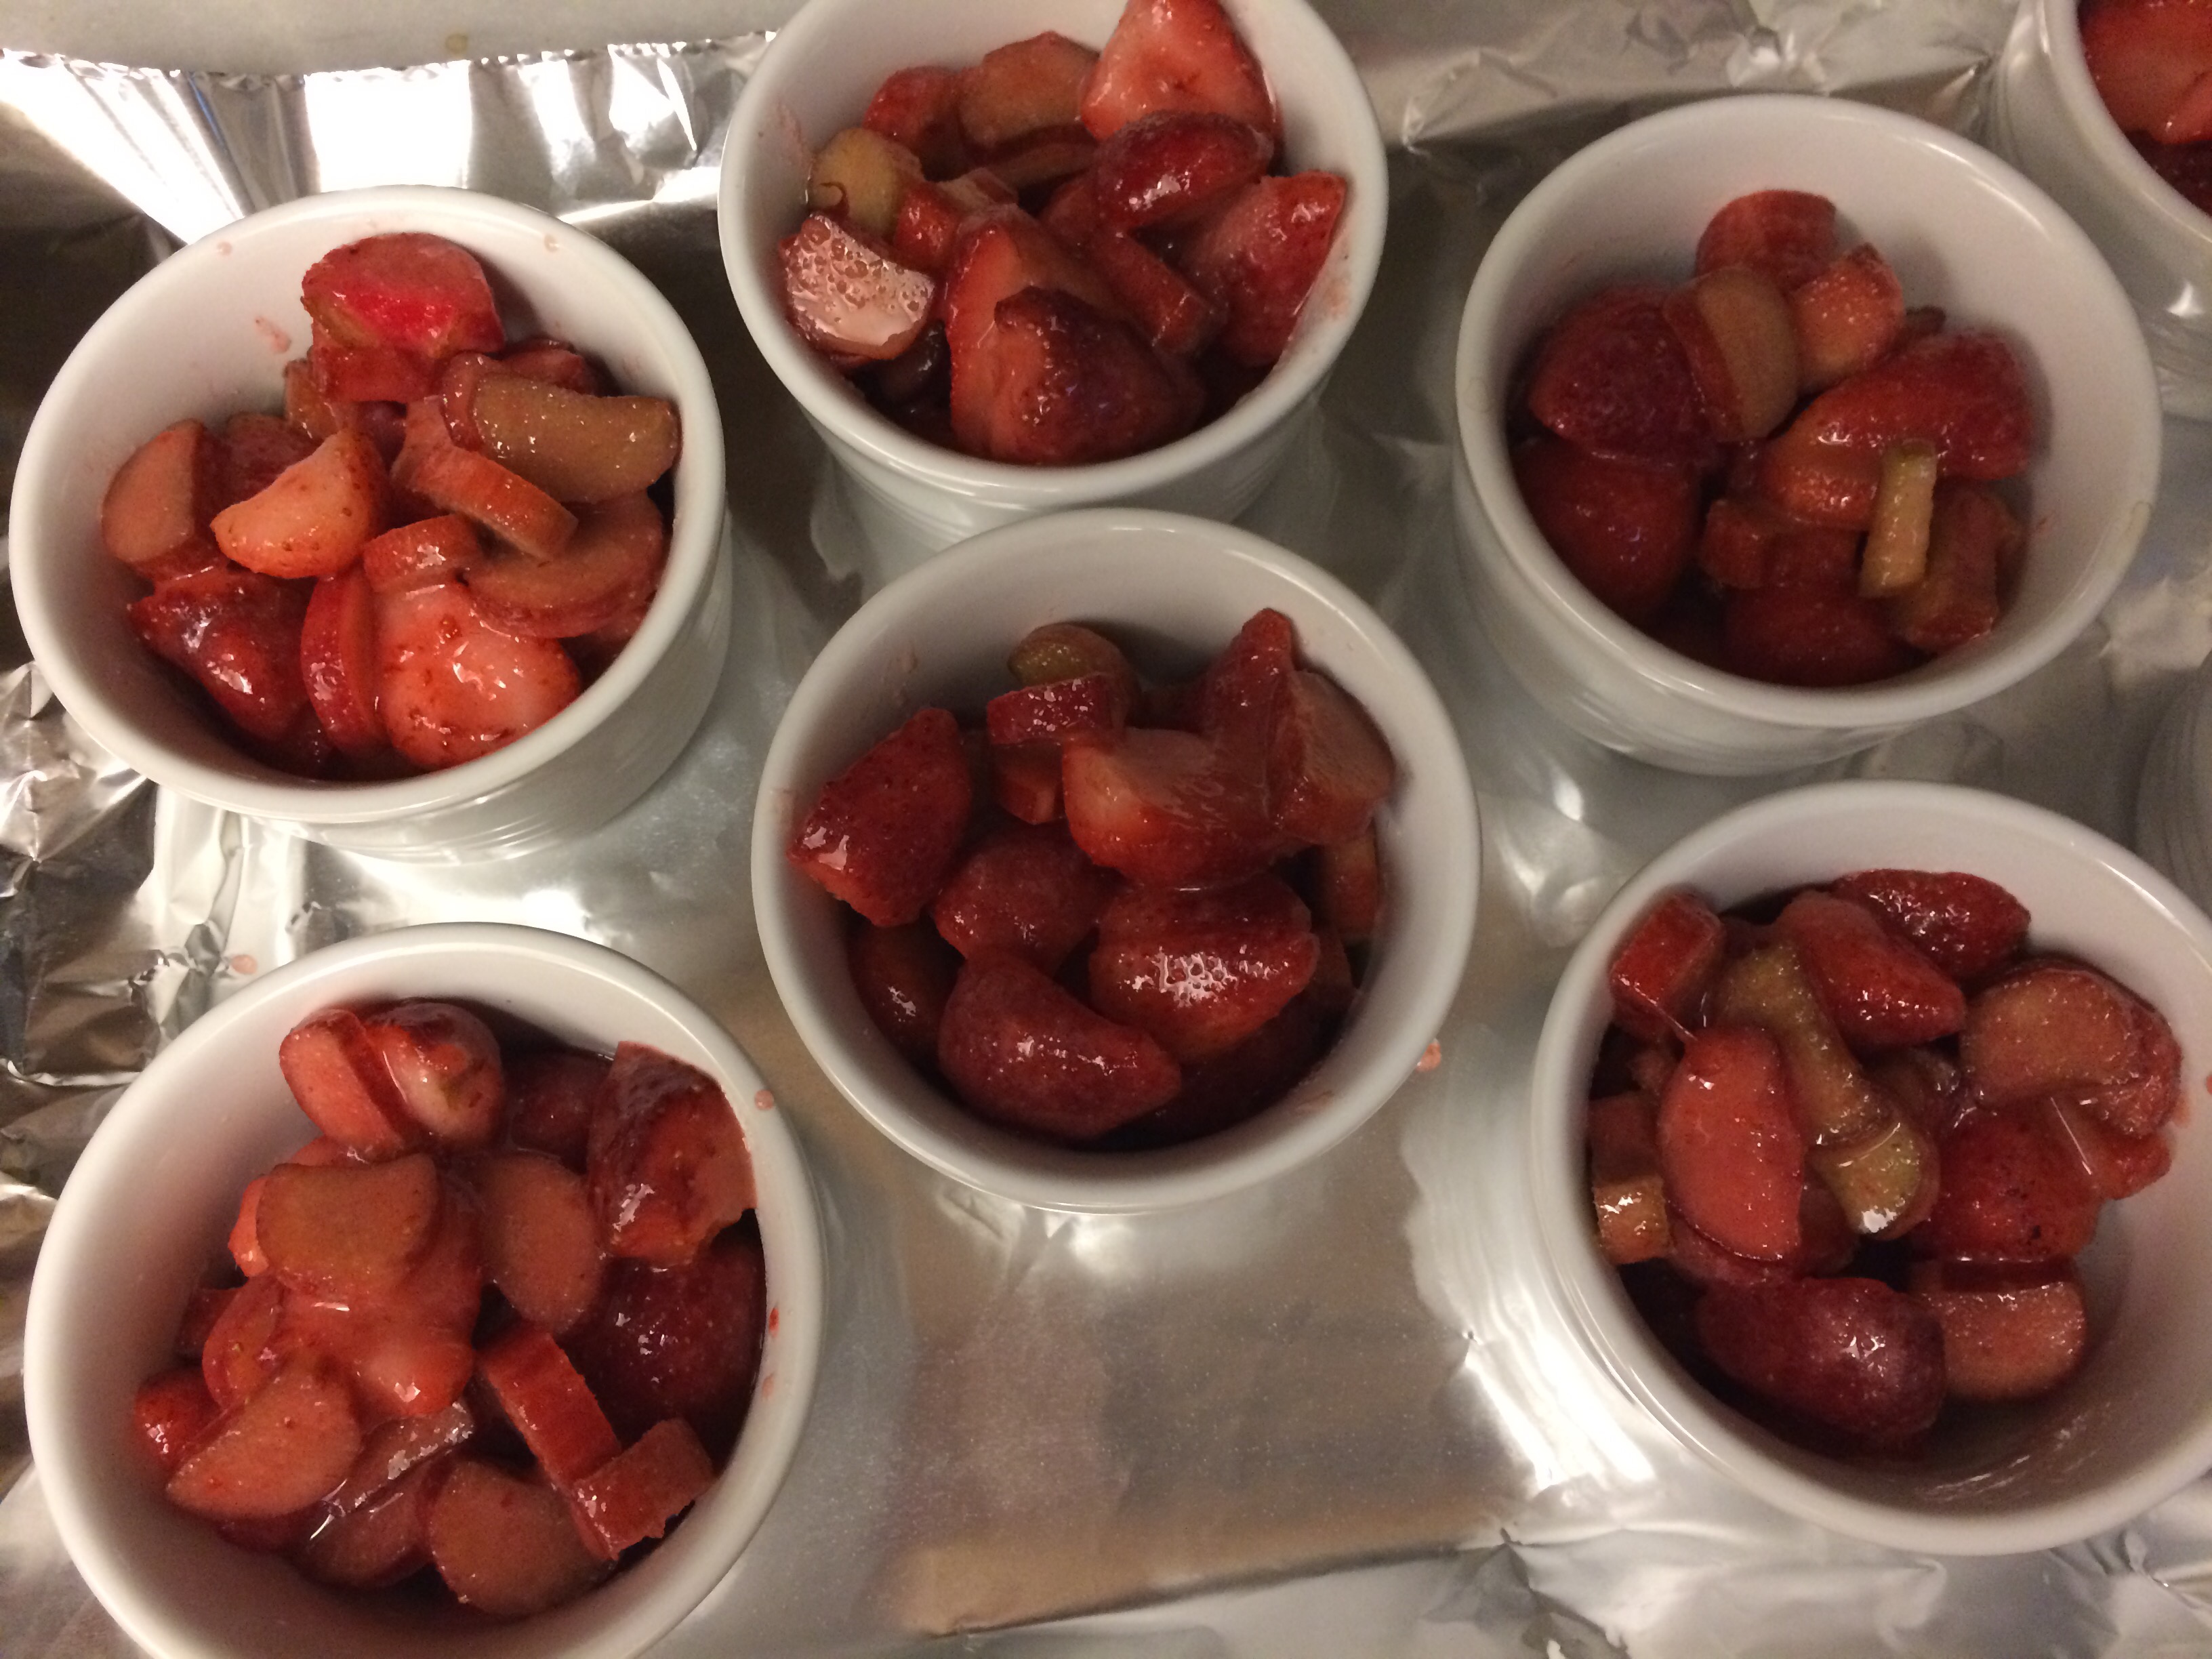
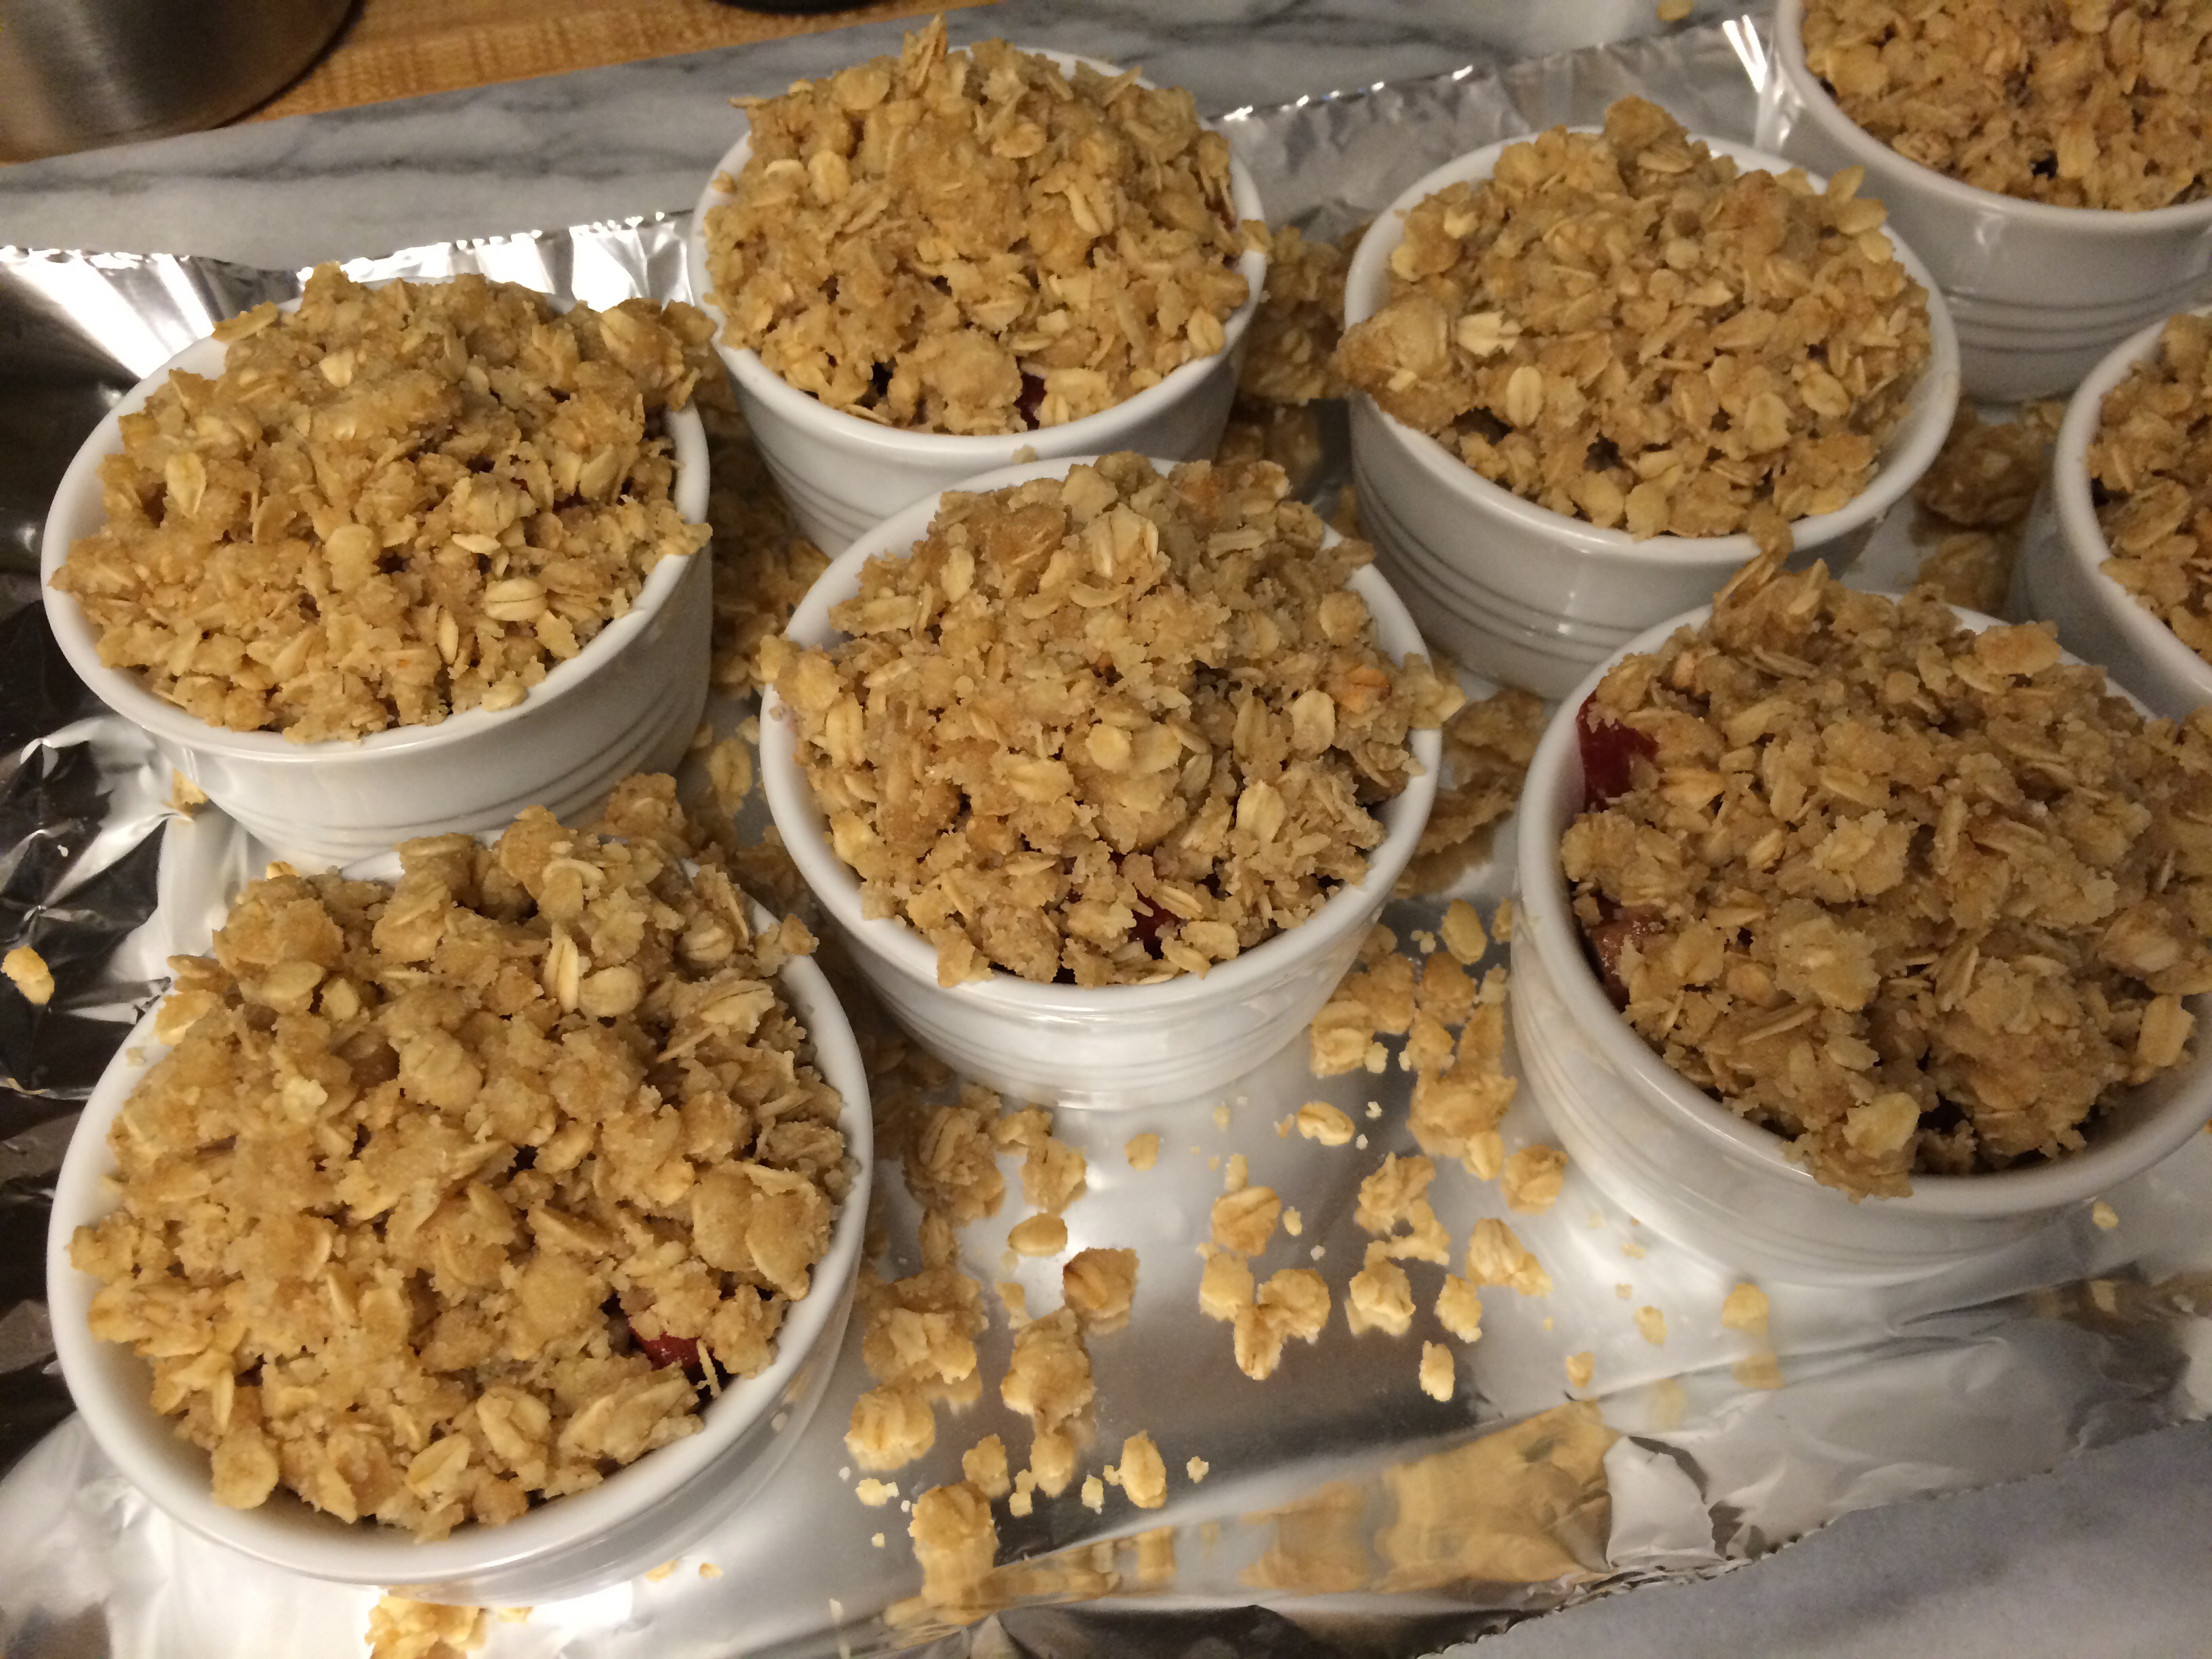
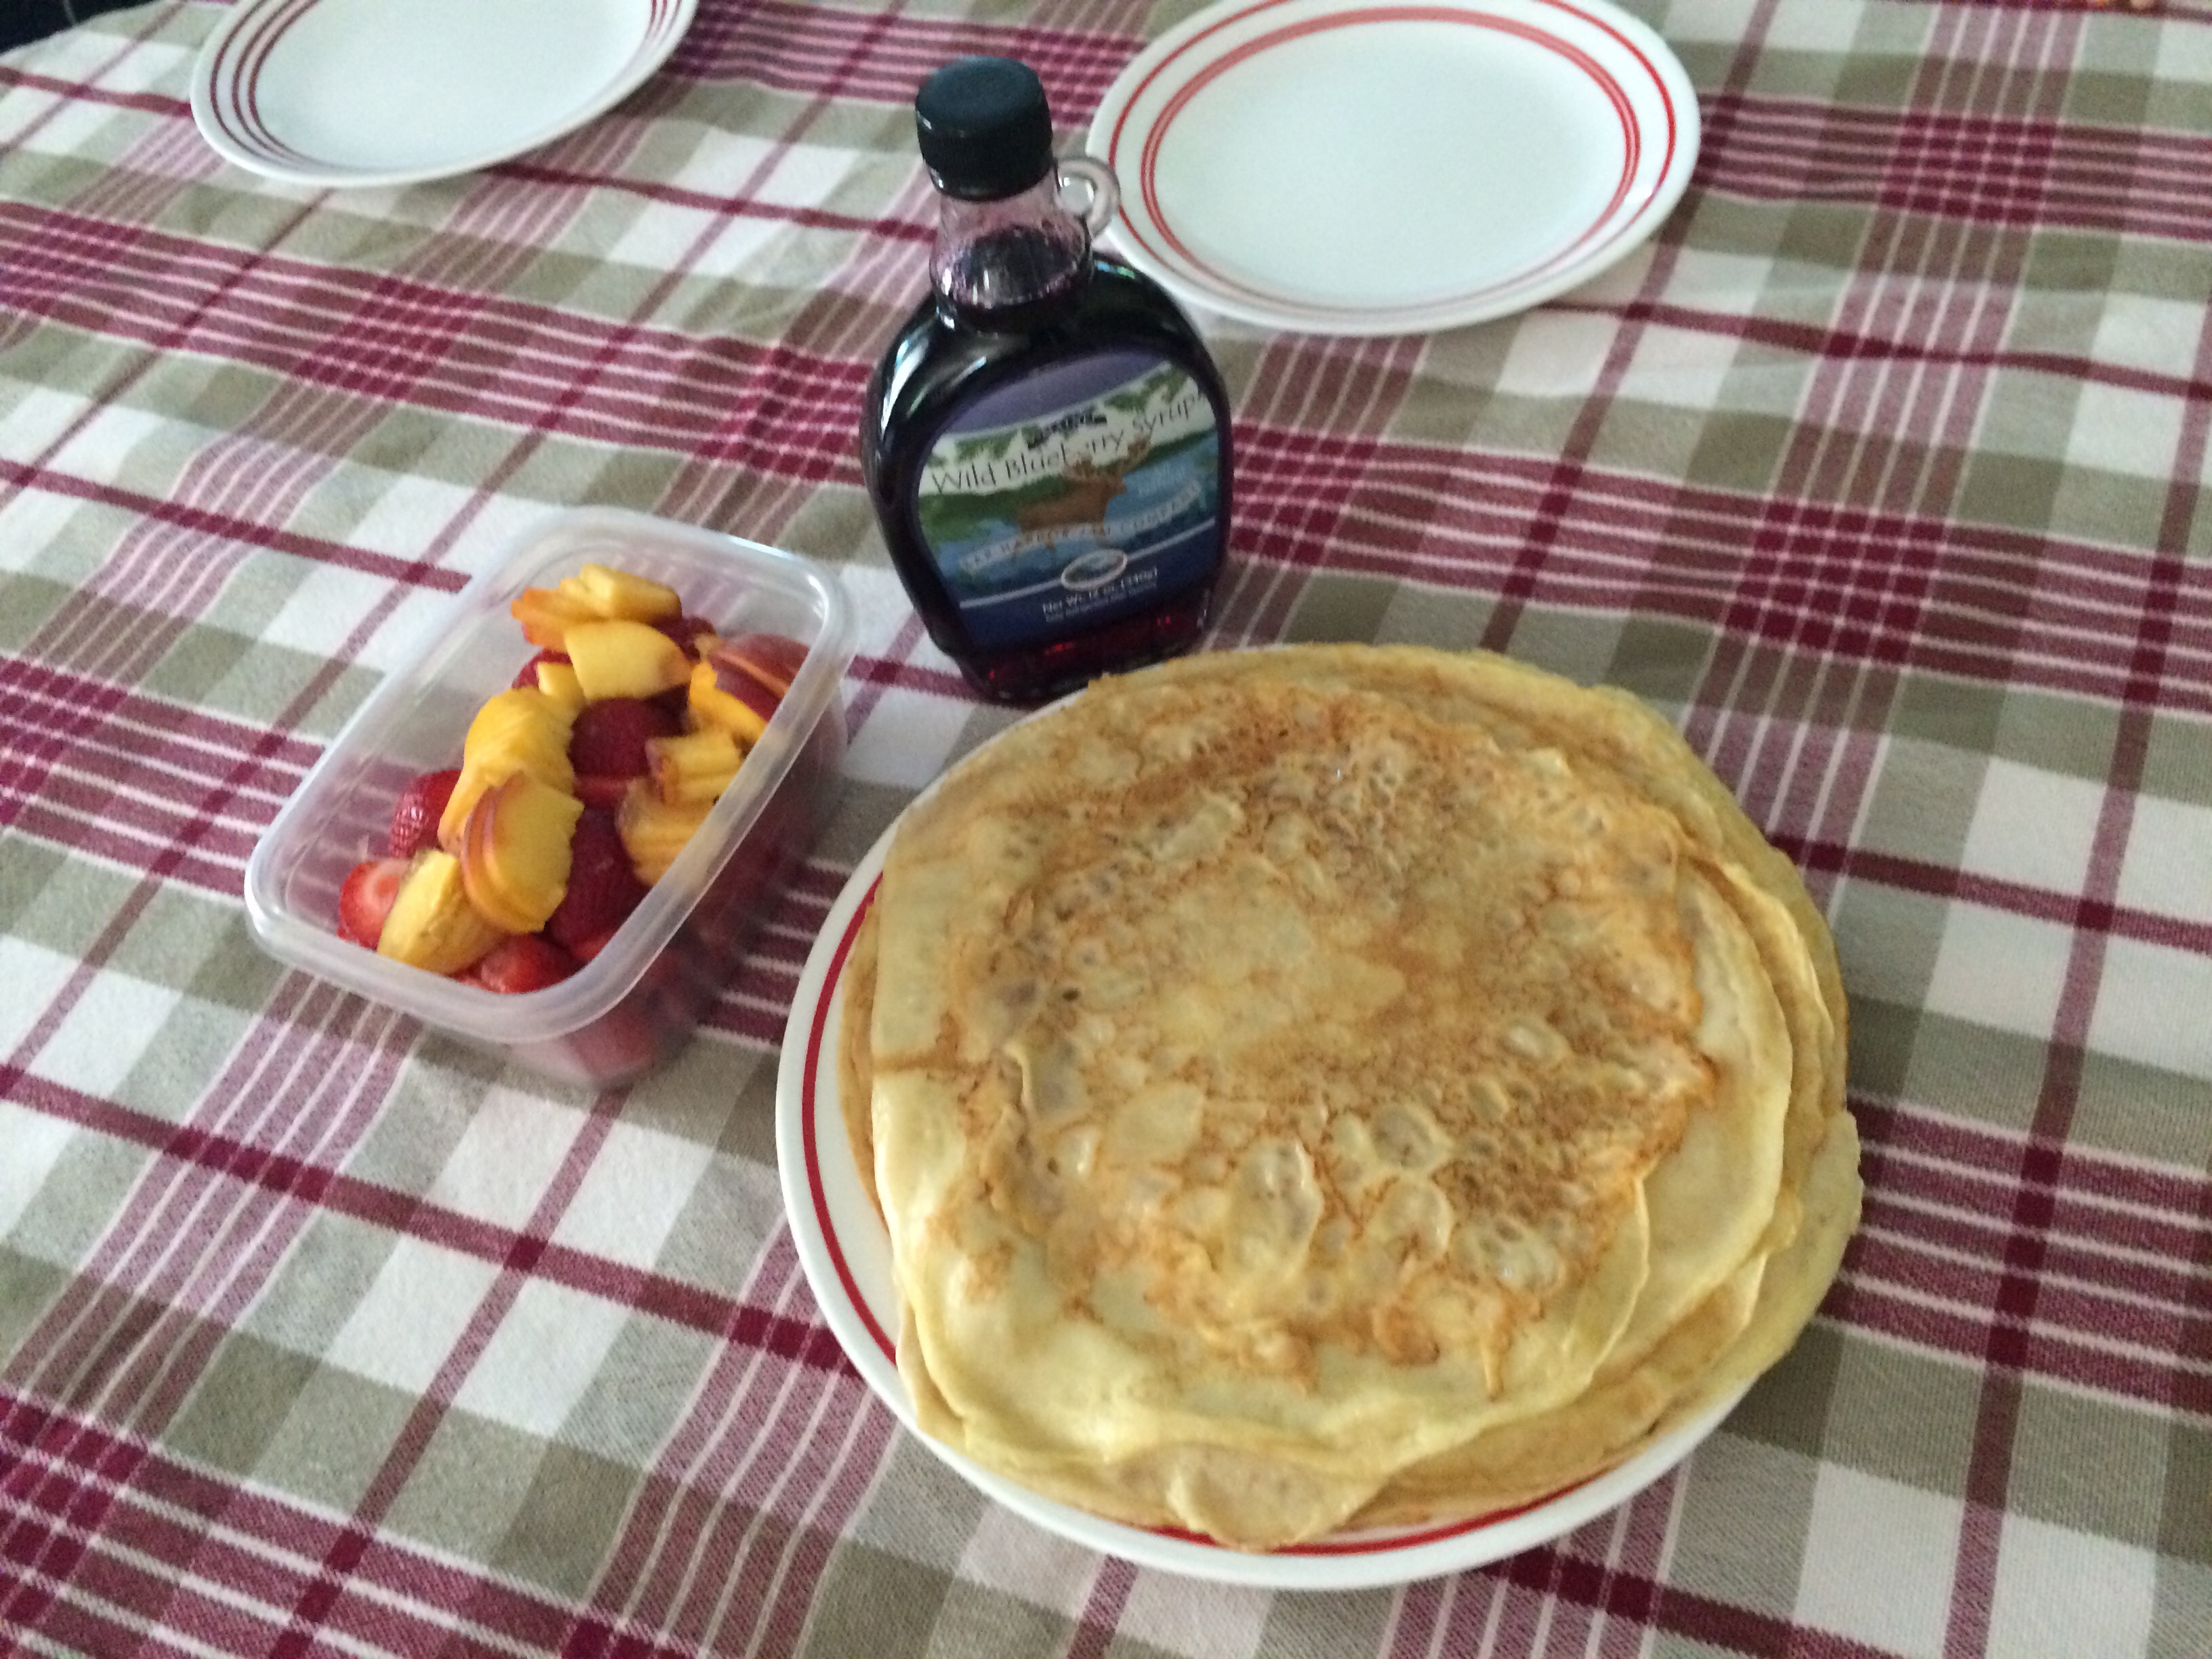
I got a lesson in making crepes that I will always remember. The best recipes come with memories of family and friends!


St-Viateur is one of the best bagel shops in North America. We were lucky enough to rent an apartment directly above this iconic cafe.


Best breakfast in Montreal!


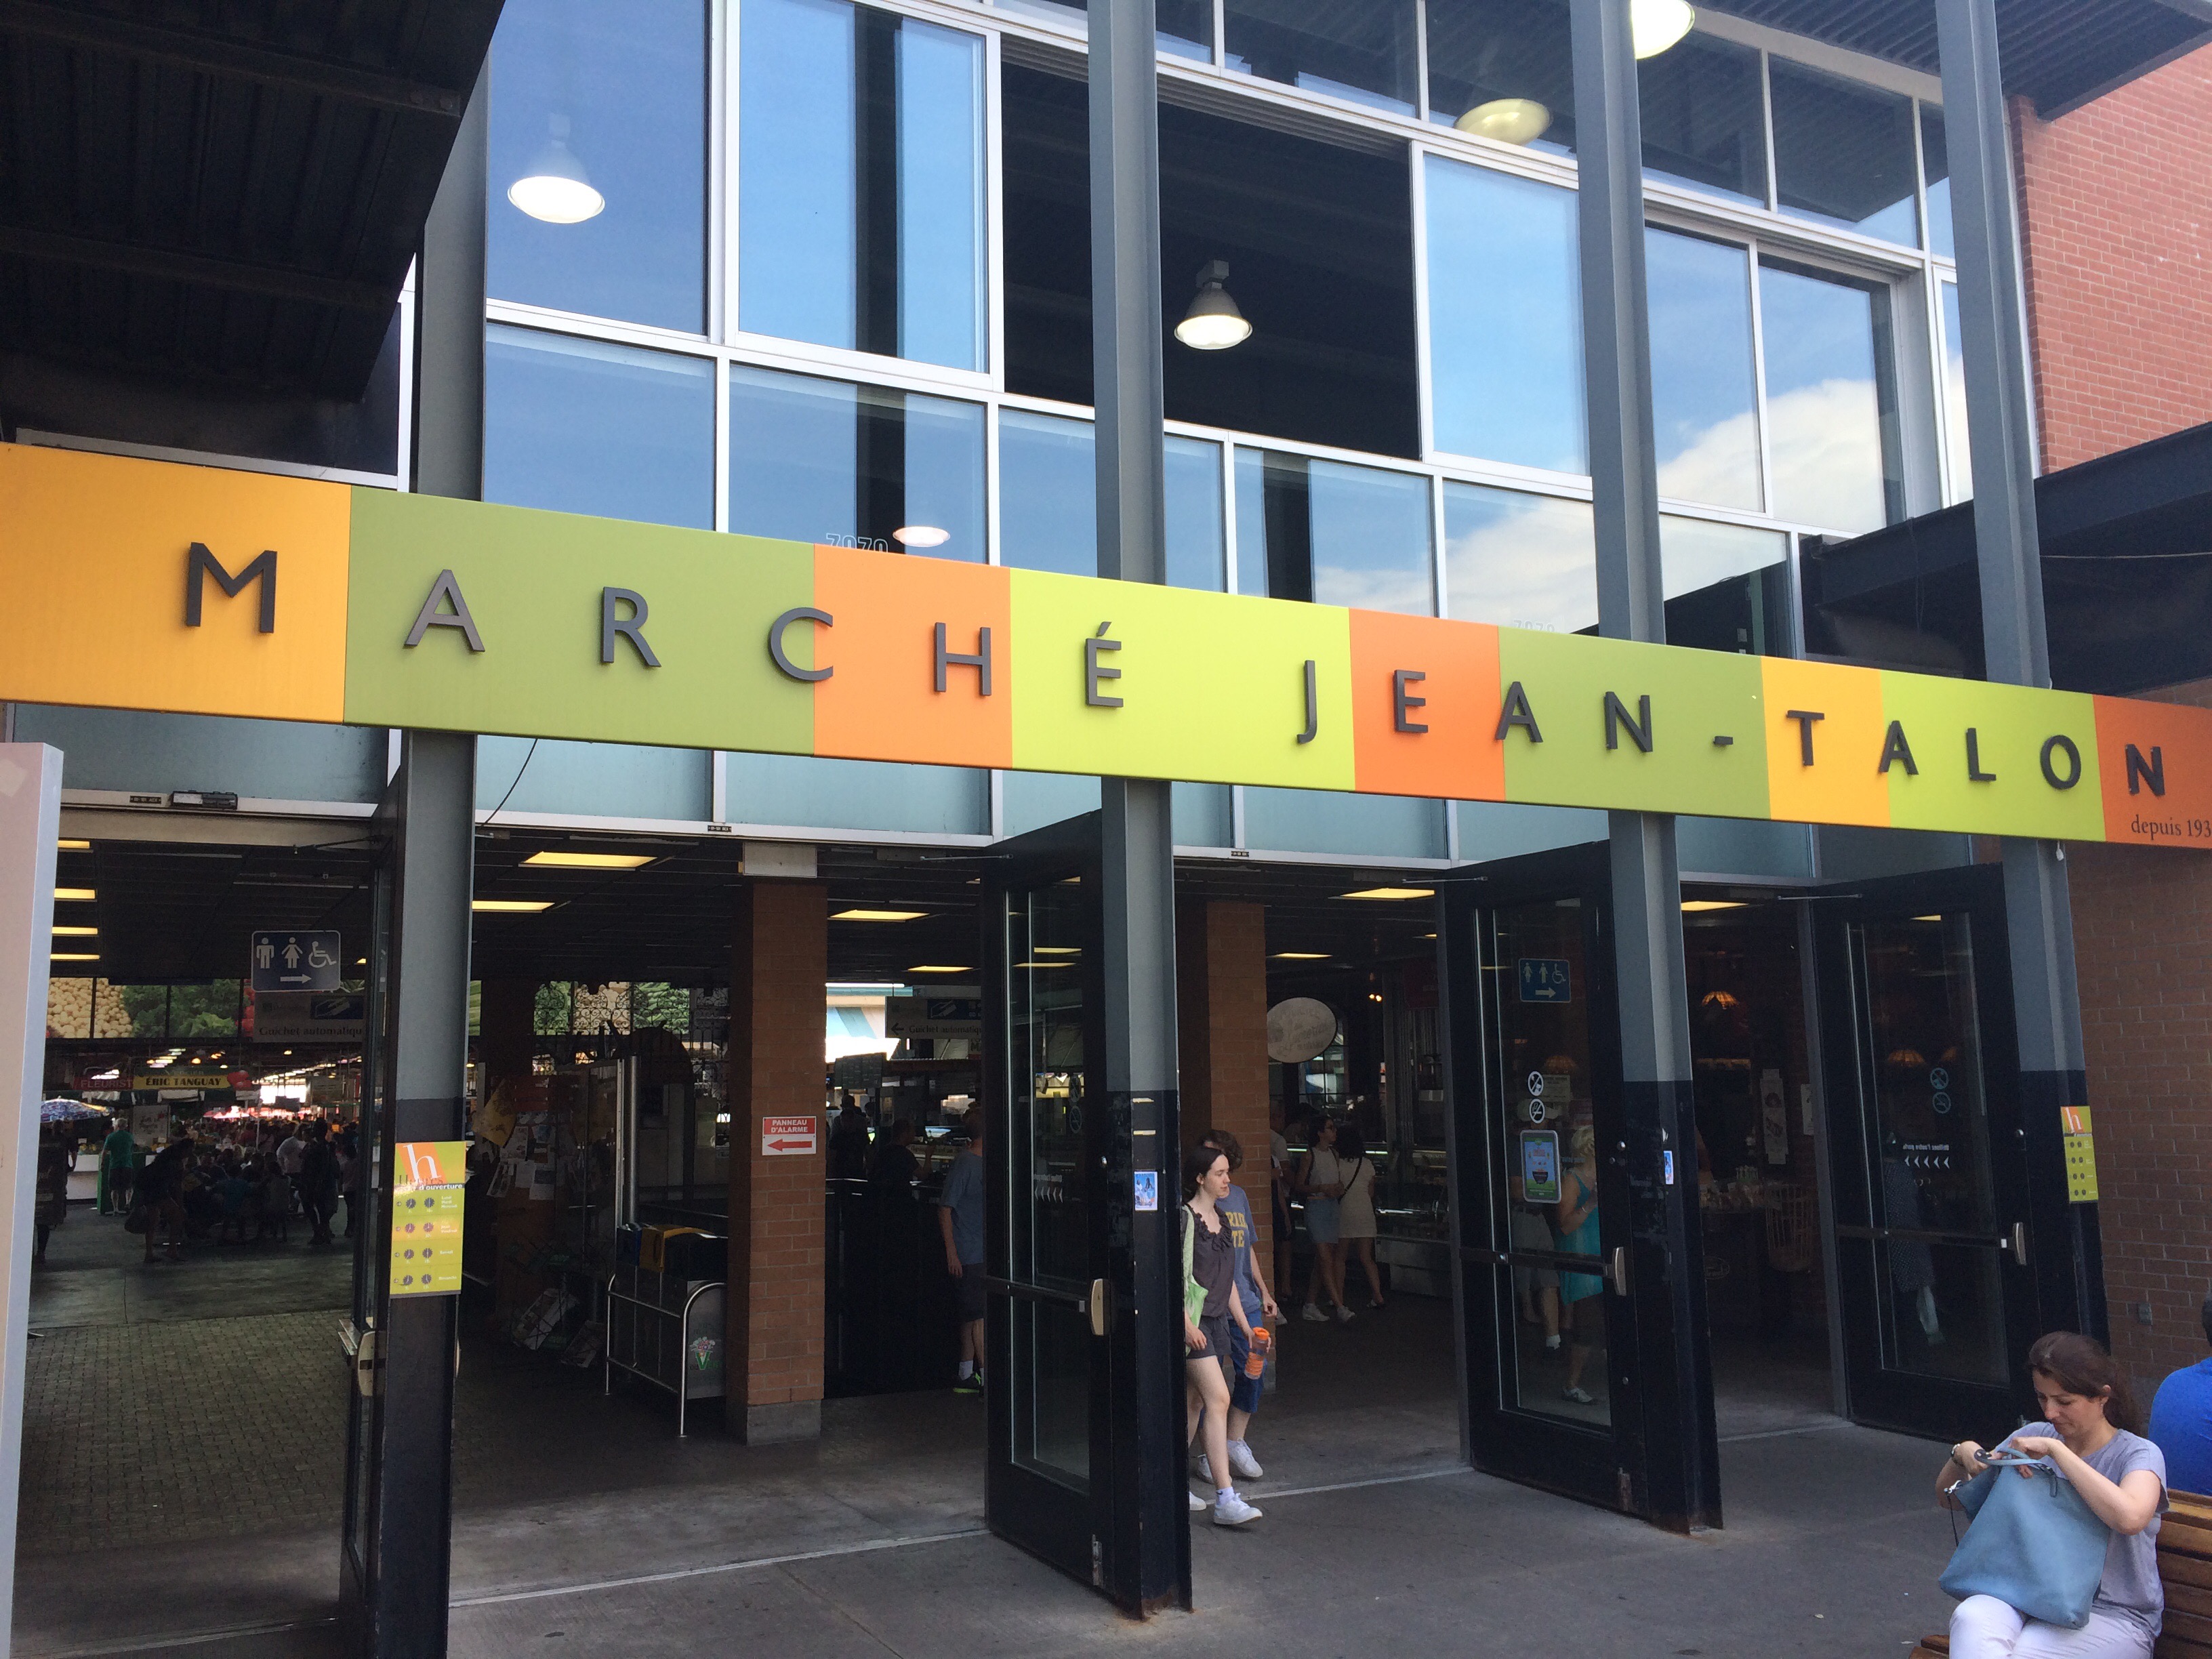
The Marche Jean-Talon has been in operation since 1933 and is one of the largest public markets in North America. The fresh produce is incredible and they are open all year.


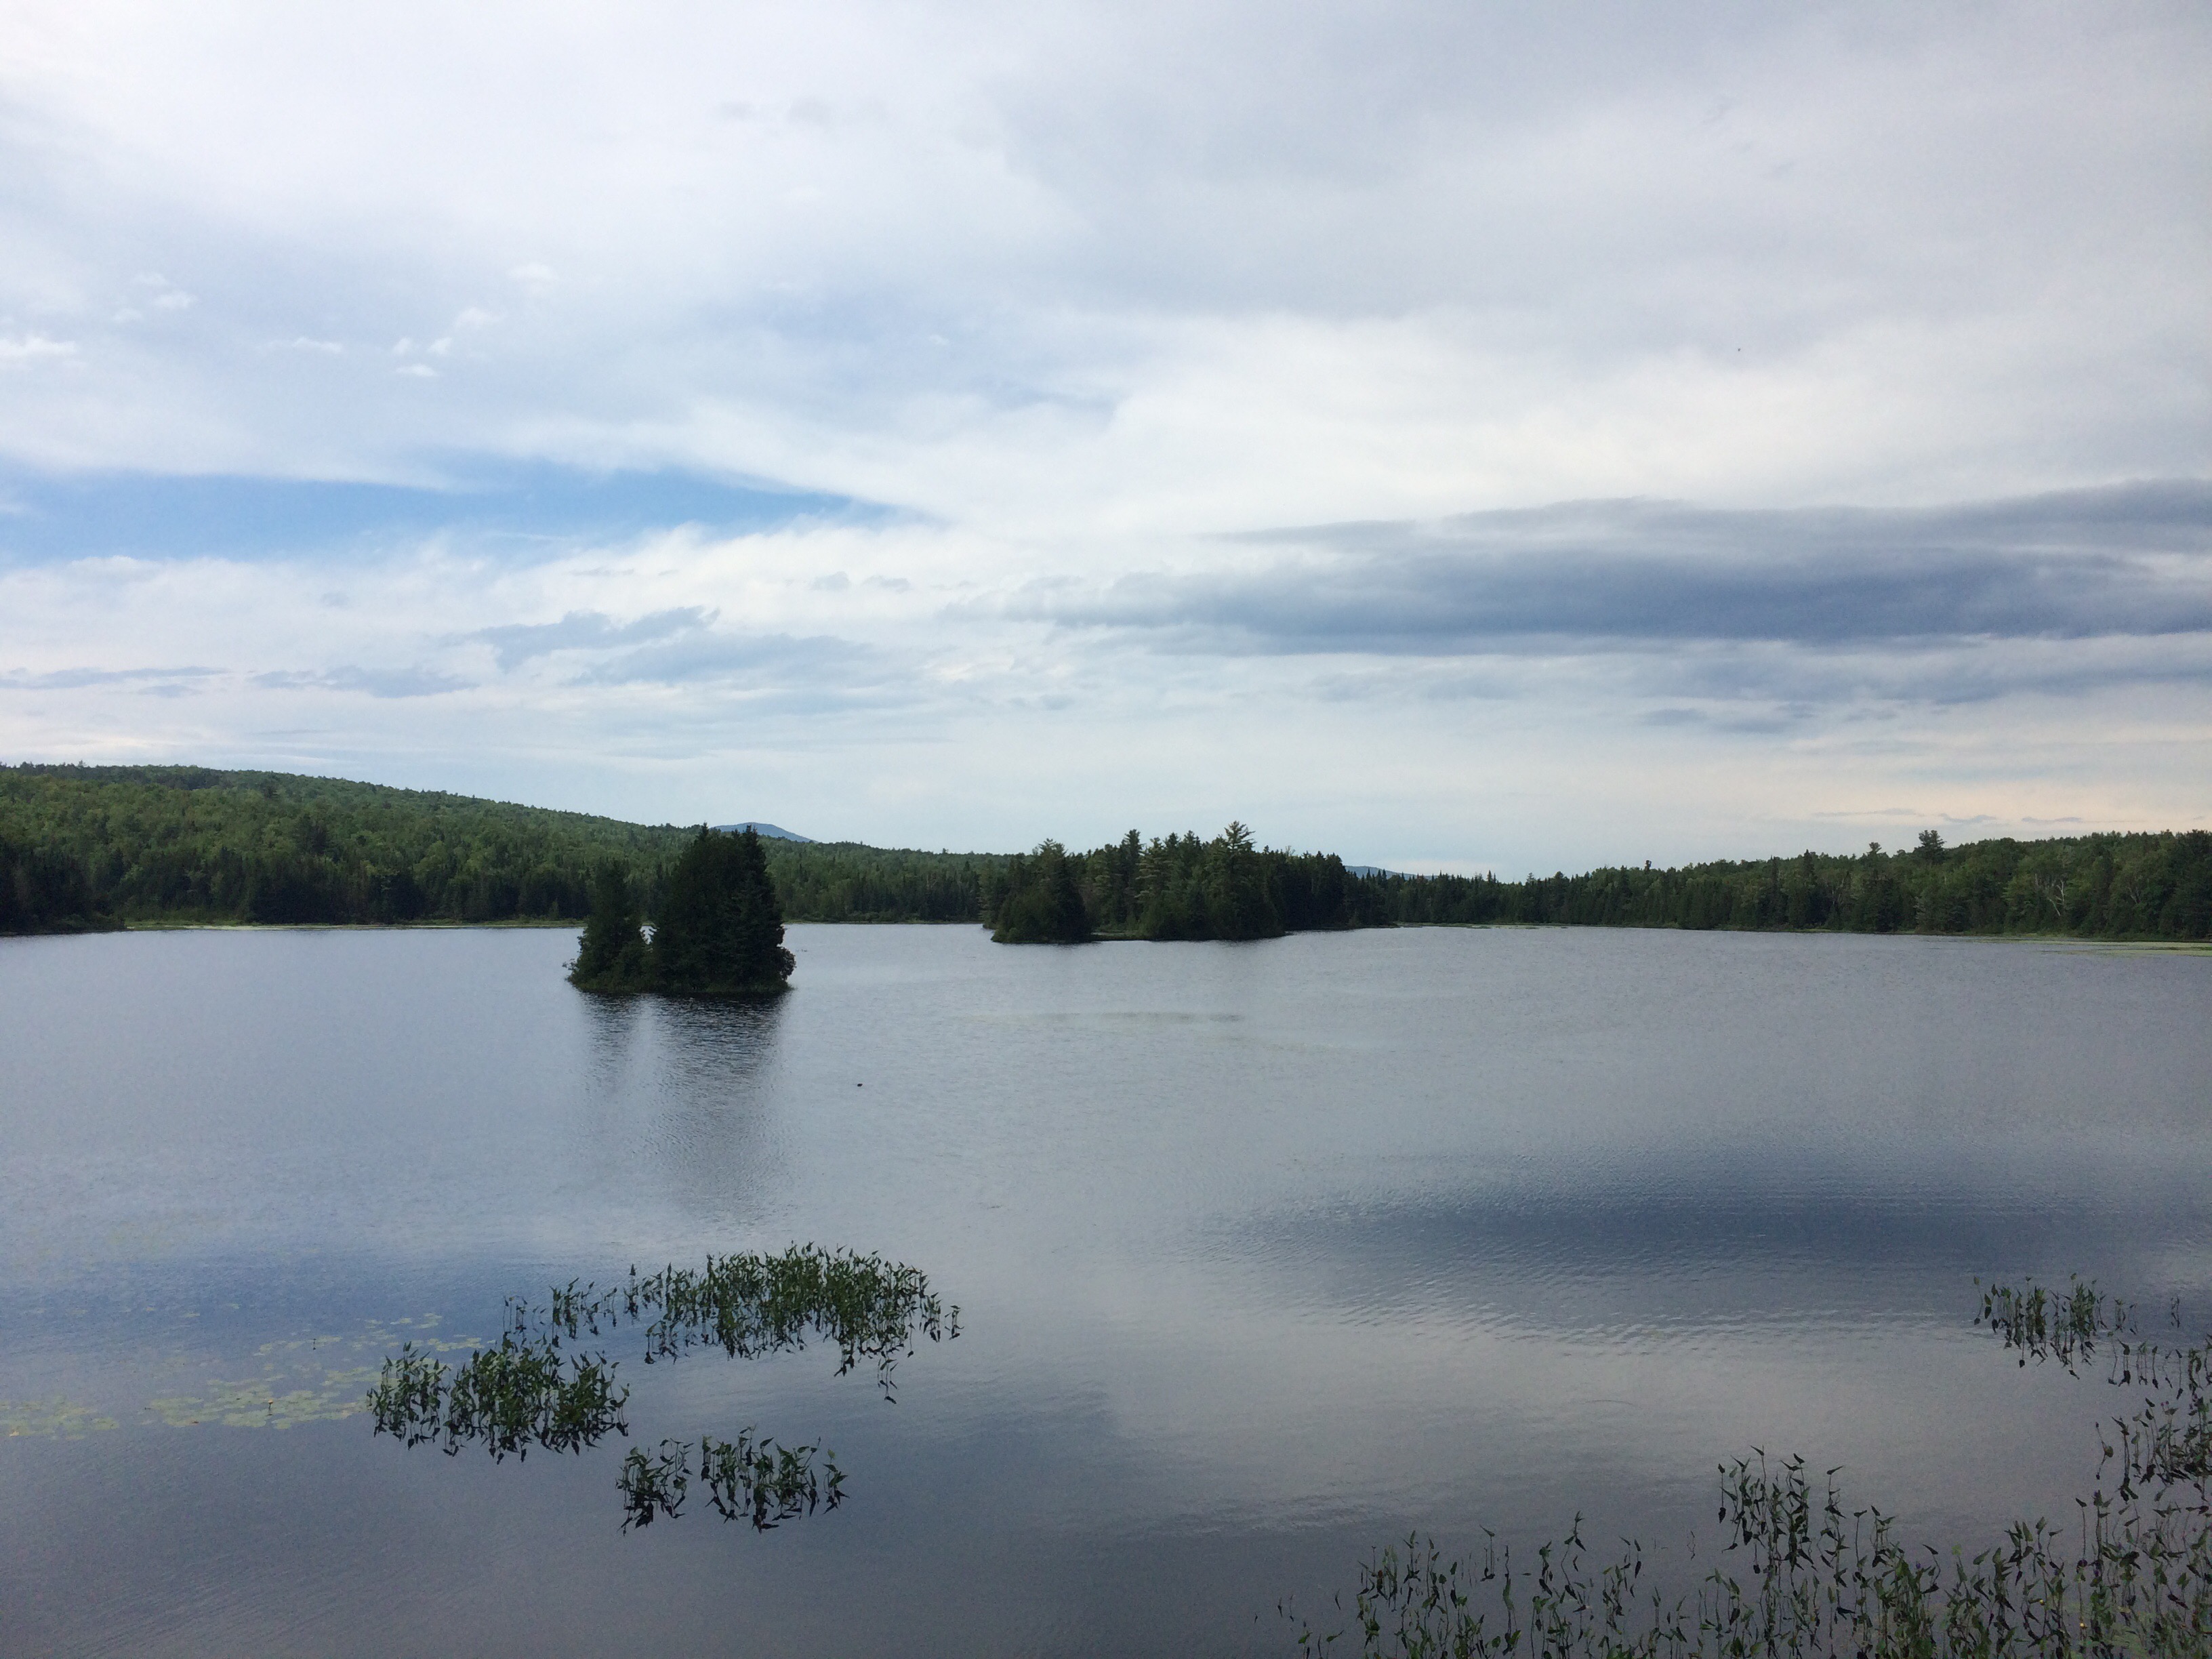
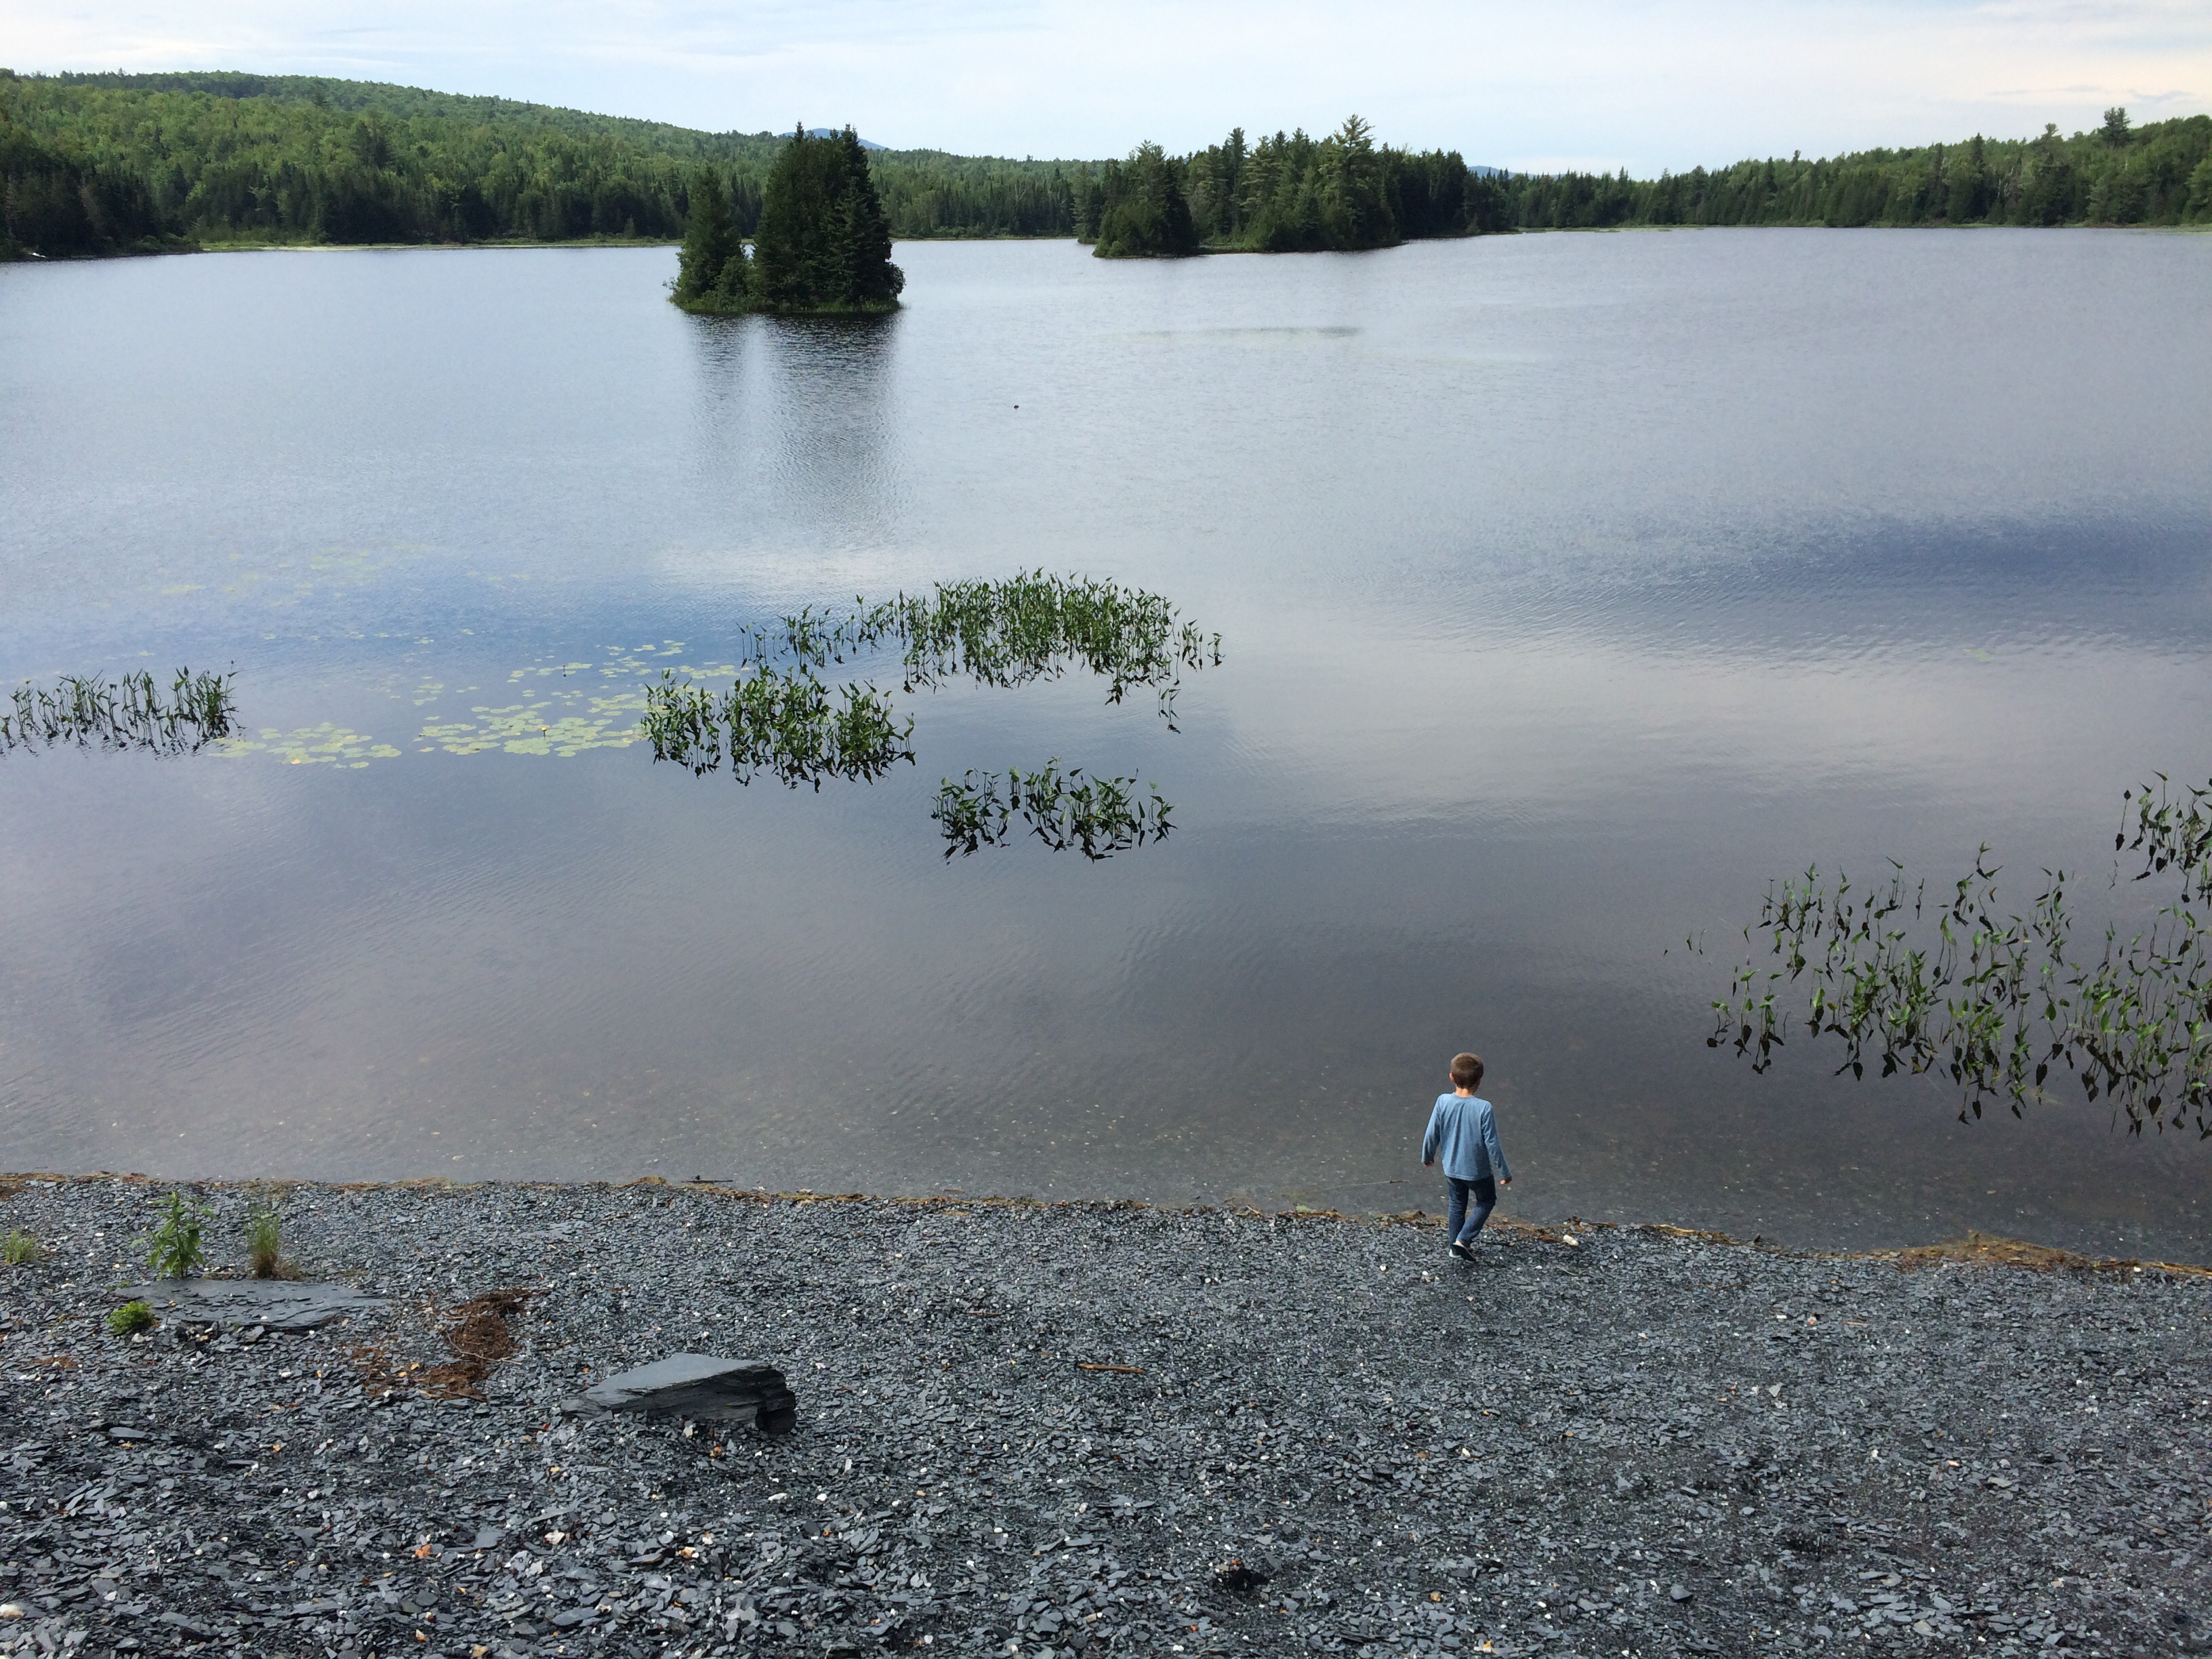
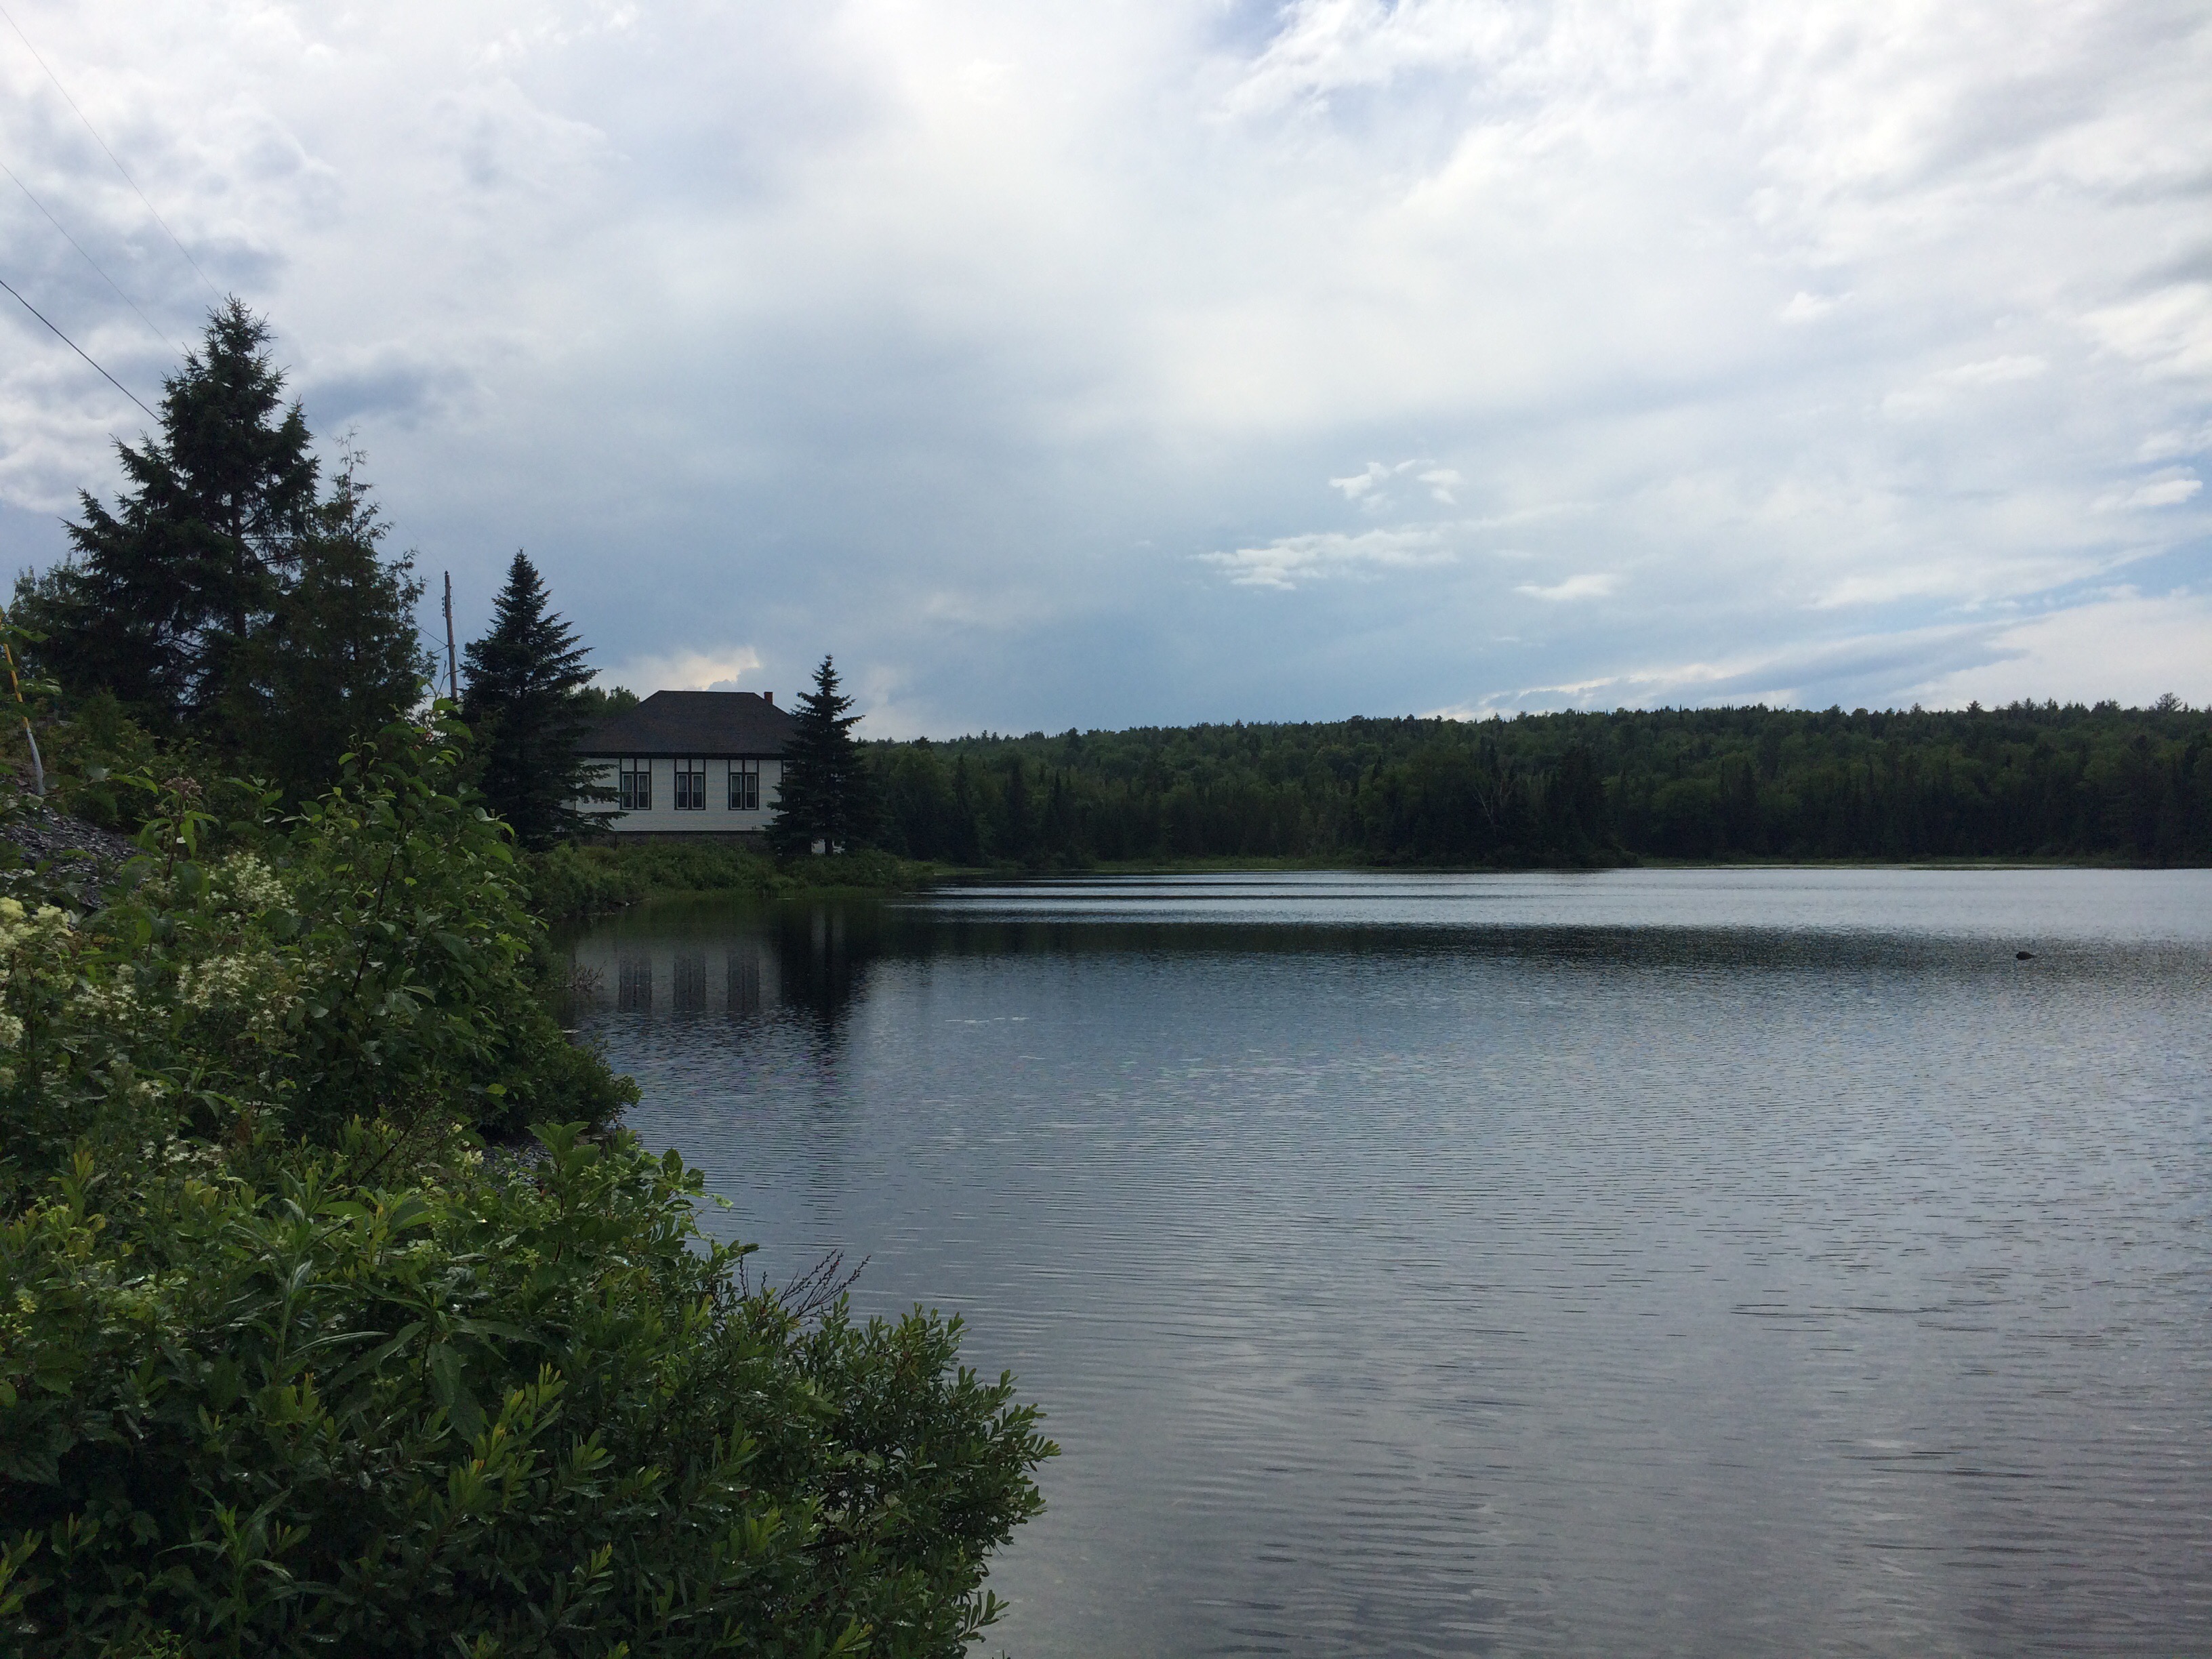
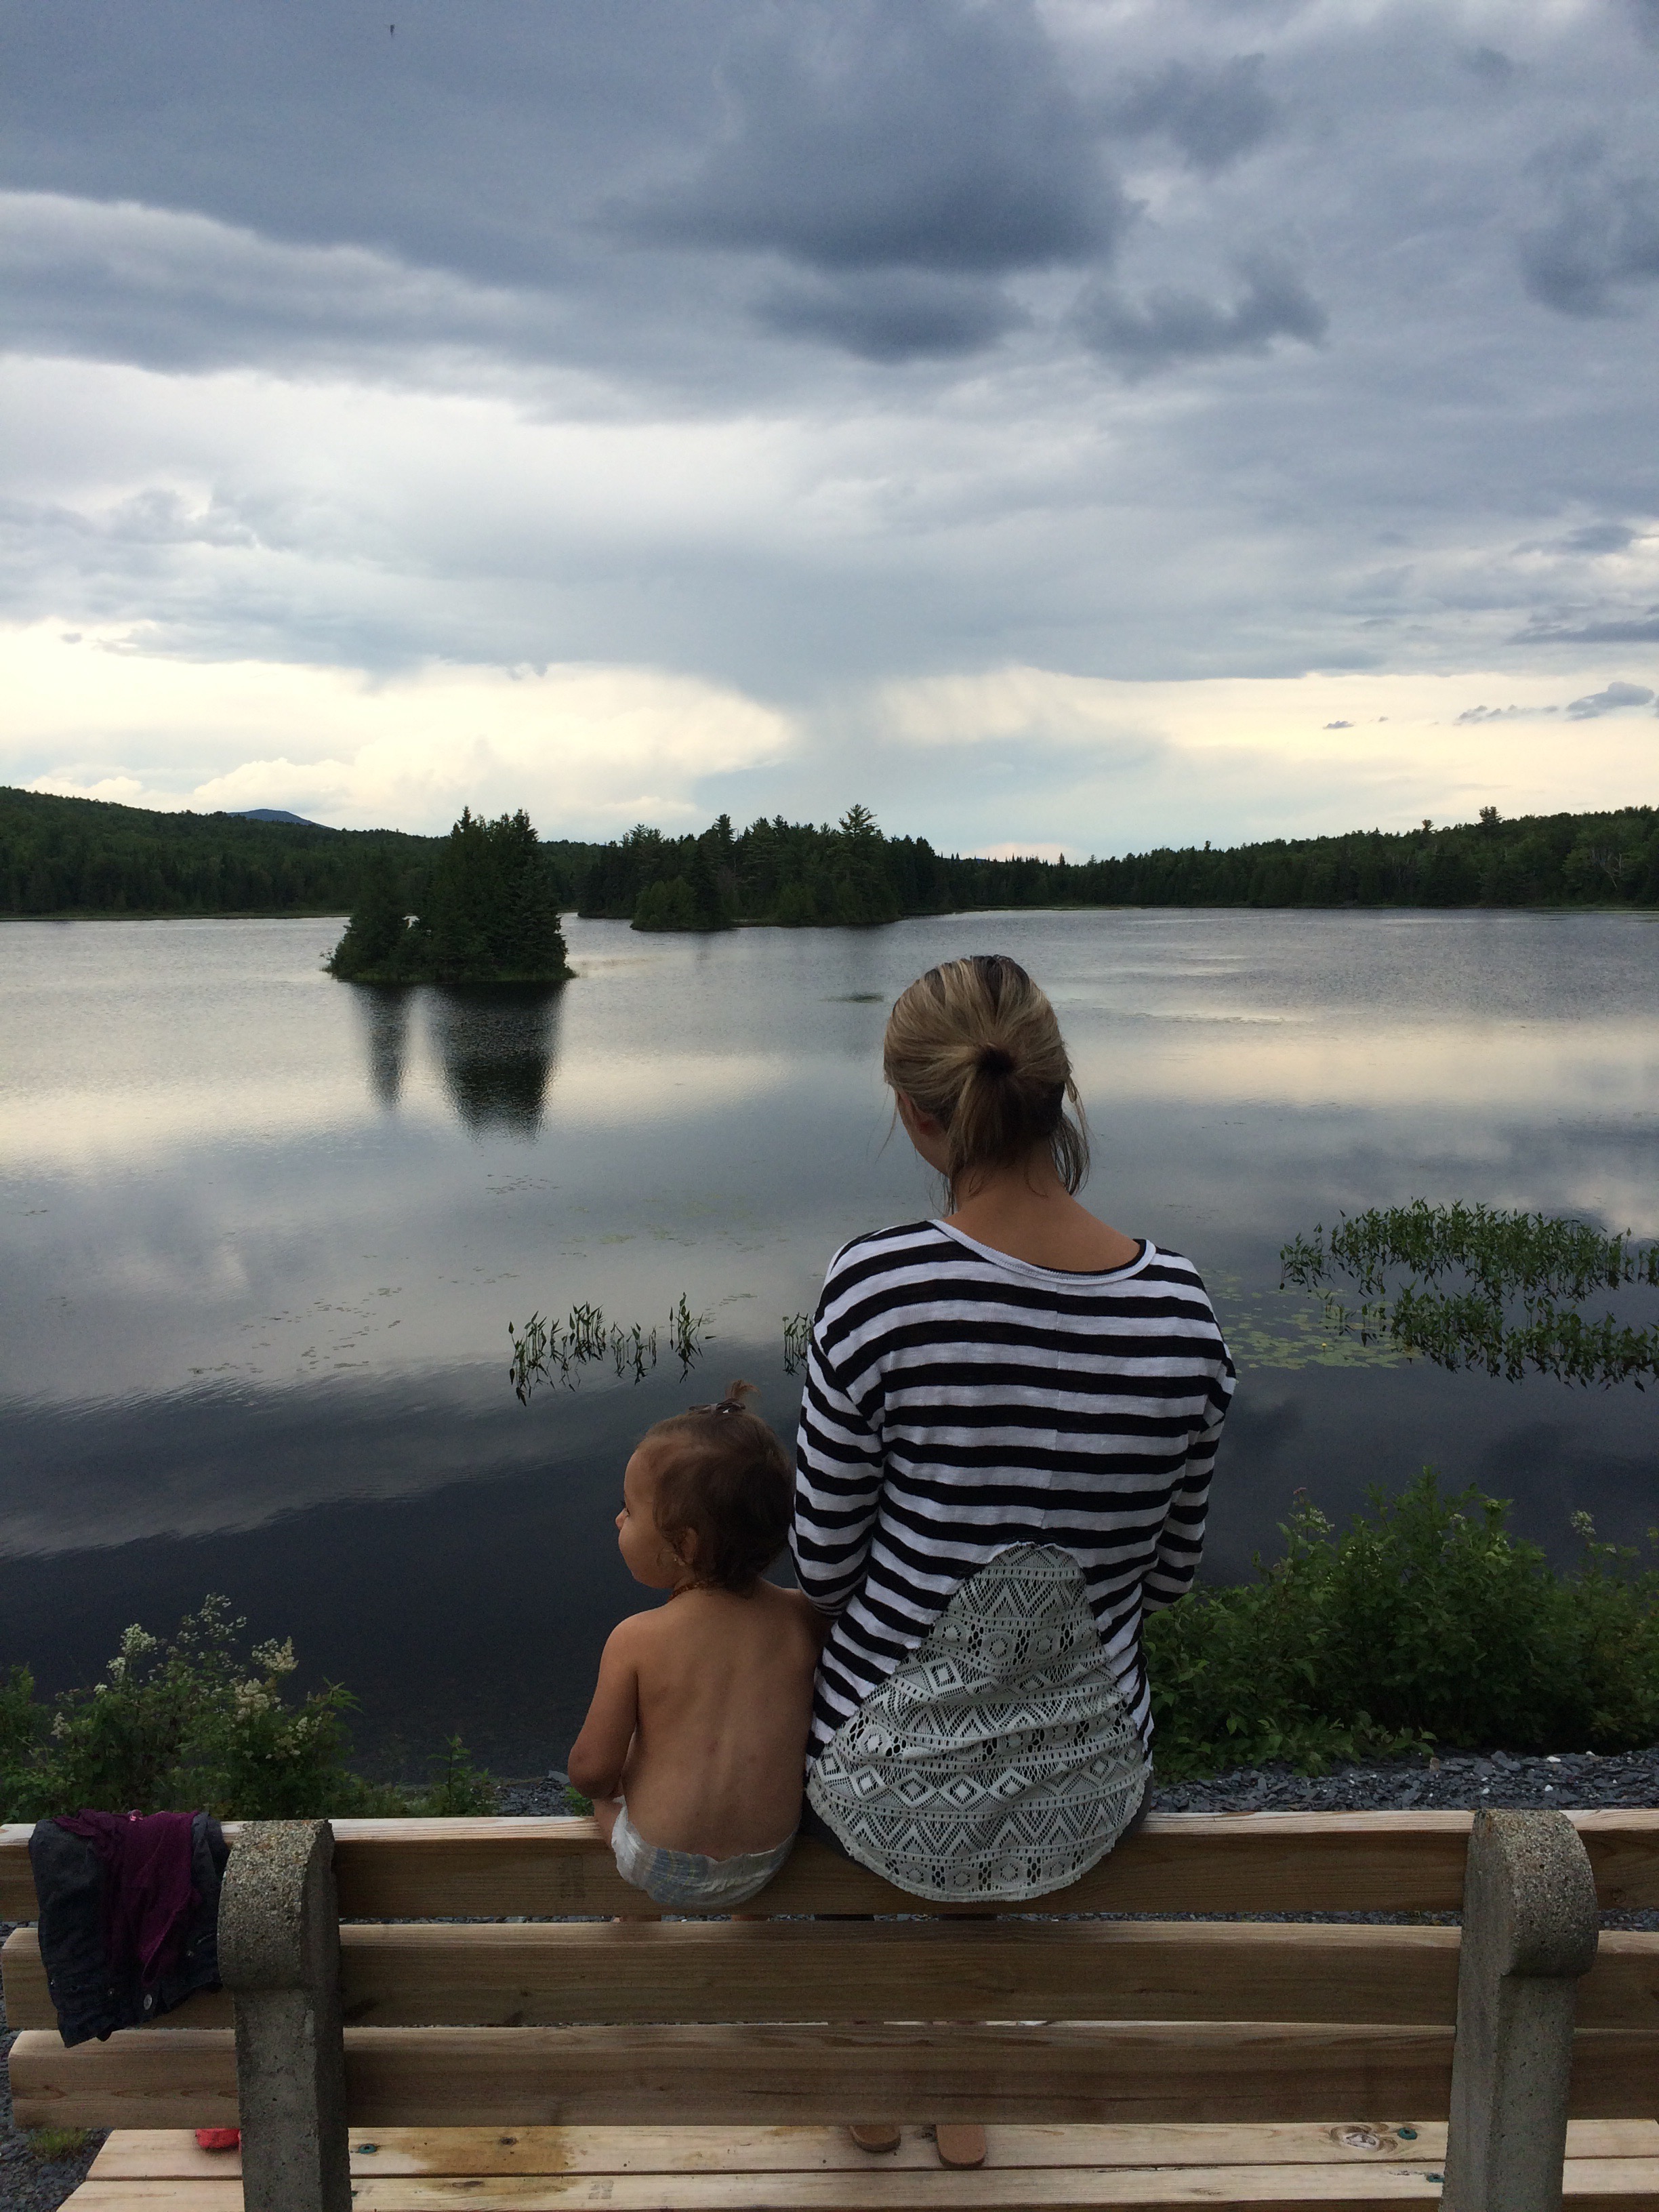
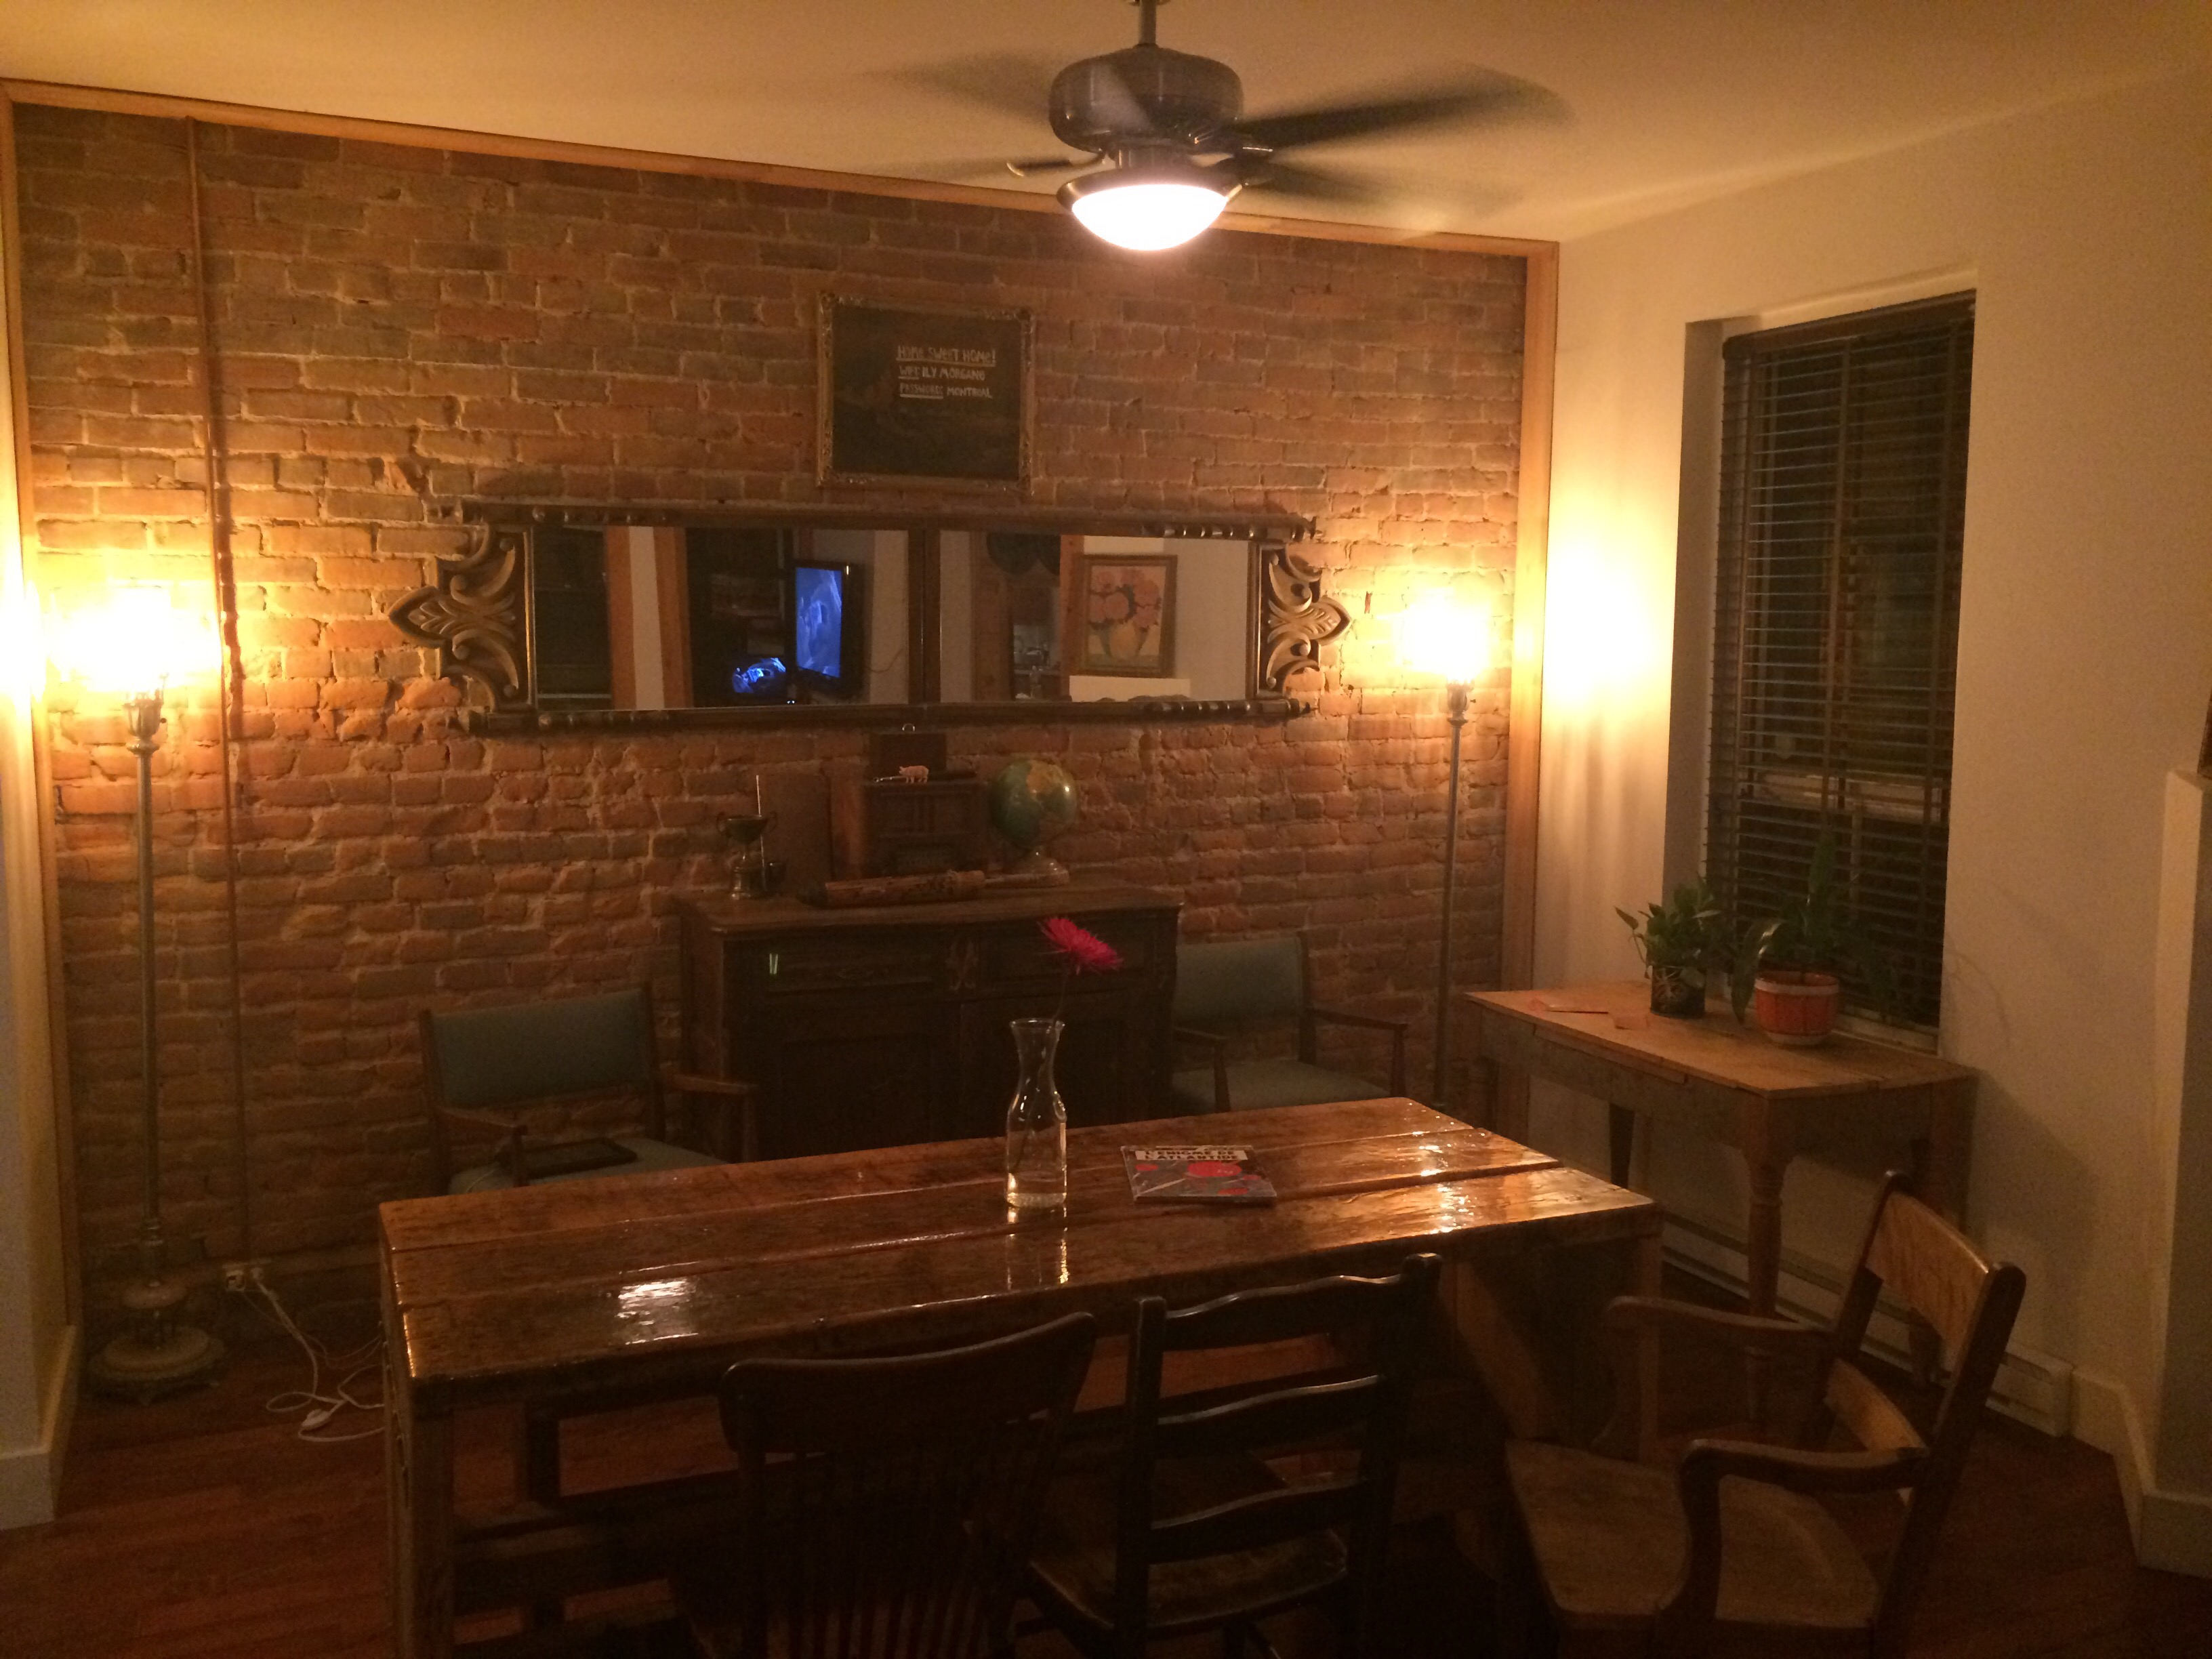
After a long day of touring the city, we looked forward to returning to our apartment and having a relaxing evening.


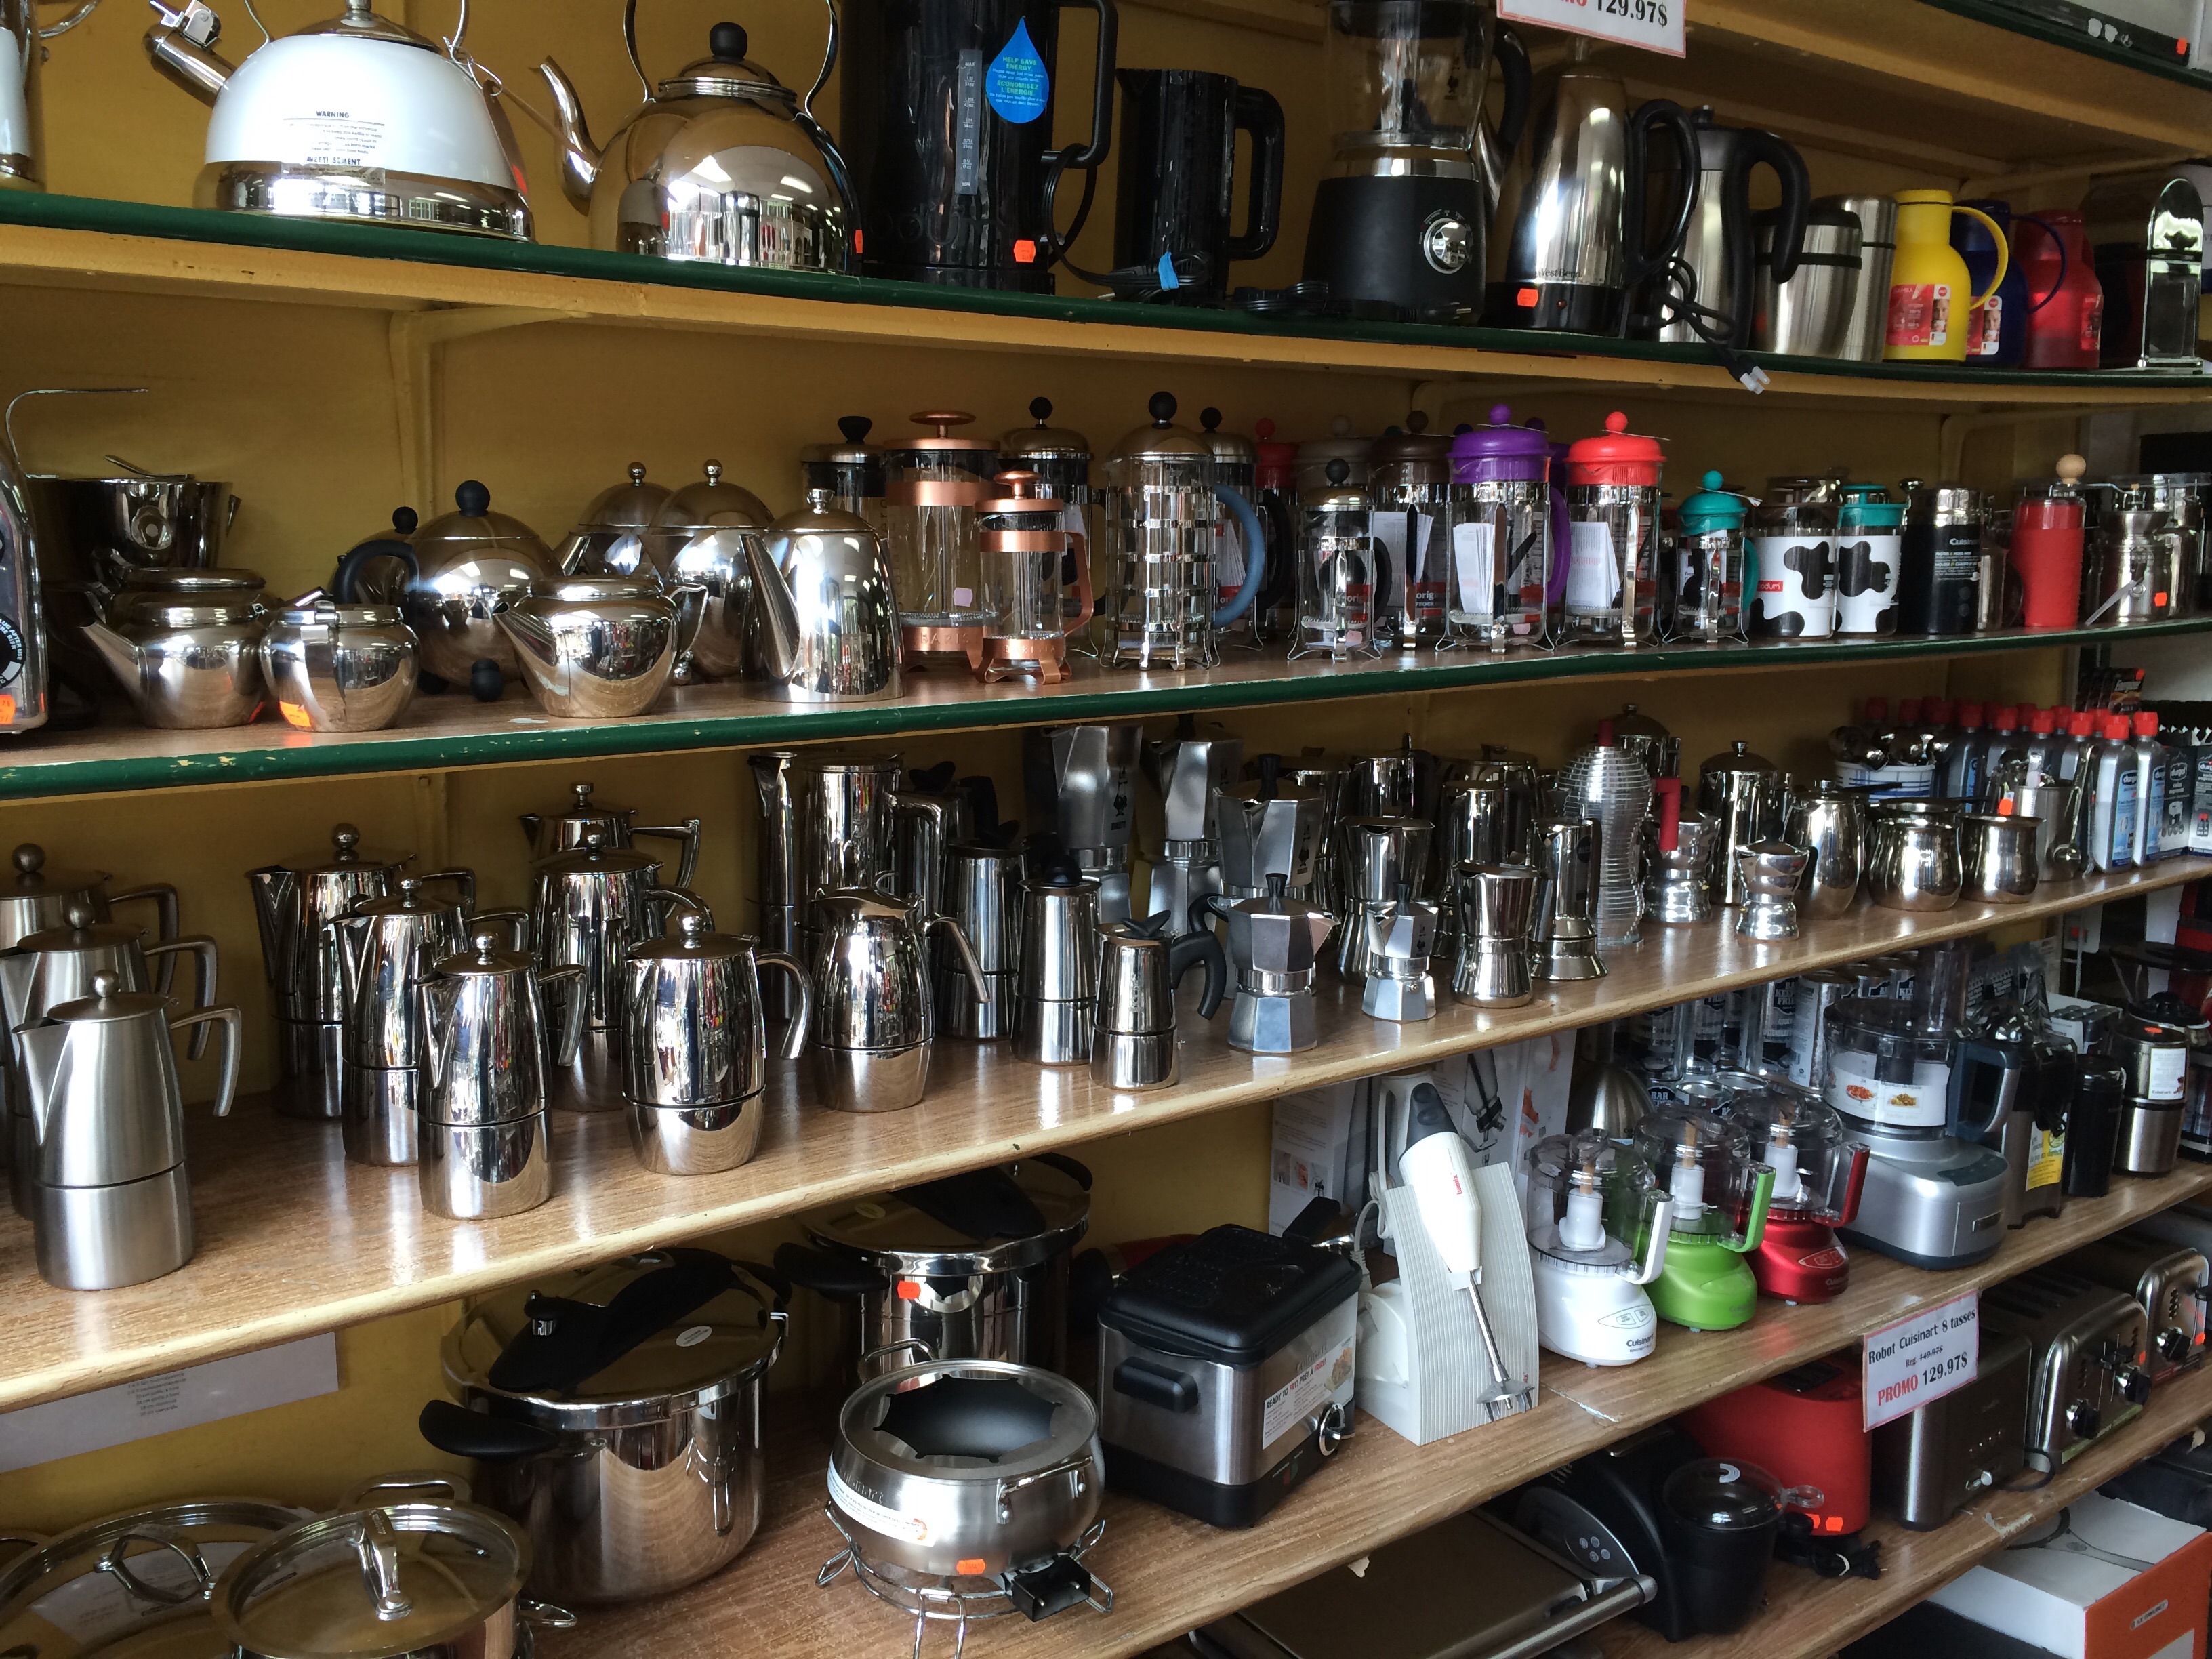
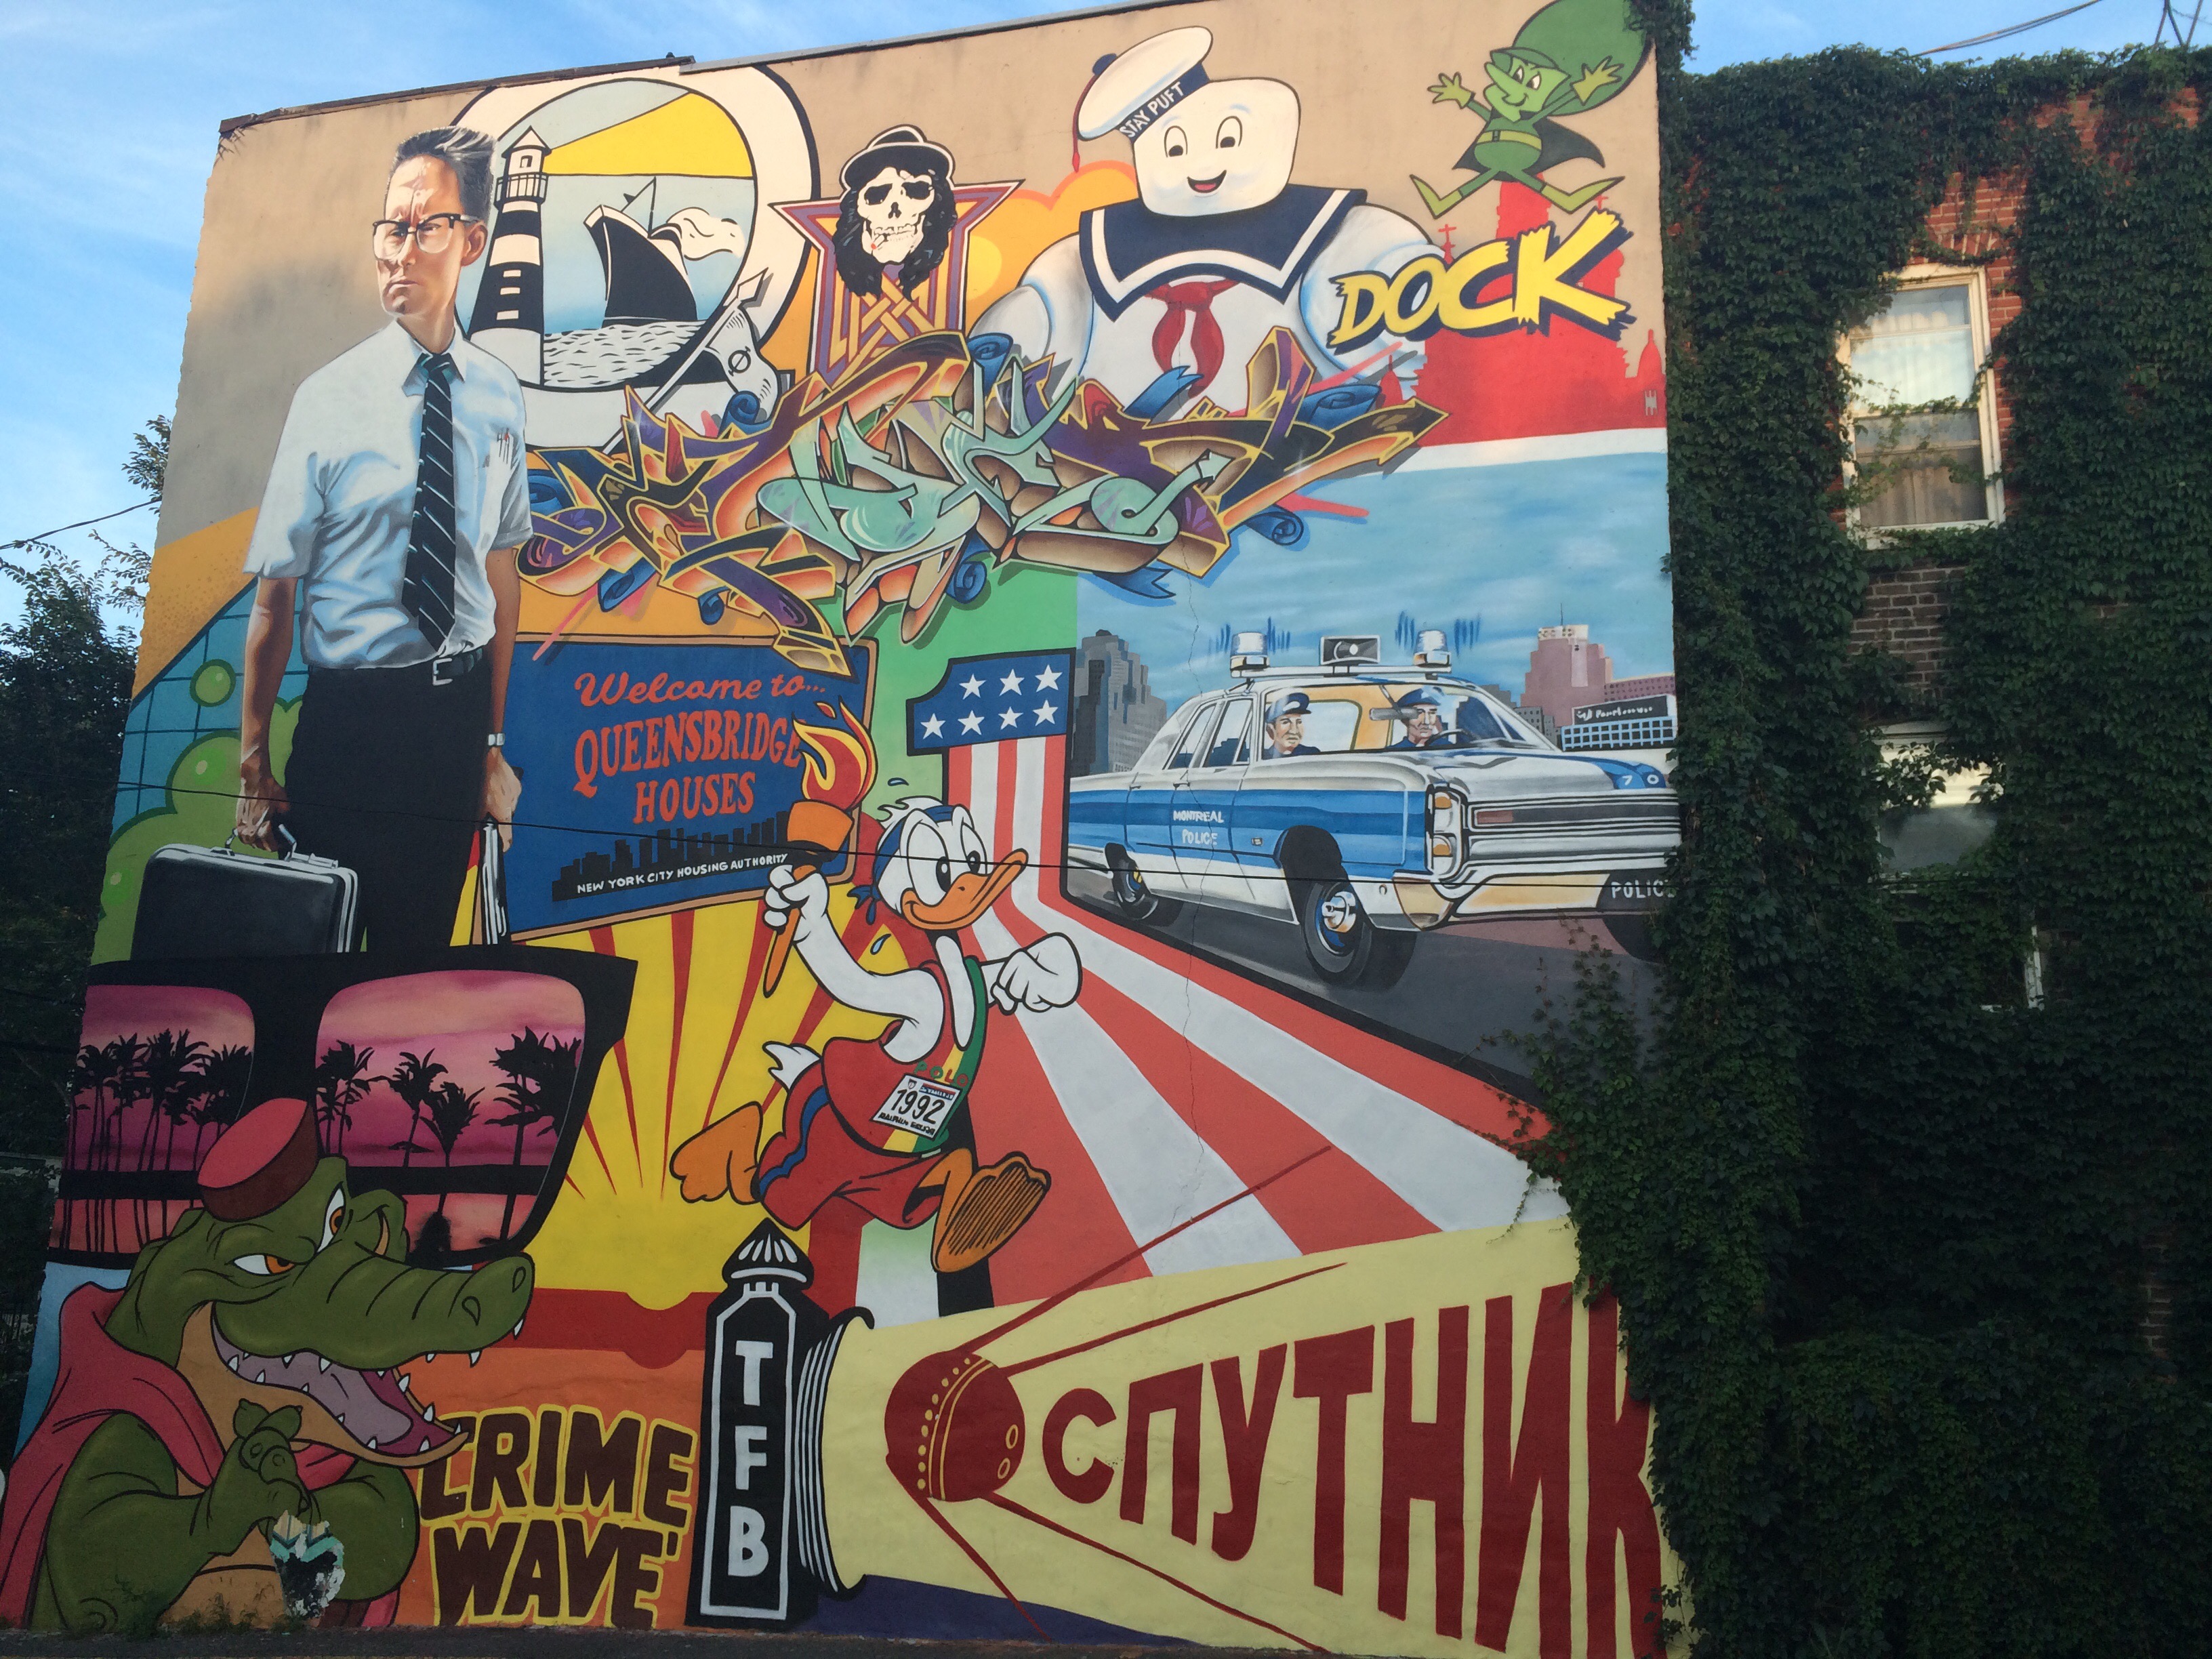
There was plenty to see and do walking around our neighborhood in Mont Royal. There were shops and restaurants and art everywhere we went. We all wanted to stay here forever!


We will all miss Montreal and the wonderful friends we have made here. I can’t wait until next year so we can visit again!

Advertisement

Salted Caramel Creme Brulee

creme brulee
Salted caramel and creme brulee are two of my absolute favorite things. They come together in this recipe to make one spectacular dessert.

Salted Caramel Creme Brulee

Ingredients:

4 Tbsp (1/2 stick) Unsalted Butter

3/4 Cup Packed Light Brown Sugar

1 3/4 Cups Heavy Cream

3/4 Cup Whole Milk

1/2 tsp Kosher Salt

1/2 tsp Vanilla Extract

6 Large Egg Yolks

Hot Water

Sugar

Directions:

Melt butter in a pot over medium heat. Add brown sugar and stir constantly until you smell a nutty aroma, about 5 minutes.


Add heavy cream gradually while whisking and bring to a simmer. Add milk and kosher salt and return to a simmer. Simmer for 5 minutes and then remove from heat and add vanilla extract.


Place egg yolks in a bowl and whisk vigorously. Slowly add cream mixture while whisking to temper the eggs into the warm cream. Pour mixture through a fine mesh strainer into a pitcher and set aside.


Preheat oven to 325 F. In a roasting pan, arrange six 6 ounce ramekins and fill with custard mixture. Carefully place pan in the oven and fill with hot water until it comes halfway up the sides of the ramekins.


Close oven door and bake 40-45 minutes or until custard is almost set. It should have a slight jiggle but not be completely set when removed from the over. Remove pan from oven carefully so the hot water does not splash on you or into the ramekins and place on a level surface. Remove ramekins from pan and place on a towel to dry.


When cool, either cover with plastic wrap and refrigerate until ready to use or top with sugar, melt with a torch and serve immediately. Enjoy!

Day off at Shirley Pond


Just south of Greenville, Maine, before you get to Monson, is a tiny little town called Shirley. It is so small that if you blinked, you might miss it. You won’t find a lot of things in Shirley. There are no traffic lights, no big box stores, no banks and no congestion. What you might find, if you look closely, is a spectacular view and the best frog hunting this side of Moosehead Lake. I was fortunate enough to spend an afternoon enjoying the hidden gem known as Shirley Pond with my family recently and I am happy to share it with you.


Just off the side of the road is a steep bank of chipped slate. If you are brave enough to venture down to the pond, brave enough to venture into the pond, a myriad of natural wonders await you.


For my four year old son, it is a wonderland. For my fourteen month old daughter it is a delightful play space full of surprises. For my wife and I, the view is incredible and the serenity a welcome respite from every day stress and worries.


We were all transported by the childlike joy of hunting and catching frogs in the pond. Everybody splashed and dove to try and capture the quick swimmers and log hoppers before they disappeared beneath the surface only to reappear just out of reach.


Just up the road from the pond is another magnificent view. If you stand in the middle of the bridge and look south, you will be treated to a vision of pure Maine beauty. Water, rocks and trees meet the sky and clouds in perfect harmony.


Shirley, Maine might not have many of the things I am used to but the more time I spend there, the more I realize is that it’s value is in changing my expectations and reminding me of what is truly important. Time spent with people we care about in this beautiful world we all share is by far our most valuable resource and one we too easily forget about. Sometimes it takes a place like Shirley, Maine to remind us that what we really need is less, not more.

Grilled Brie with Apple Apricot Chutney

grilled brie appetizer
A few nights ago, I made this chutney on a whim. It was so easy to make and such a big hit. I served it with a small wheel of Brie  that I quickly marked on the grill and grilled toast points. Everybody loved the soft melty cheese with the sweet and savory chutney. The best part was I made the chutney way ahead of time and quickly grilled the rest when I was ready to serve.


Apple Apricot Chutney

Ingredients:

1Tbsp Vegetable Oil

1 Tbsp Butter

1 Granny Smith Apple, diced small

1/2 Cup Dried Apricots, diced small

1/2 Cup Golden Raisins

1-2 Tbsp Sugar

Pinch of Salt

1/4 Cup Apple Juice

1 Tbsp Apple Cider Vinegar

Directions:

Heat pan on high and add oil, then butter. When butter is melted, add the apple and sauté for one minute. Add apricots, raisins, sugar and salt and lower heat to medium. Cook until sugar melts and caramelizes, about 3-5 minutes.

Add apple juice and cider vinegar and simmer a few more minutes until saucy. Taste and adjust seasoning if necessary. Cool to room temperature and serve with cheese and grilled bread or crackers.

Waterfalls and Rainbows, St. Anne Canyon

Chutes Sainte-AnneAfter an eventful day in Quebec City, we headed East toward the mountains of Sainte-Anne-de-Beaupre. We all slept well at a ski lodge at the foot of the mountains. The next day, we awoke to the sun shining in our windows, a welcome sight after the clouds and rain of the previous few days. After enjoying a delicious breakfast at a local cafe, we decided to check out a park I read about on the Internet, Canyon-Sainte-Anne.


The canyon is home to a beautiful 74 meter waterfall. As you enter the park, the path guides you through a series of lookouts and bridges with spectacular views.


For the more adventurous, there is guided mountain climbing and a zip line that extends all the way across the canyon!


The park starts at the very top of the waterfall. The first thing you notice as you walk onto the bridge is the sound. The rushing water is so loud that you almost have to yell to hear each other. 


There is a fine mist in the air everywhere you go that cools you down and produces beautiful rainbows at each turn.


At times, it looks like rainbows are shooting out of the waterfall, adding a magical element to an already majestic view.


As you walk through the park, the path takes you progressively further from the falls. Each bridge you walk over provides you with an even more expanded view so you gradually see more and more of this beautiful canyon.


The whole family had an amazing experience at St. Anne Canyon. My wife and I loved being in the forest and seeing the beautiful waterfalls. My son enjoyed running across the bridges and climbing on the rocks. We all appreciated the ease of the hike, the friendly and informative staff and the many on-site accommodations.


After the hike, we enjoyed a picnic lunch while the kids played at the playground near the entrance. We were all happy that we decided to get out of the city and go on a new adventure together.

Day off in Quebec City


It was shaping up to be a cloudy, rainy, stuck in the house sort of weekend. We had planned a long hike to view several waterfalls in the Moosehead Lake region but my enthusiasm was waning as the rainfall increased. It was my wife who came to the rescue with four simple words. “Let’s go to Quebec,” she casually said. To me it was like a ray of sunshine had burst through the clouds. We had two whole days and it was only a few hours away. We got up early, Made sure we had our passports and the kids birth certificates and headed north.


We crossed the Canadian border just north of Jackman, Maine and made it to the heart of old Quebec in just a few hours. 


It is always a pleasure to stroll along the boardwalk adjacent to le Chateau Frontenac. There are tourists from all over the world snapping pictures, looking at sculptures, climbing on the cannons and enjoying the street performers you find all over the city.


After giving all the cannons a full inspection, we headed off down Rue du Tresor to enjoy the rest of this beautiful, historic city.


Everywhere you go there is art and culture as well as history and beautiful architecture.


One of our favorite ways to see the city is to walk atop the wall that surrounds the oldest part of town. The views are amazing and it is a good way to see a lot in a short amount of time.


There is so much to do that we have never needed an itinerary to have a great time. Every time we visit, we eventually stumble upon something amazing going on. Wonderful surprises are waiting around every corner. Shortly after we stopped for a break near the Cathedral-Basilica of Notre-Dame de Québec, a delightful circus performance began right in front us! My son loved the slapstick humor and laughed incessantly as Monsieur Rene rode his unicycle, juggled and joked with the audience. It was a perfect way to finish a great day in Quebec.


Afterward, we stopped at a small cafe for sandwiches and poutine before heading back to the car. As we left the city and headed toward the mountains of St. Anne de Beaupre, I saw the first few drops of rain on my windshield. I enjoyed the magnificent view of the St. Lawrence River as the rhythm of the road rocked the children to sleep.

Fresh Pasta

Many people make a big deal out of fresh pasta, and rightly so. It is almost magical how with just flour and eggs and a simple sauce you can make an absolutely delicious meal that will impress everyone. For a long time, I was hesitant to even try making my own. The process seemed shrouded in mystery, needing special equipment and ingredients or an Italian grandmother to show you the ropes. I’m here to tell you that you don’t need any of that! Making pasta is easy and fun, especially if you have company or kids willing to roll their sleeves up and join in!

fresh pasta
Before we get into the recipe, here are a few pro tips. Pasta making is done in two stages: making the dough and shaping the dough. You can make the dough up to a whole day ahead of time so it is ready to pull out at a dinner party or before dinner to let your kids shape it like playdough. Also, once the pasta is finished, you can freeze it and pull it out whenever you want.  Just drop the frozen pasta in boiling water, give it a gentle stir, and you will have perfect, homemade pasta ready in about 3-4 minutes!


Fresh Pasta

Makes: about 6 servings

Ingredients:

1 Egg

6 Egg Yolks

1/2 Tbsp Milk

1/2 Tbsp Olive Oil

1/2 Pound (about 1 3/4 Cups) AP Flour

Directions:

Combine ingredients in a bowl and mix together with your hands. Knead a few times until the dough is almost completely combined. Shape into a ball, wrap in plastic and place in the refrigerator at least one hour and up to one day.


Remove the pasta from the refrigerator, and cut it into six equal wedges, just like cutting a pie.

Remove one wedge and cover the rest with a towel so they don’t dry out. If you have a fancy pasta rolling machine, by all means break it out now. If you don’t, like me, you can do it the way it has been done for centuries, with a rolling pin. Simply place your pasta on a lightly floured surface, dust the pasta and the pin with more flour and roll it out until you have a long, thin sheet.


Now all you have to do is cut it. Using a pizza wheel or a knife, cut long, thin (or thick) strips, or you can get creative! There is literally no end to the variations you can make in shape. To make ravioli, simply cut out circles and fold over a dot of filling in the center. You can use your leftover egg white to seal them shut. For pappardelle, make really wide noodles. Feeling lazy? Just square off the ends and you have sheets for lasagna!


Dust your noodles with more flour and gather them into a little bundles or nests. Place onto a floured baking sheet and repeat, repeat, repeat. When you have shaped all the pasta, you can freeze it for later use or cook it immediately and toss it in your favorite sauce (Remember, fresh pasta typically only needs 3-4 minutes in salted boiling water). Buon Appetito!

4th of July on Moosehead Lake and Flourless Chocolate Cake


Happy Independence Day from Fireislandchef! It is a beautiful day in Greenville, Maine and everybody is out celebrating the 4th of July. We got the kids up this morning and drove into town for the annual parade.


This is the first summer I have been able to go so I enjoyed it as much, maybe even more than the kids!


It seemed like the whole town showed up, decked out head to toe in red, white and blue!


There were classic cars, fire trucks, lots of local flavor and candy for the kids.


Everybody had a wonderful time celebrating the 4th of July. Parades like this are a reminder of what truly makes this country great. I love to see people coming together to celebrate our differences and the values that unite us all, freedom, liberty and the pursuit of happiness!


Independence Day wouldn’t be complete without a cookout and, of course, a patriotic dessert! Here is my recipe for individual flourless chocolate cakes with whipped cream, blueberries and strawberries.

This is a great dessert to make for a crowd because you can make it up to a week ahead of time and just garnish and serve when everybody is ready for dessert!


Flourless Chocolate Cake

Makes: 8 individual servings

Ingredients:

4 Eggs

½ Cup Sugar

1½ Sticks Butter

14 oz. Chocolate Chips

Directions:

Preheat oven to 325.

Whisk together eggs and sugar vigorously by hand or in a stand mixer until sugar completely dissolves.


Melt butter and then add chocolate. Melt the chocolate in the butter and stir until smooth.


Slowly pour the melted butter and chocolate (I used Ghiradelli semi-sweet chips but you can use whatever your favorite chocolate is. The better the chocolate, the better the cake!) into the eggs and sugar while whisking continuously. When completely combined, pour mixture into 8 six ounce ramekins.


Put ramekins in an oven safe pan. Place the pan in the oven and carefully pour enough hot water into the pan to come halfway up the sides of the ramekins.


Bake for 25 minutes or until mixture is just set but still jiggles. Remove from oven and carefully take ramekins out of the water bath. Allow to cool completely at room temperature. Cakes will keep in the refrigerator at least one week.


When ready to serve, top with whipped cream and berries (kids love to help with this) and enjoy!

Key Lime Pie

This week my sister and her family visited from Chicago. I wanted to do something special for their visit to Florida so I made everybody’s favorite, Key Lime Pie.


Key Lime Pie

Crust:

1 cup graham cracker crumbs

1/2 cup chopped pecans

1 Tbsp brown sugar

1 Tbsp granulated sugar

5 Tbsp butter, melted

Filling:

4 egg yolks

5 ounces key lime juice (Fresh squeezed Persian lime juice is also good)

1 can sweetened condensed milk

Directions:

Preheat an oven to 350 and combine first four ingredients for crust in a mixing bowl. Add melted butter and stir until mixture is like wet sand.


Press crust into pie dish until you have achieved a uniform thickness throughout. Bake crust in 350 oven for 10 minutes. Remove from oven and allow to cool while you make the filling.


Combine egg yolks and lime juice and whisk until smooth. Add sweetened condensed milk and whisk until completely incorporated.


Pour filling into pie crust and bake at 350 for 15-20 minutes or until filling is just set. Remove from oven and chill completely before serving.

Strawberry Rhubarb Crisps


Recently, a good friend of ours gave us the wonderful gift of several bags of strawberries. They apparently had too many and decided to freeze and give away the excess.

After seeing some beautiful red rhubarb stalks at my local grocery, I decided to update my mixed berry crumble recipe into a classic spring treat. These individual strawberry rhubarb crisps turned out amazing and were so easy to make. Topped with a scoop of vanilla ice cream, it is the perfect way to end a beautiful spring day.

Strawberry Rhubarb Crisps

Ingredients:

Filling:

20 ounces strawberries, halved

20 ounces rhubarb, sliced

3/4 cup sugar

2 Tbsp corn starch

Topping:

1 1/2 cup all-purpose flour

1 1/2 cup old-fashioned oats

1/2 cup granulated sugar

1/2 cup brown sugar

1/4 tsp kosher salt

1 cup butter, melted (2 sticks)

Directions:

Preheat oven to 350 F and line a baking sheet with aluminum foil or parchment paper (for easy clean-up). Arrange 8 ramekins or individual oven-safe dishes on the baking sheet and set aside (alternately, you can use a large baking dish if you don’t have individuals).


Combine all ingredients for the filling in a large bowl and stir to combine. I used frozen strawberries but fresh would be great too.

In another bowl, combine the first five ingredients for the topping and mix briefly. Melt the butter and pour into the dry ingredients. Using the tips of your fingers, mix in the melted butter until just combined. You should have some big clumps and small crumbles.


Spoon filling into each dish until it is 3/4 full.


Liberally top with the crisp mixture. You should have a little mound above the rim of the dish. It will settle some while cooking.

Place in the oven and cook for about 35 minutes or until golden brown and bubbly.


Allow to cool at least five minutes.


Top with vanilla ice cream and enjoy!