Highlight Reel
It has been an awesome summer on Moosehead Lake. Here are some highlights of our summer in Maine.


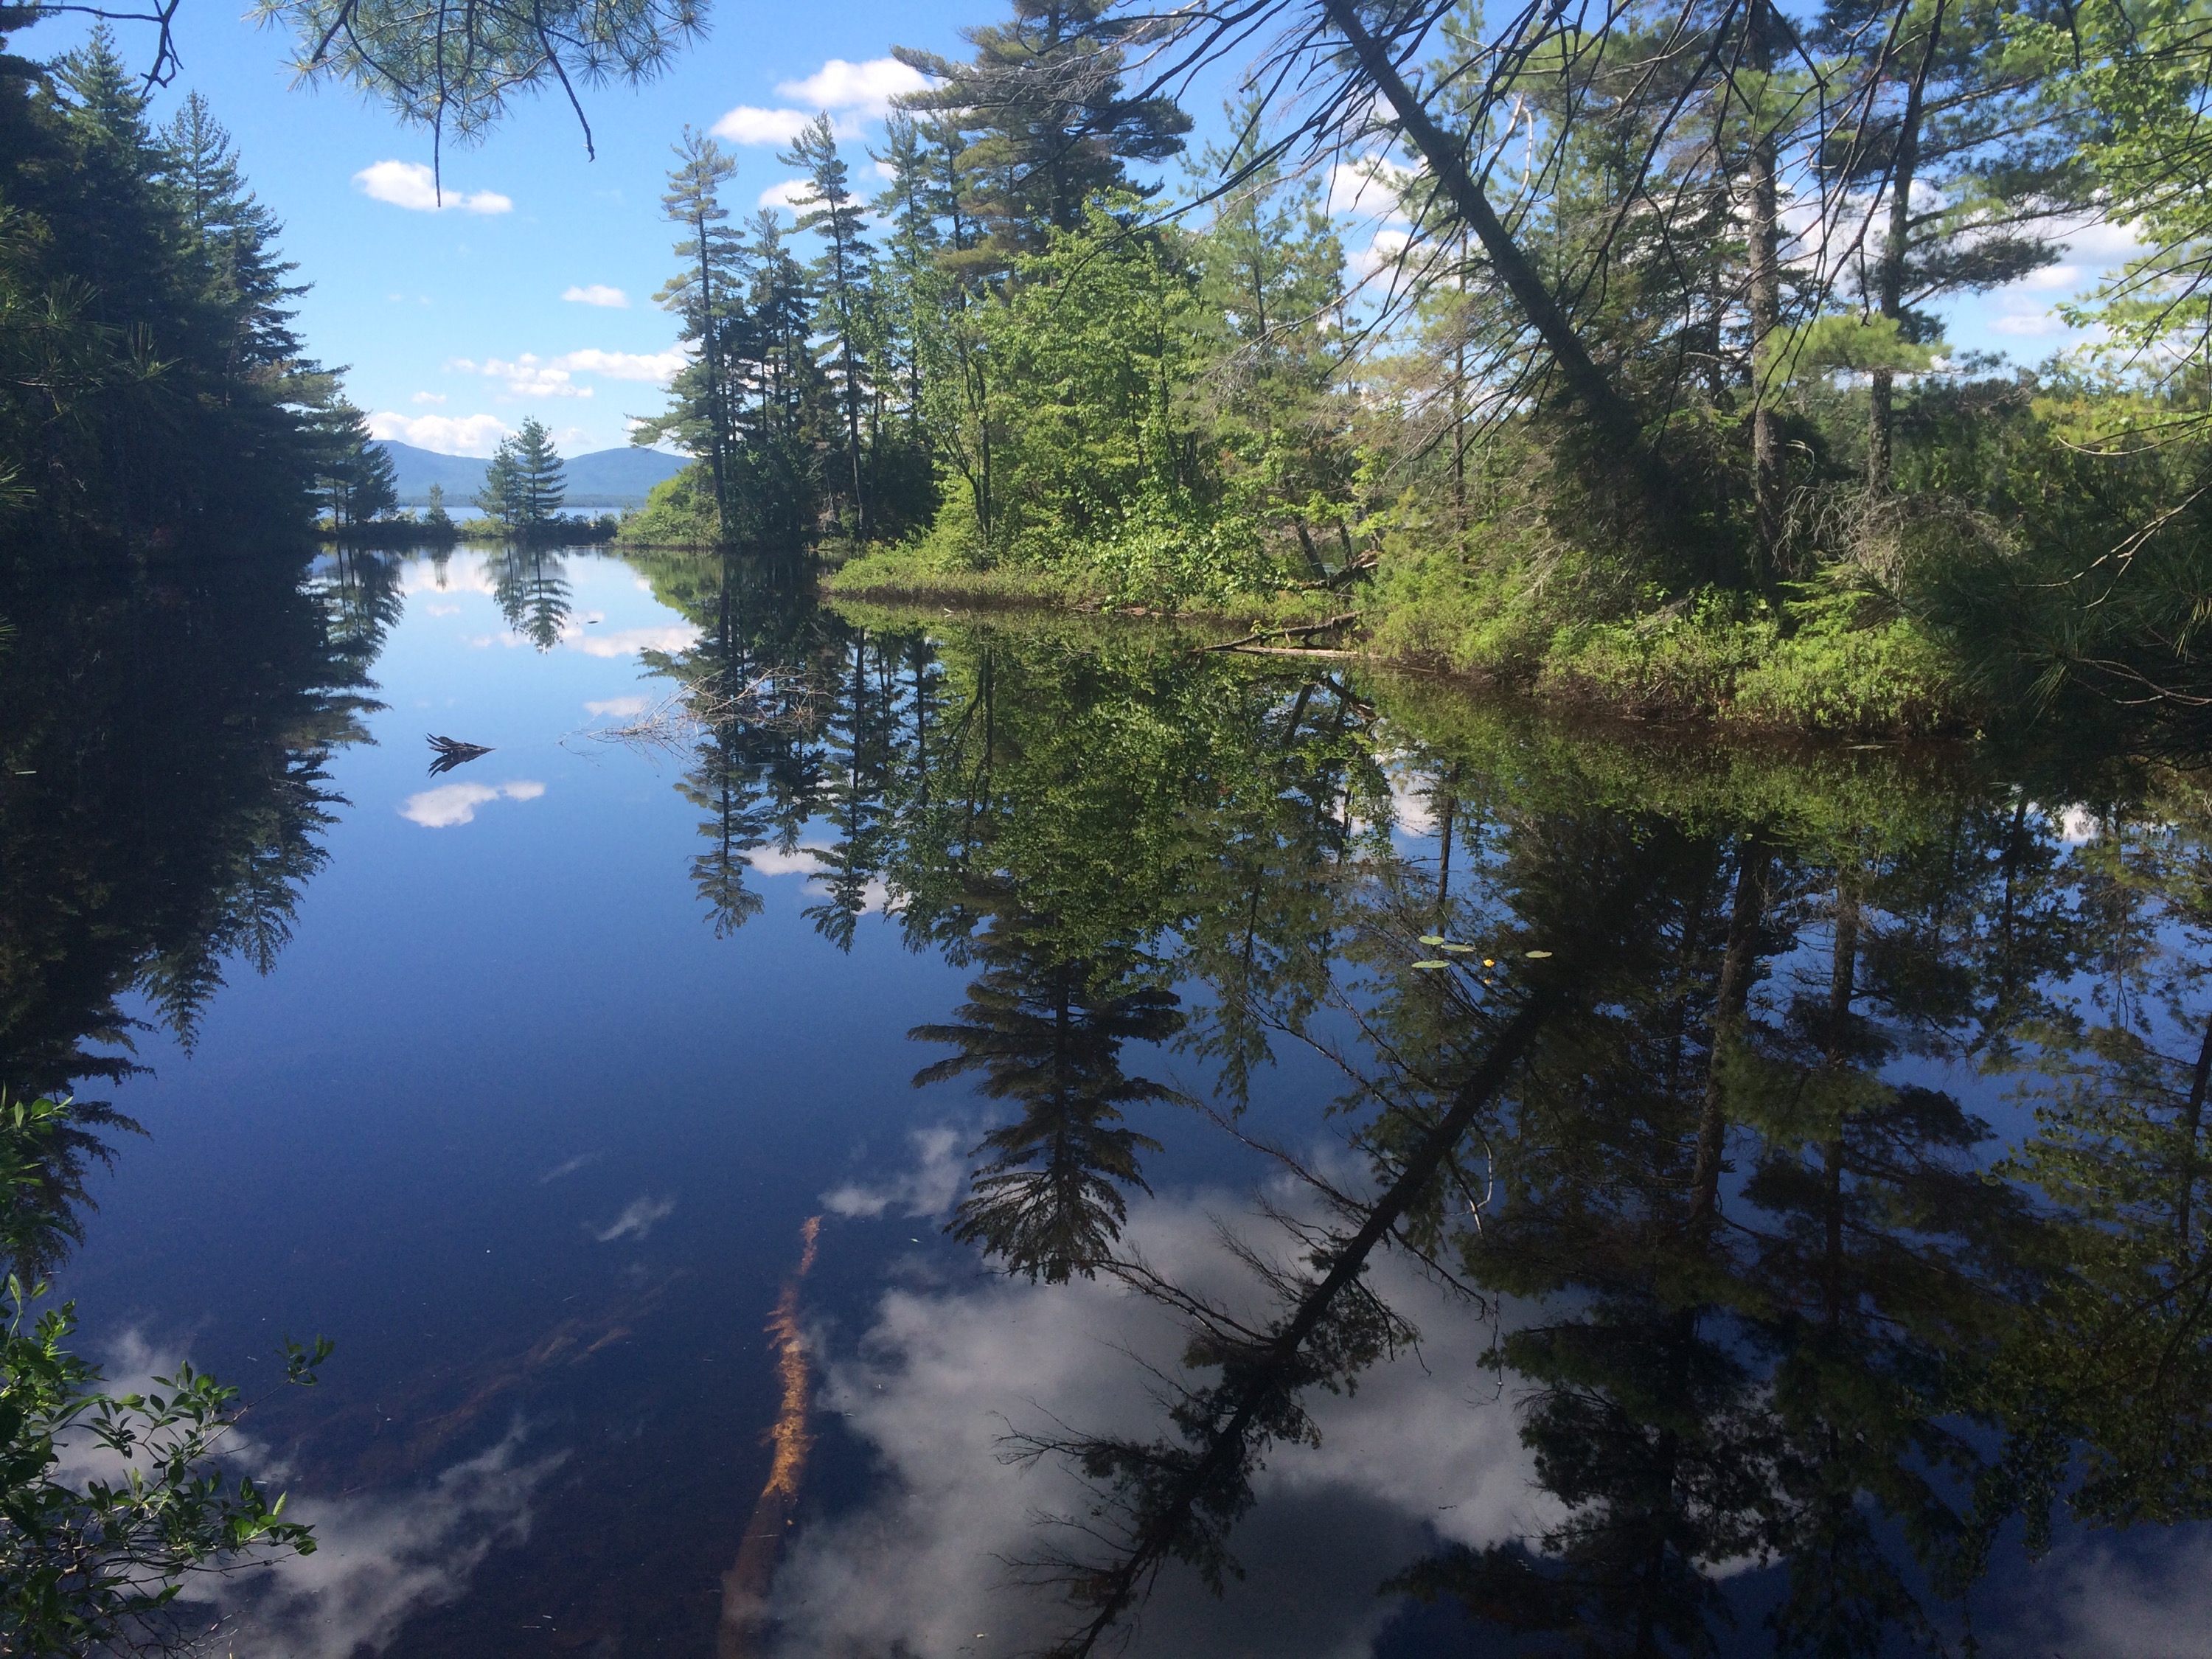
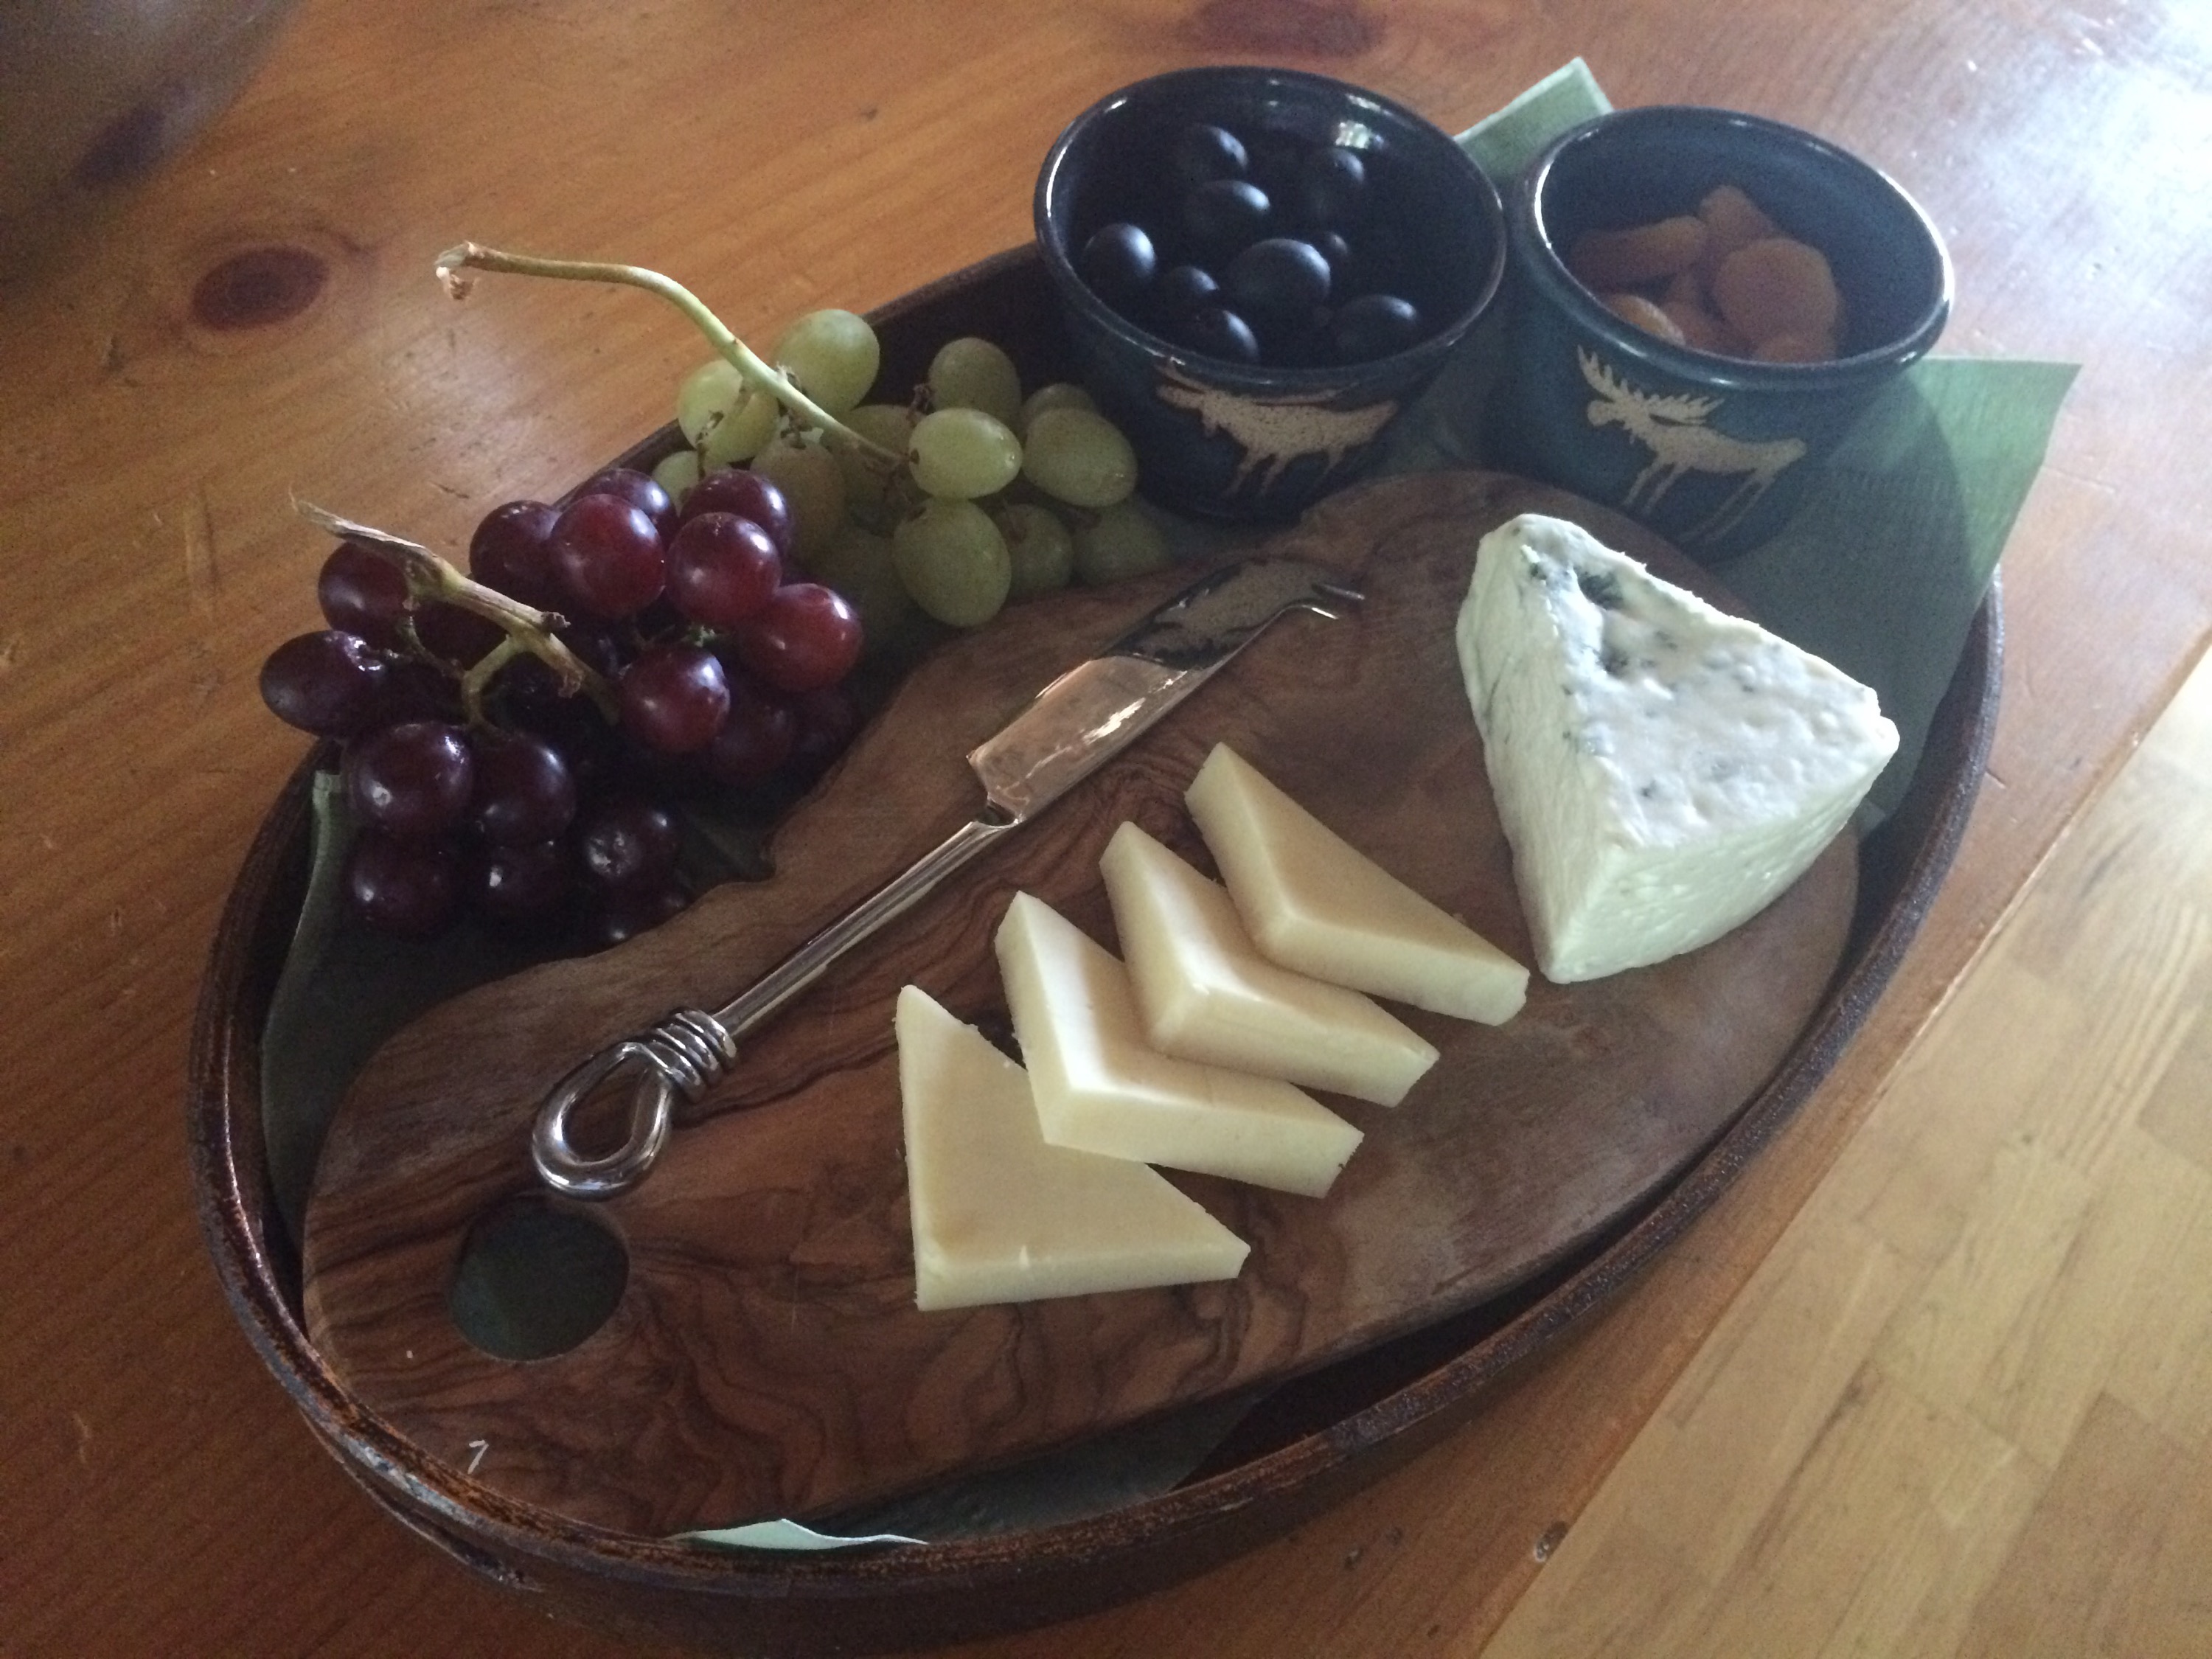


It has been an awesome summer on Moosehead Lake. Here are some highlights of our summer in Maine.
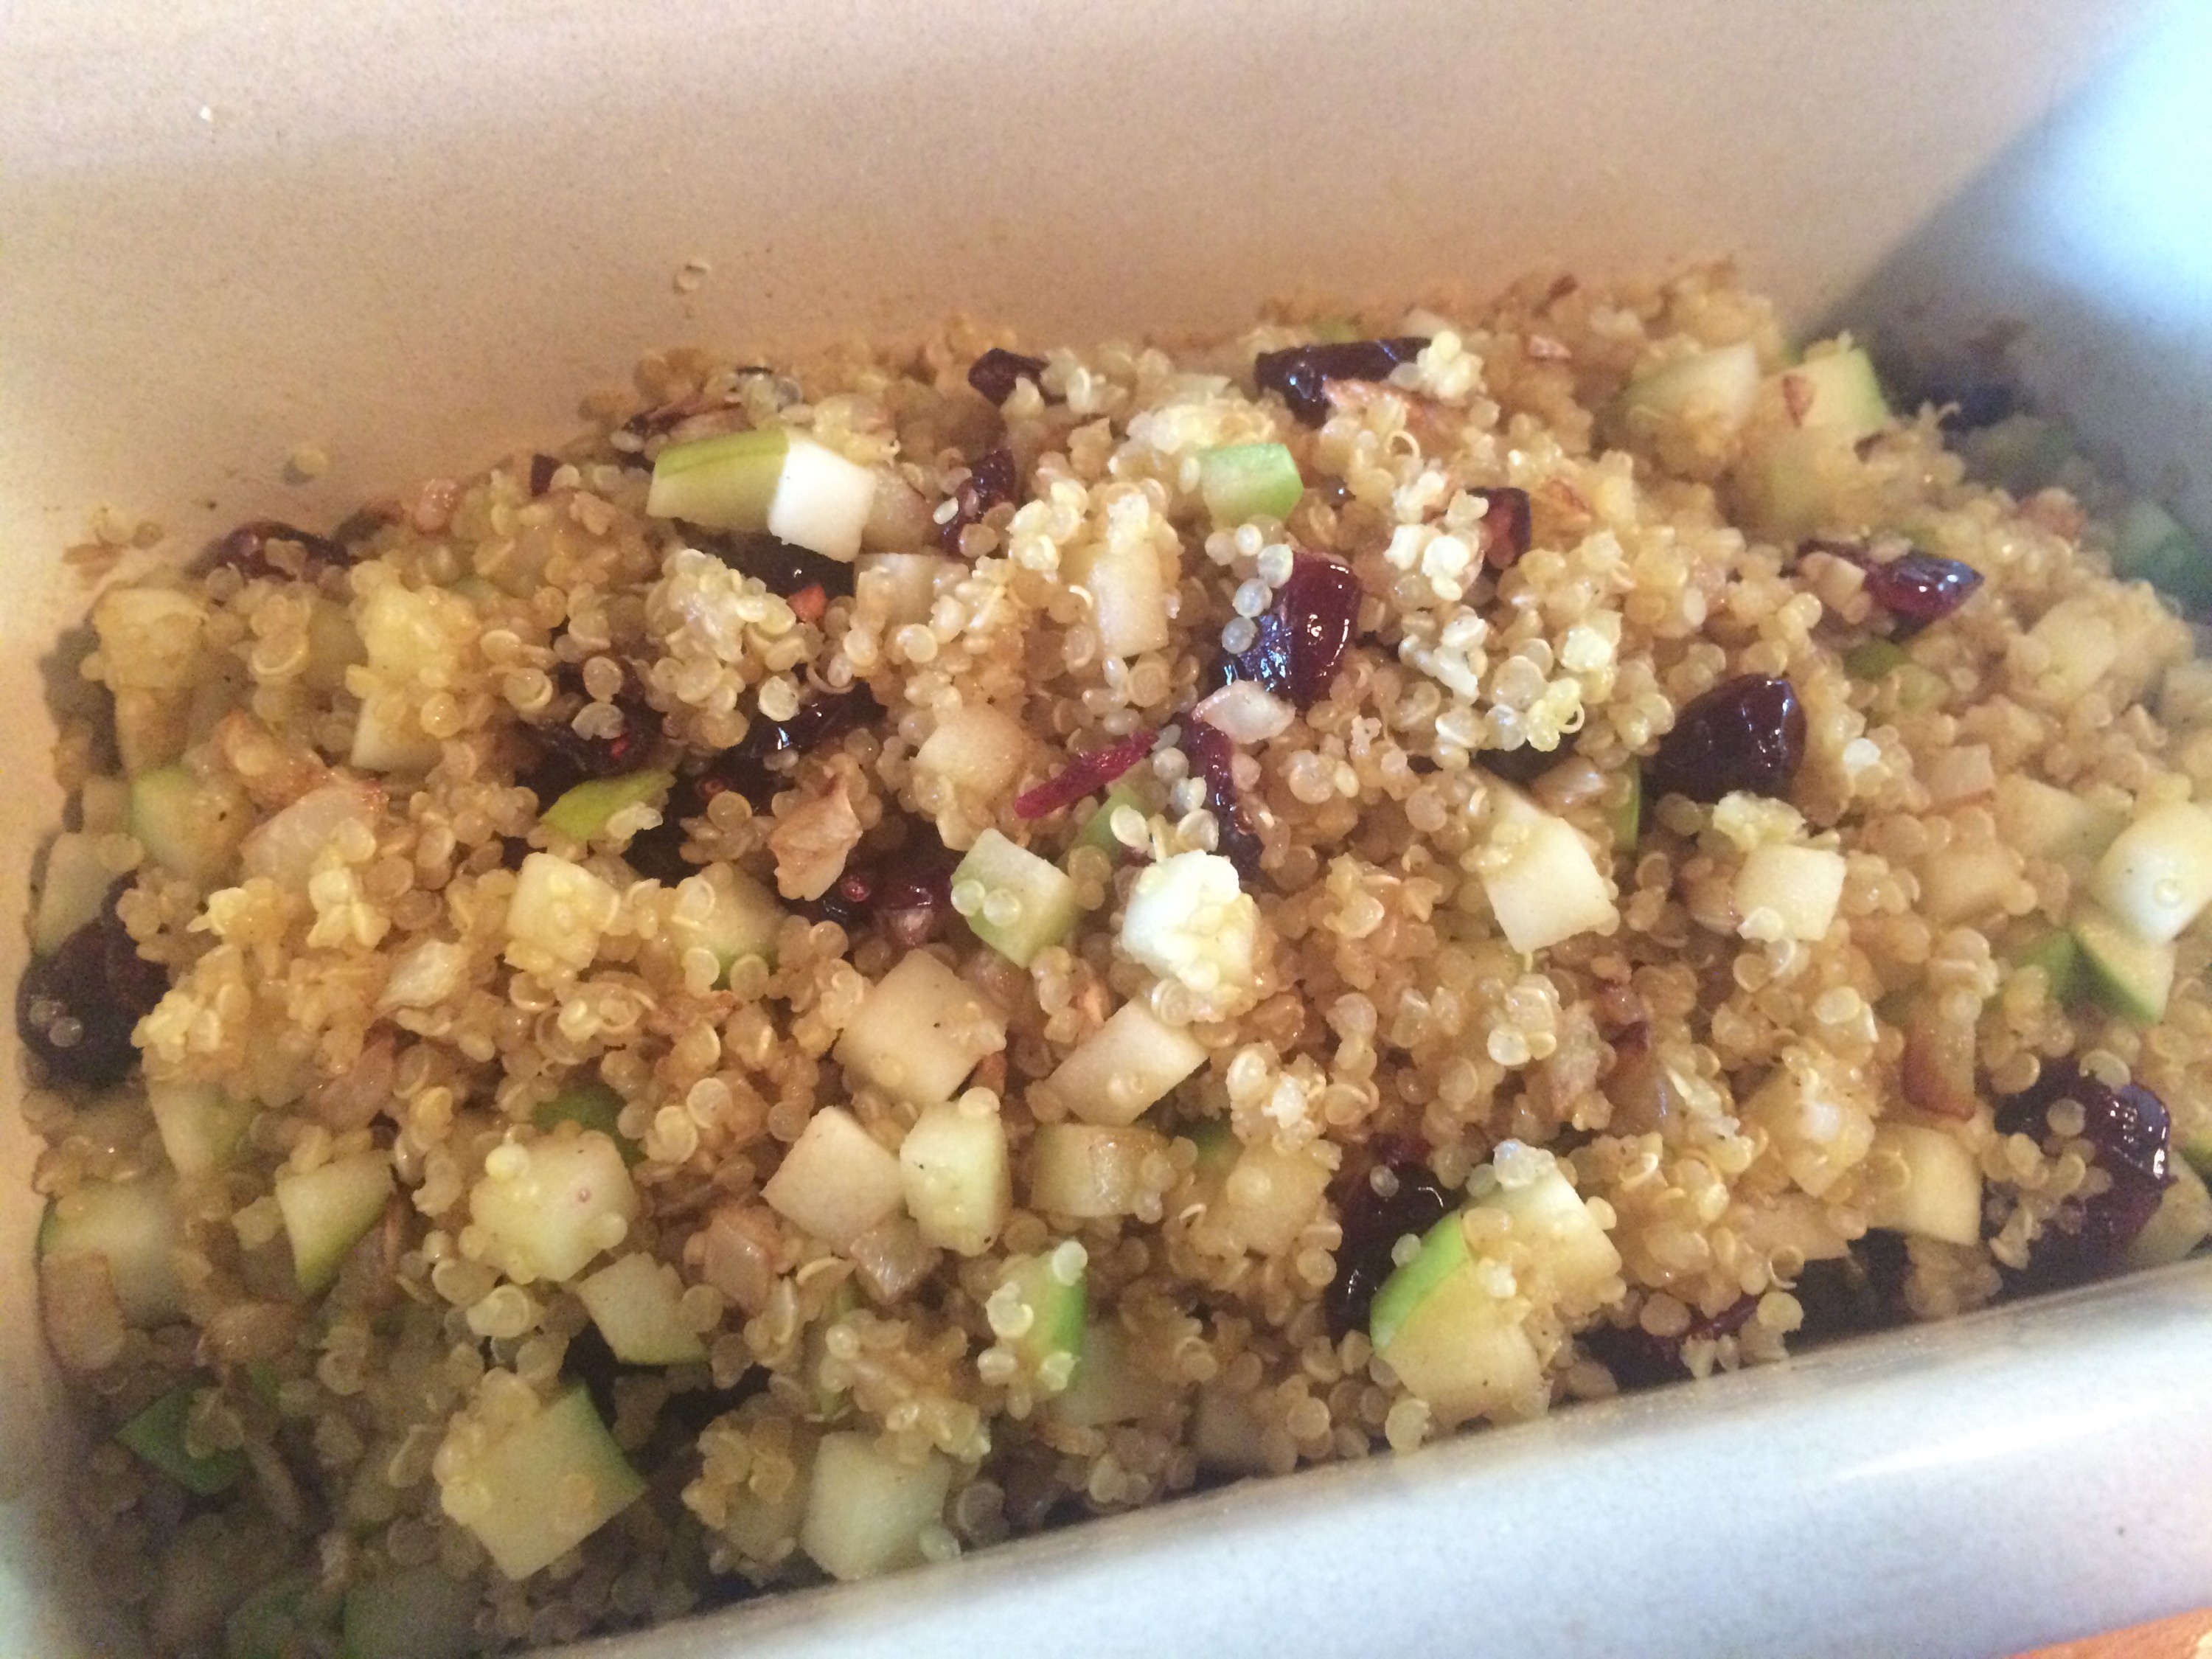
I am always trying to find healthier alternatives to starch based side dishes. This recipe is full of flavor and lots of healthy stuff. Best of all, it only takes about 30 minutes from start to finish!
This dish is gluten free and can easily be made vegan by substituting oil for butter and vegetable broth (or water) for chicken stock.
Curried Quinoa with Fennel, Cranberry and Granny Smith Apple
Ingredients:
7 tablespoons unsalted butter
1 medium onion, finely chopped
2 garlic cloves, minced
1/4 teaspoon cinnamon
1 Tbsp Yellow Curry Powder
2 cups Quinoa
3 1/2 cups chicken stock
2 teaspoons salt
1 fennel bulb, small dice
1 cup dried cranberries
1 large Granny Smith apple, cored and cut into 1-inch pieces
Freshly ground pepper
Directions:
Preheat the oven to 375 F
In a large skillet, melt 4 tablespoons of the butter. Add the onion and garlic and cook over moderate heat until softened, about 7 minutes. Stir in the cinnamon and curry powder, then add the quinoa and stir to coat. Add the stock and the salt and bring to a boil. Transfer the quinoa and liquid to a 9-by-13-inch glass baking dish. Cover with foil and bake for 15-20 minutes, or until the stock is absorbed and the quinoa is tender.
In a large skillet, melt the remaining 3 tablespoons of butter. Add the fennel and cook over moderately high heat for 2-3 minutes. Add the cranberries and cook until they start to brown, about 2 minutes. Add the apple and cook, stirring, just until warmed, about 1 minute. Stir the mixture into the quinoa, season with pepper and serve hot.

This morning there was a surprise waiting for me on the island. The boys had gone out early and caught a salmon from Moosehead Lake!

I have been wanting to salt crust a fish for a while now and I siezed the opportunity. I headed down to the garden and grabbed some thyme and parsley. When I returned to the kitchen I sliced some lemon and stuffed the cavity of the fish with lemon and herbs.

I already had a fire going so I put a cast iron griddle on top of the grate and went back in the kitchen. I poured some salt (ok, a lot of salt) into a bowl and added water until it was the consistency of wet sand.
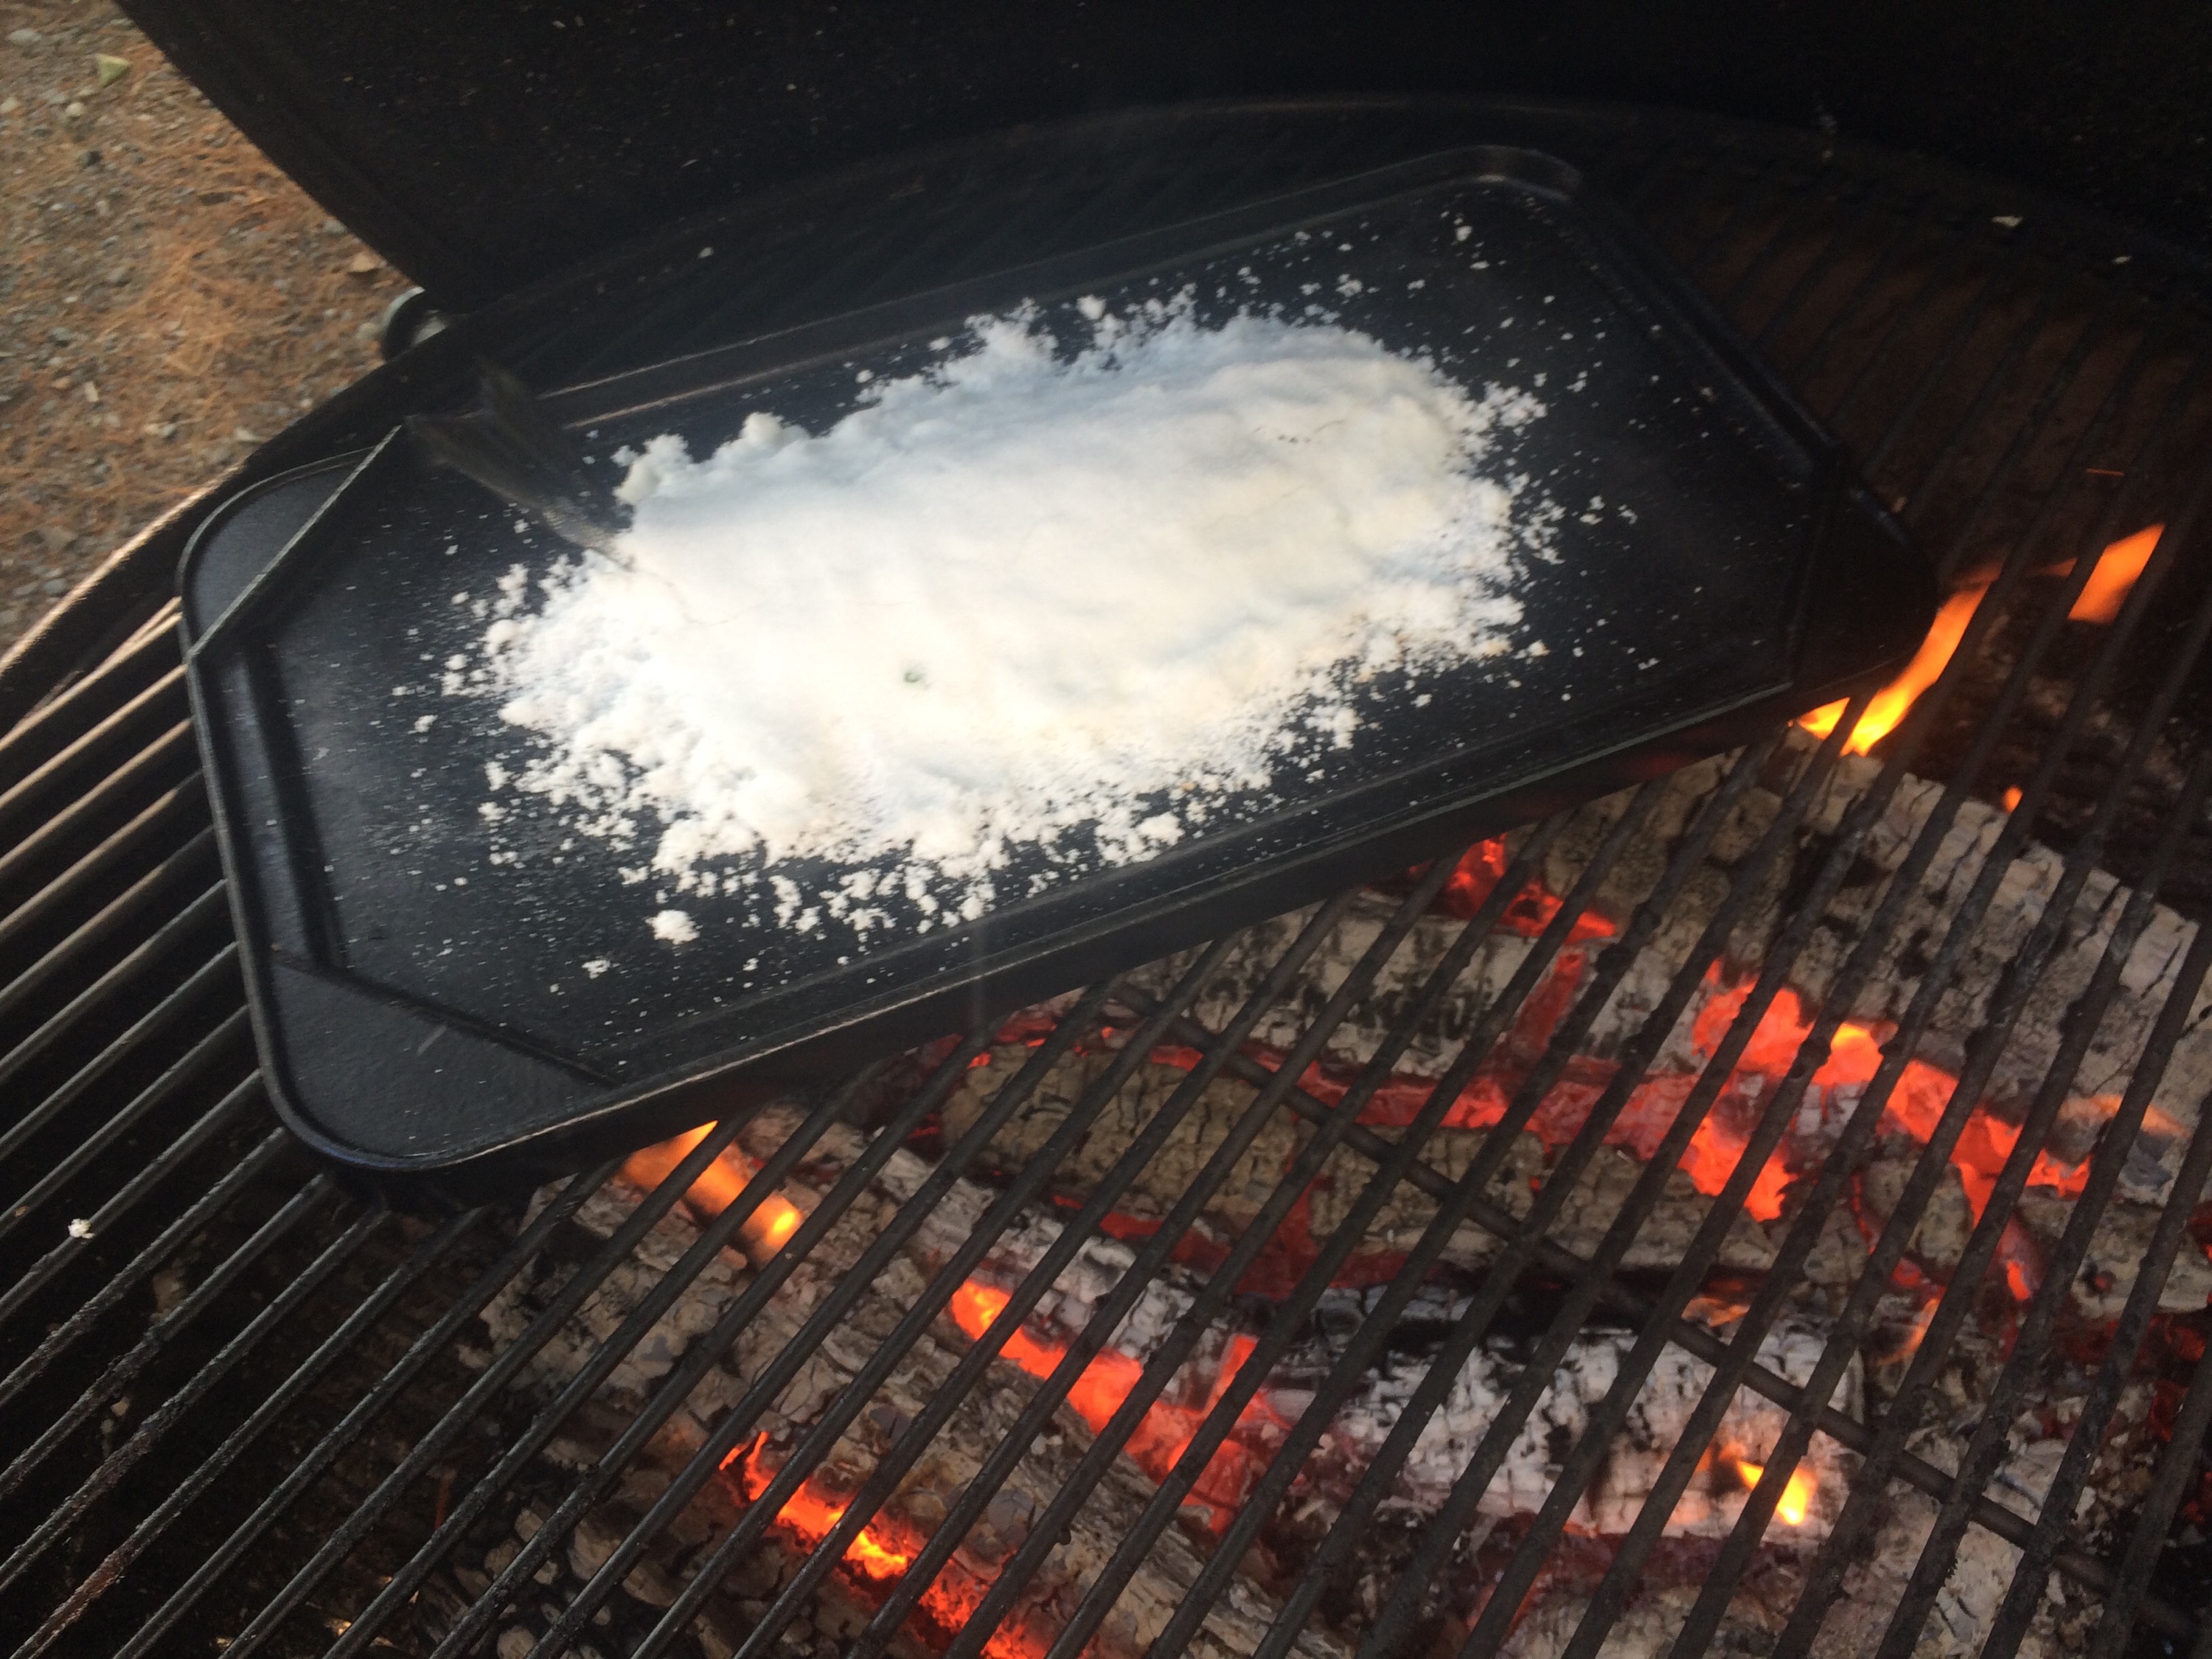
I made a thin bed of salt on the griddle and the rested the fish on top. The rest of the salt I packed tight over the top of the fish. Then I closed the lid of the grill, making sure the vents were open, and waited.

After about thirty minutes, I opened the lid. The wet salt had been transformed into a thick crust. I easily picked up the entire package with a spatula and transferred it to a large platter. When the guests arrived, they were all curious about what was on the platter. I enjoyed showing the young boy who caught the fish how to crack the salt crust by tapping it with the side of a spoon, revealing the beautiful fish inside.

The skin peeled off effortlessly with the help of a spoon and the flesh underneath was moist, full of flavor and not at all too salty. Everybody was thrilled with the fish and the dramatic presentation. I couldn’t believe how simple and easy it was to prepare and serve. I can’t wait for another fish so I can do this again!
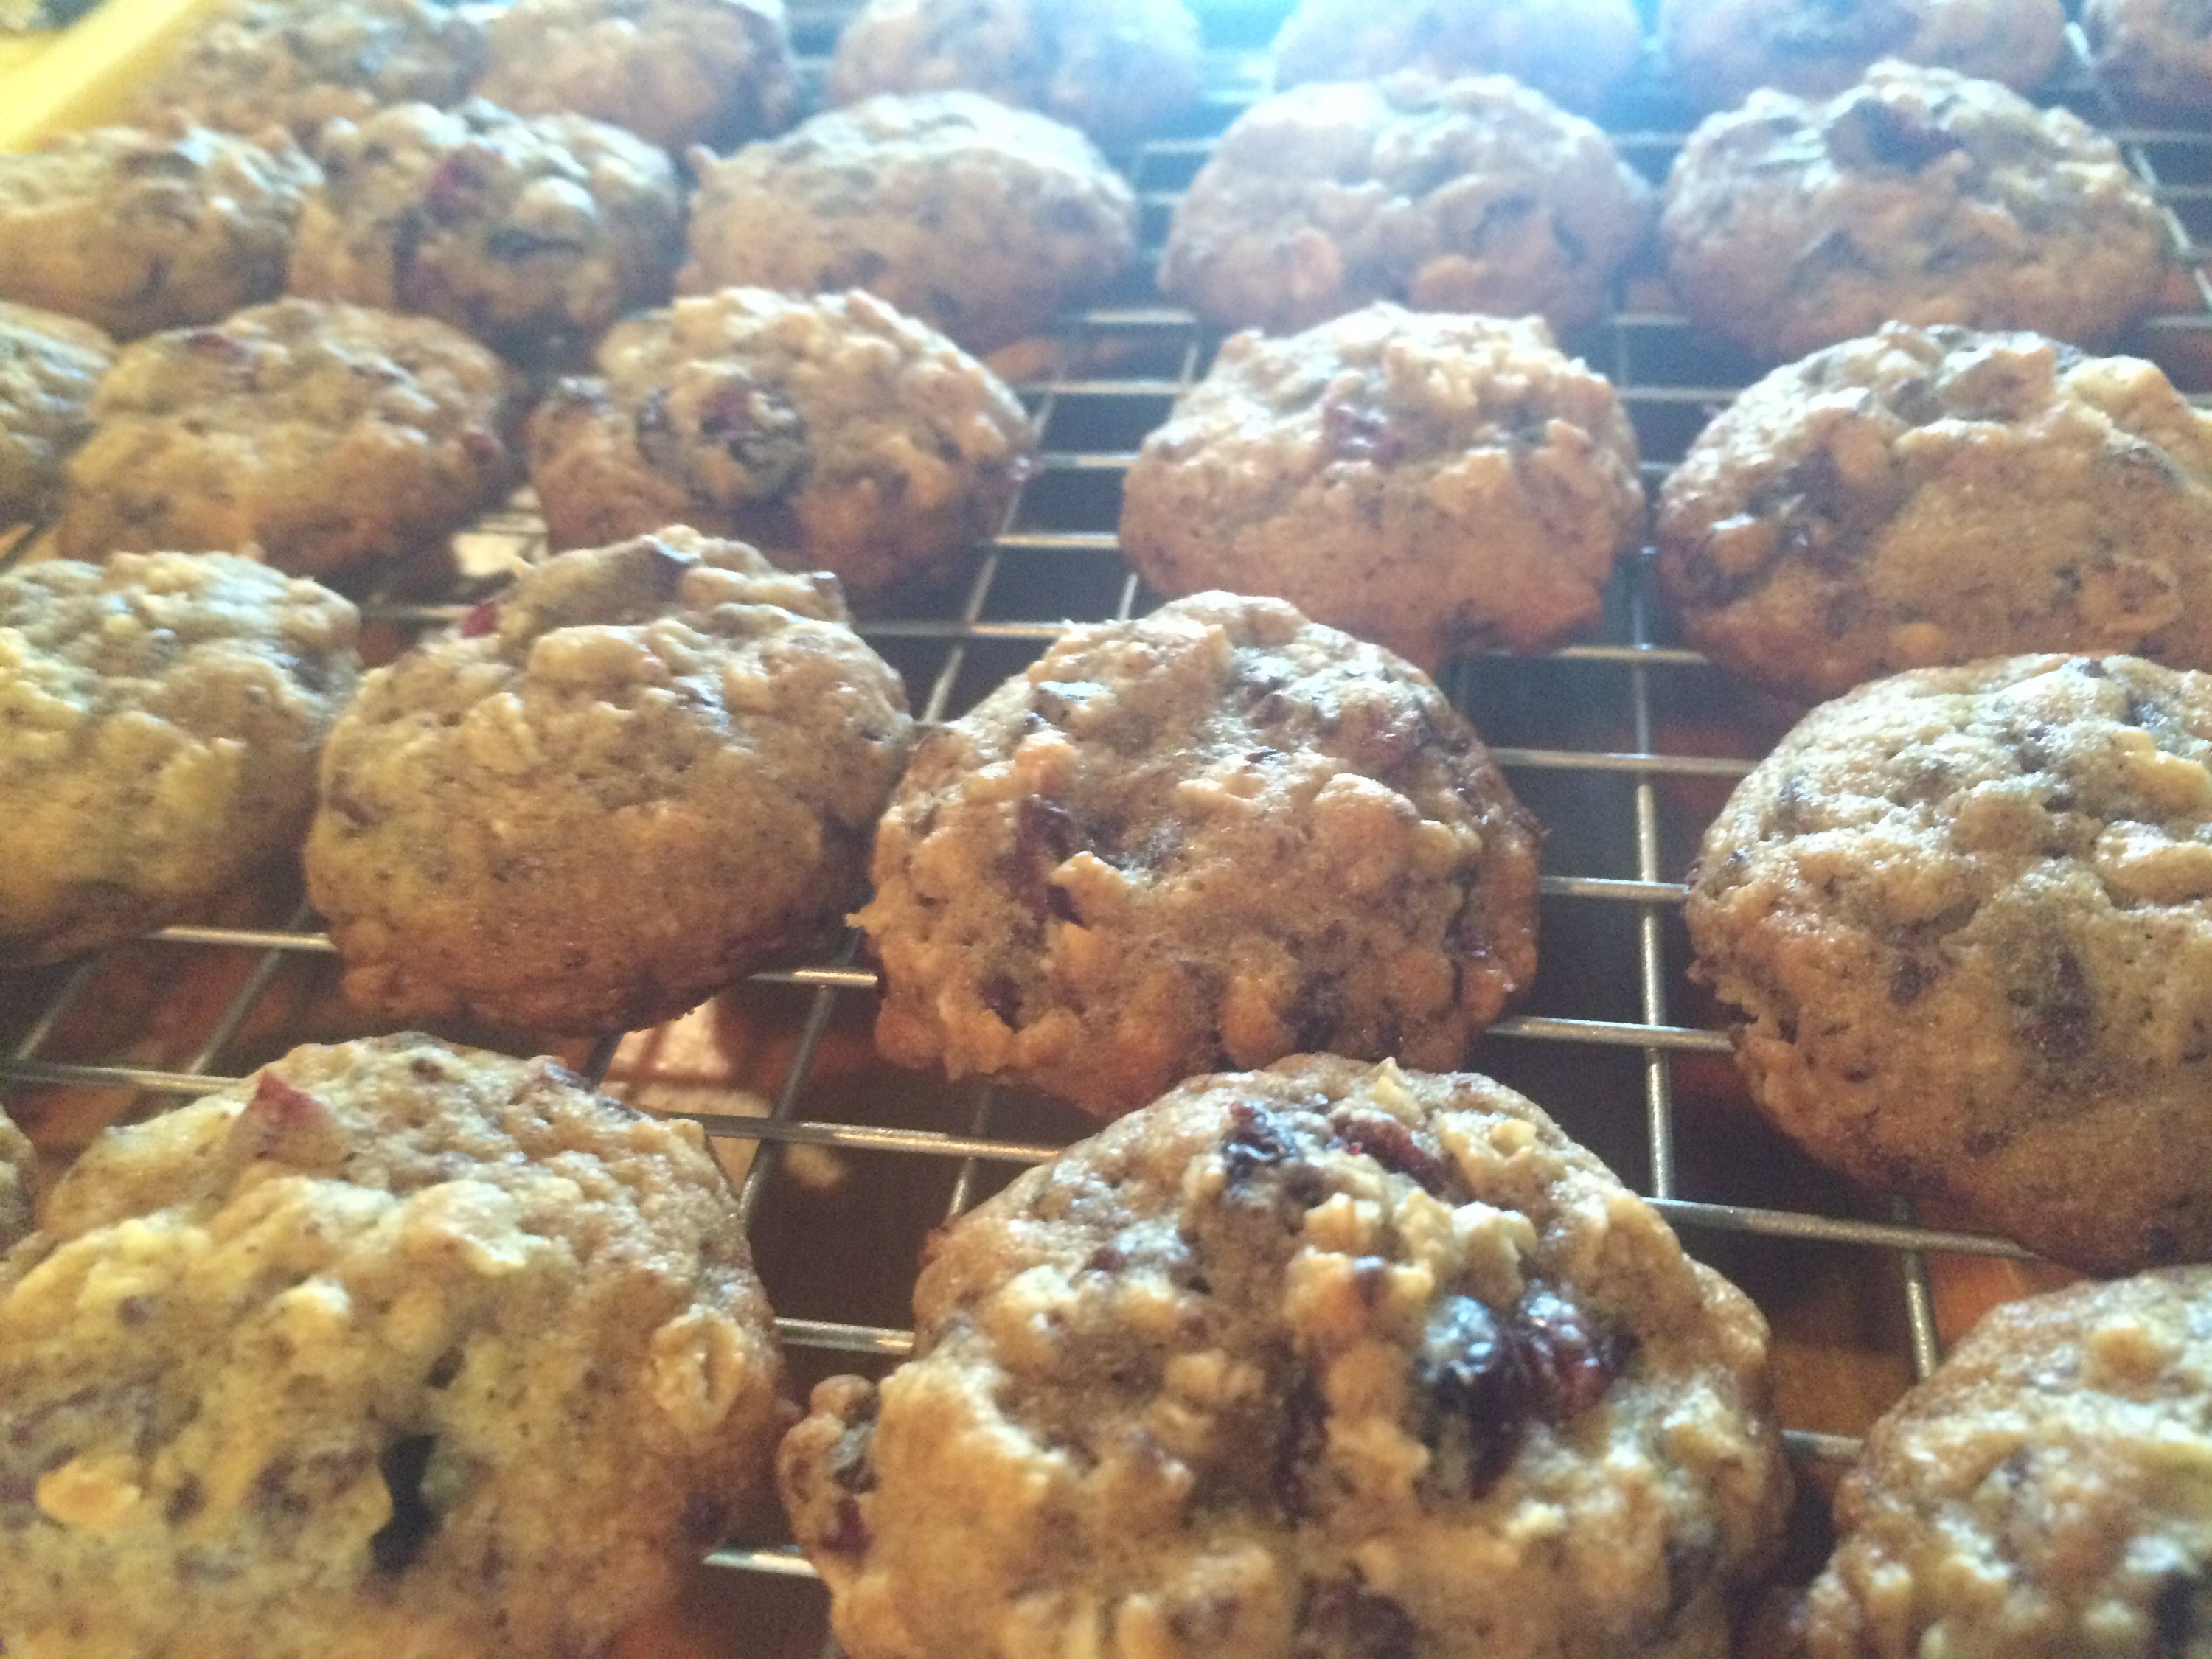
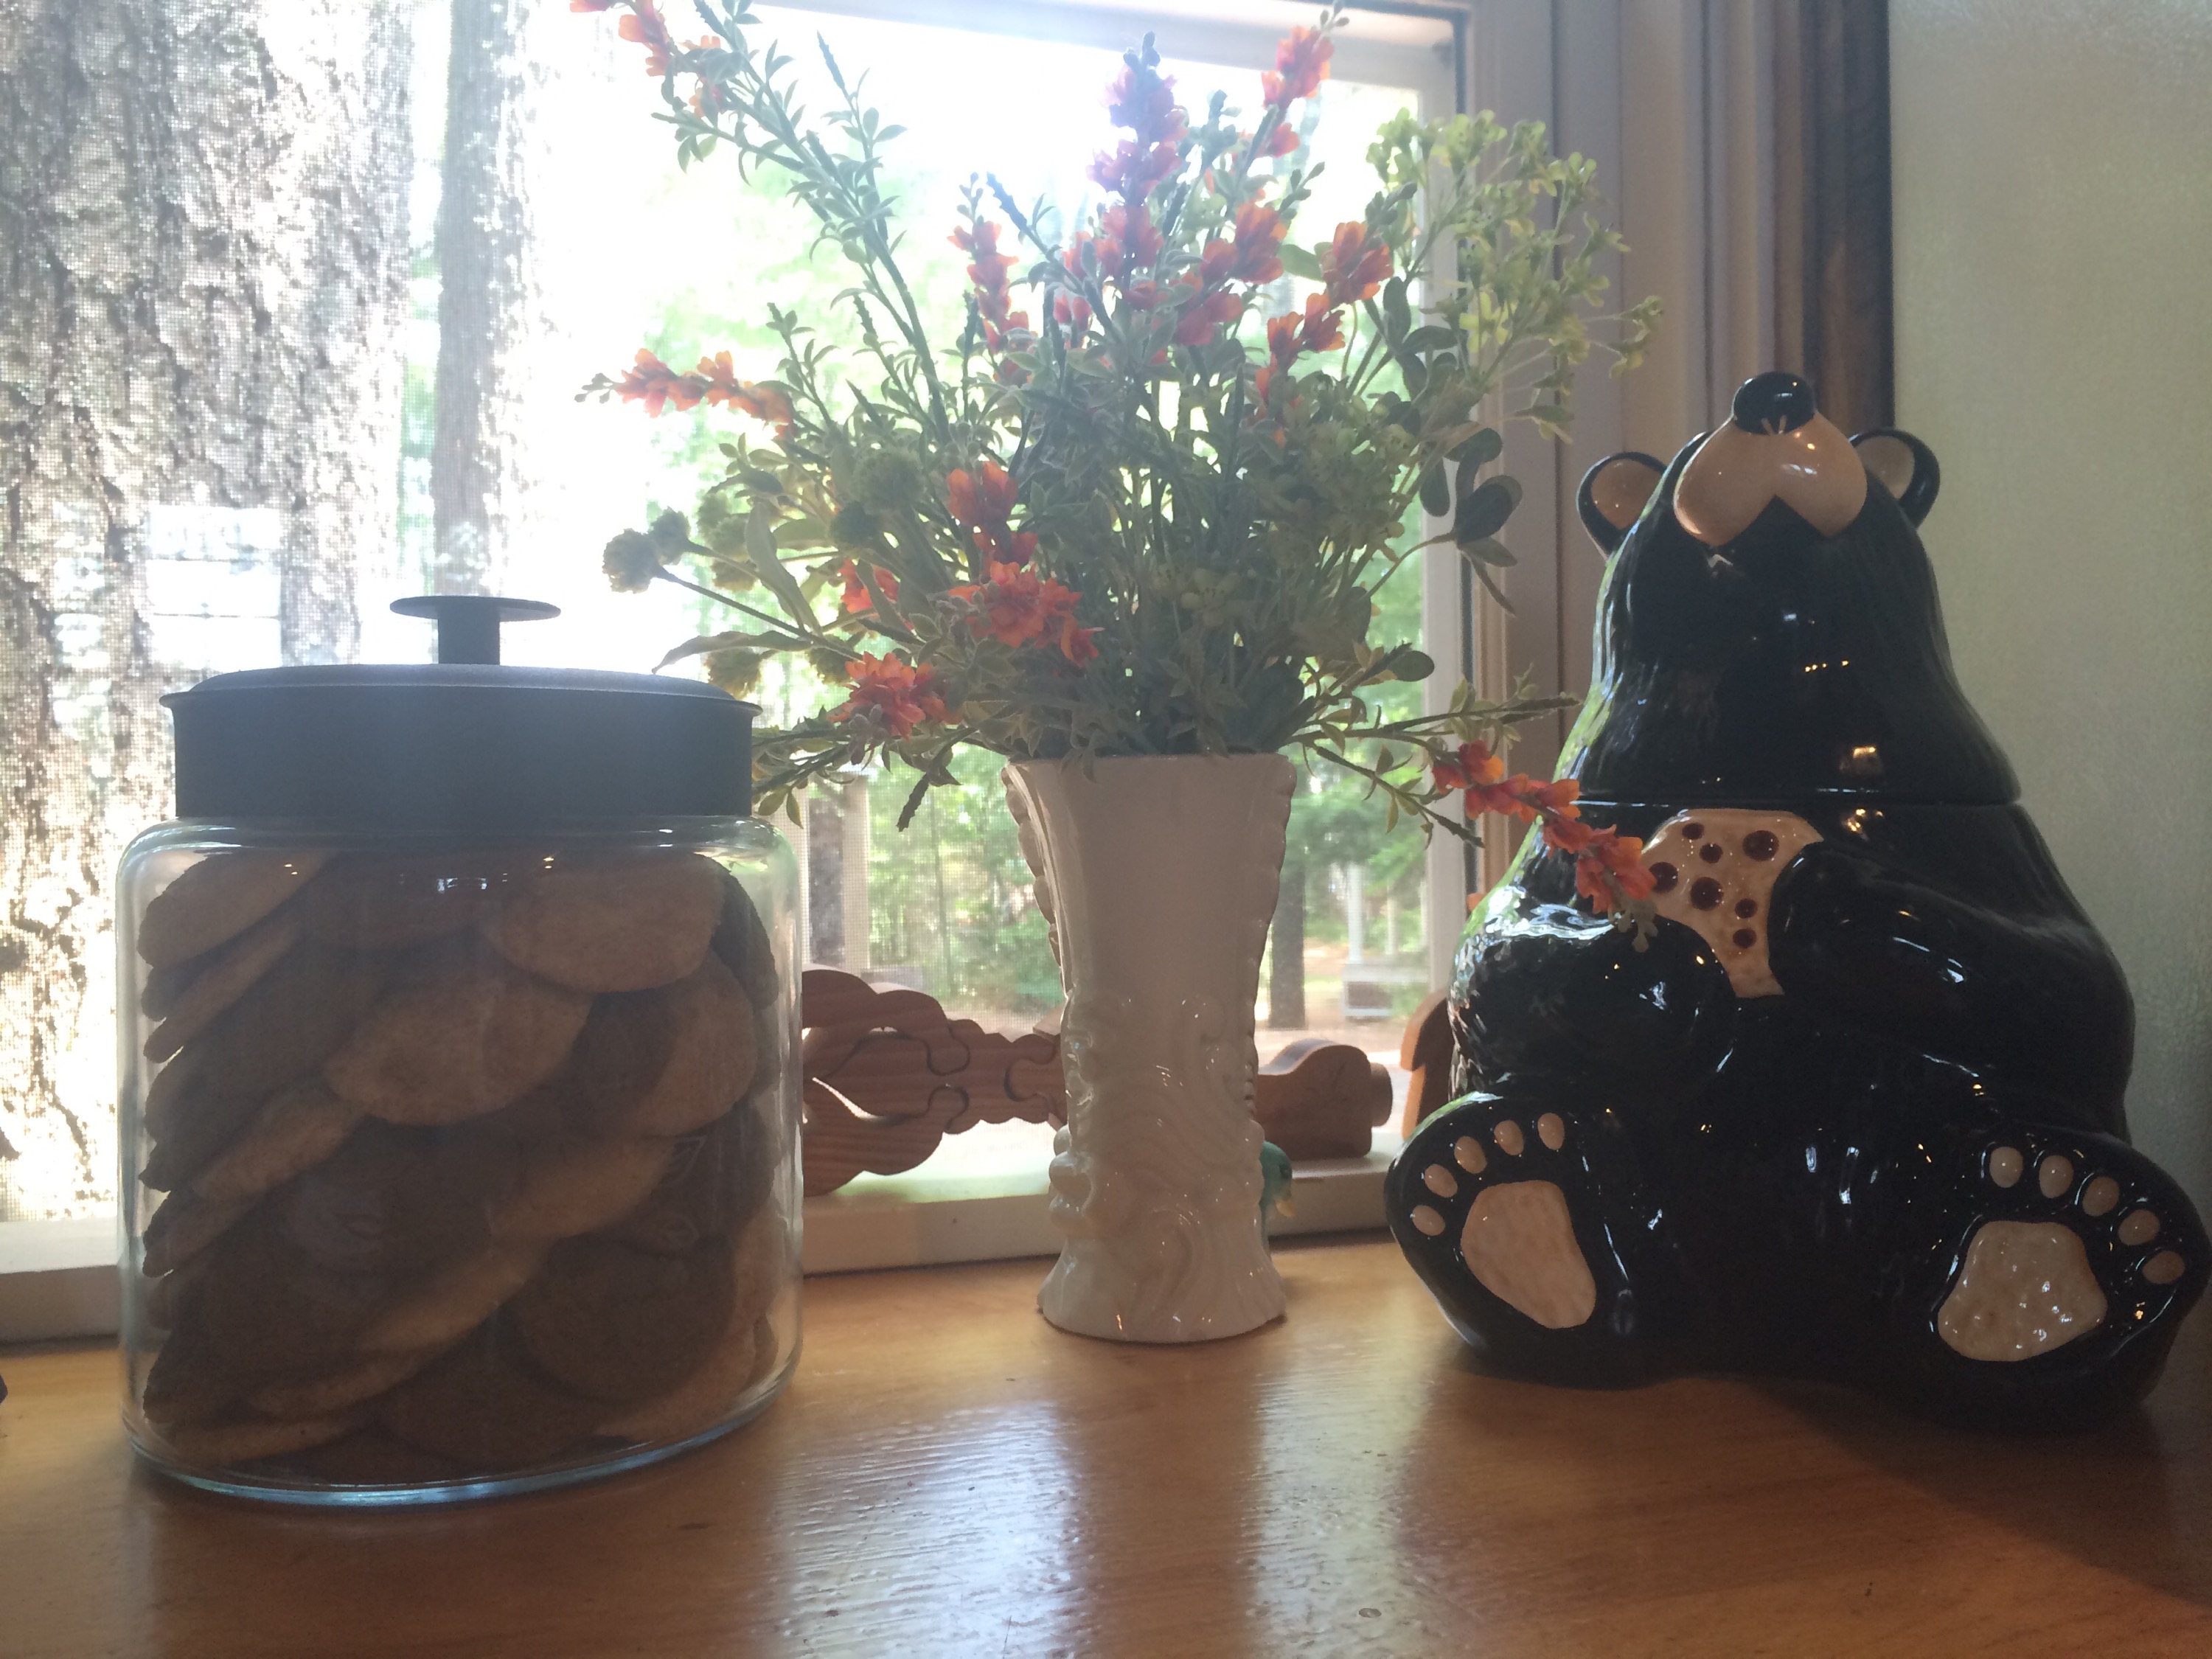
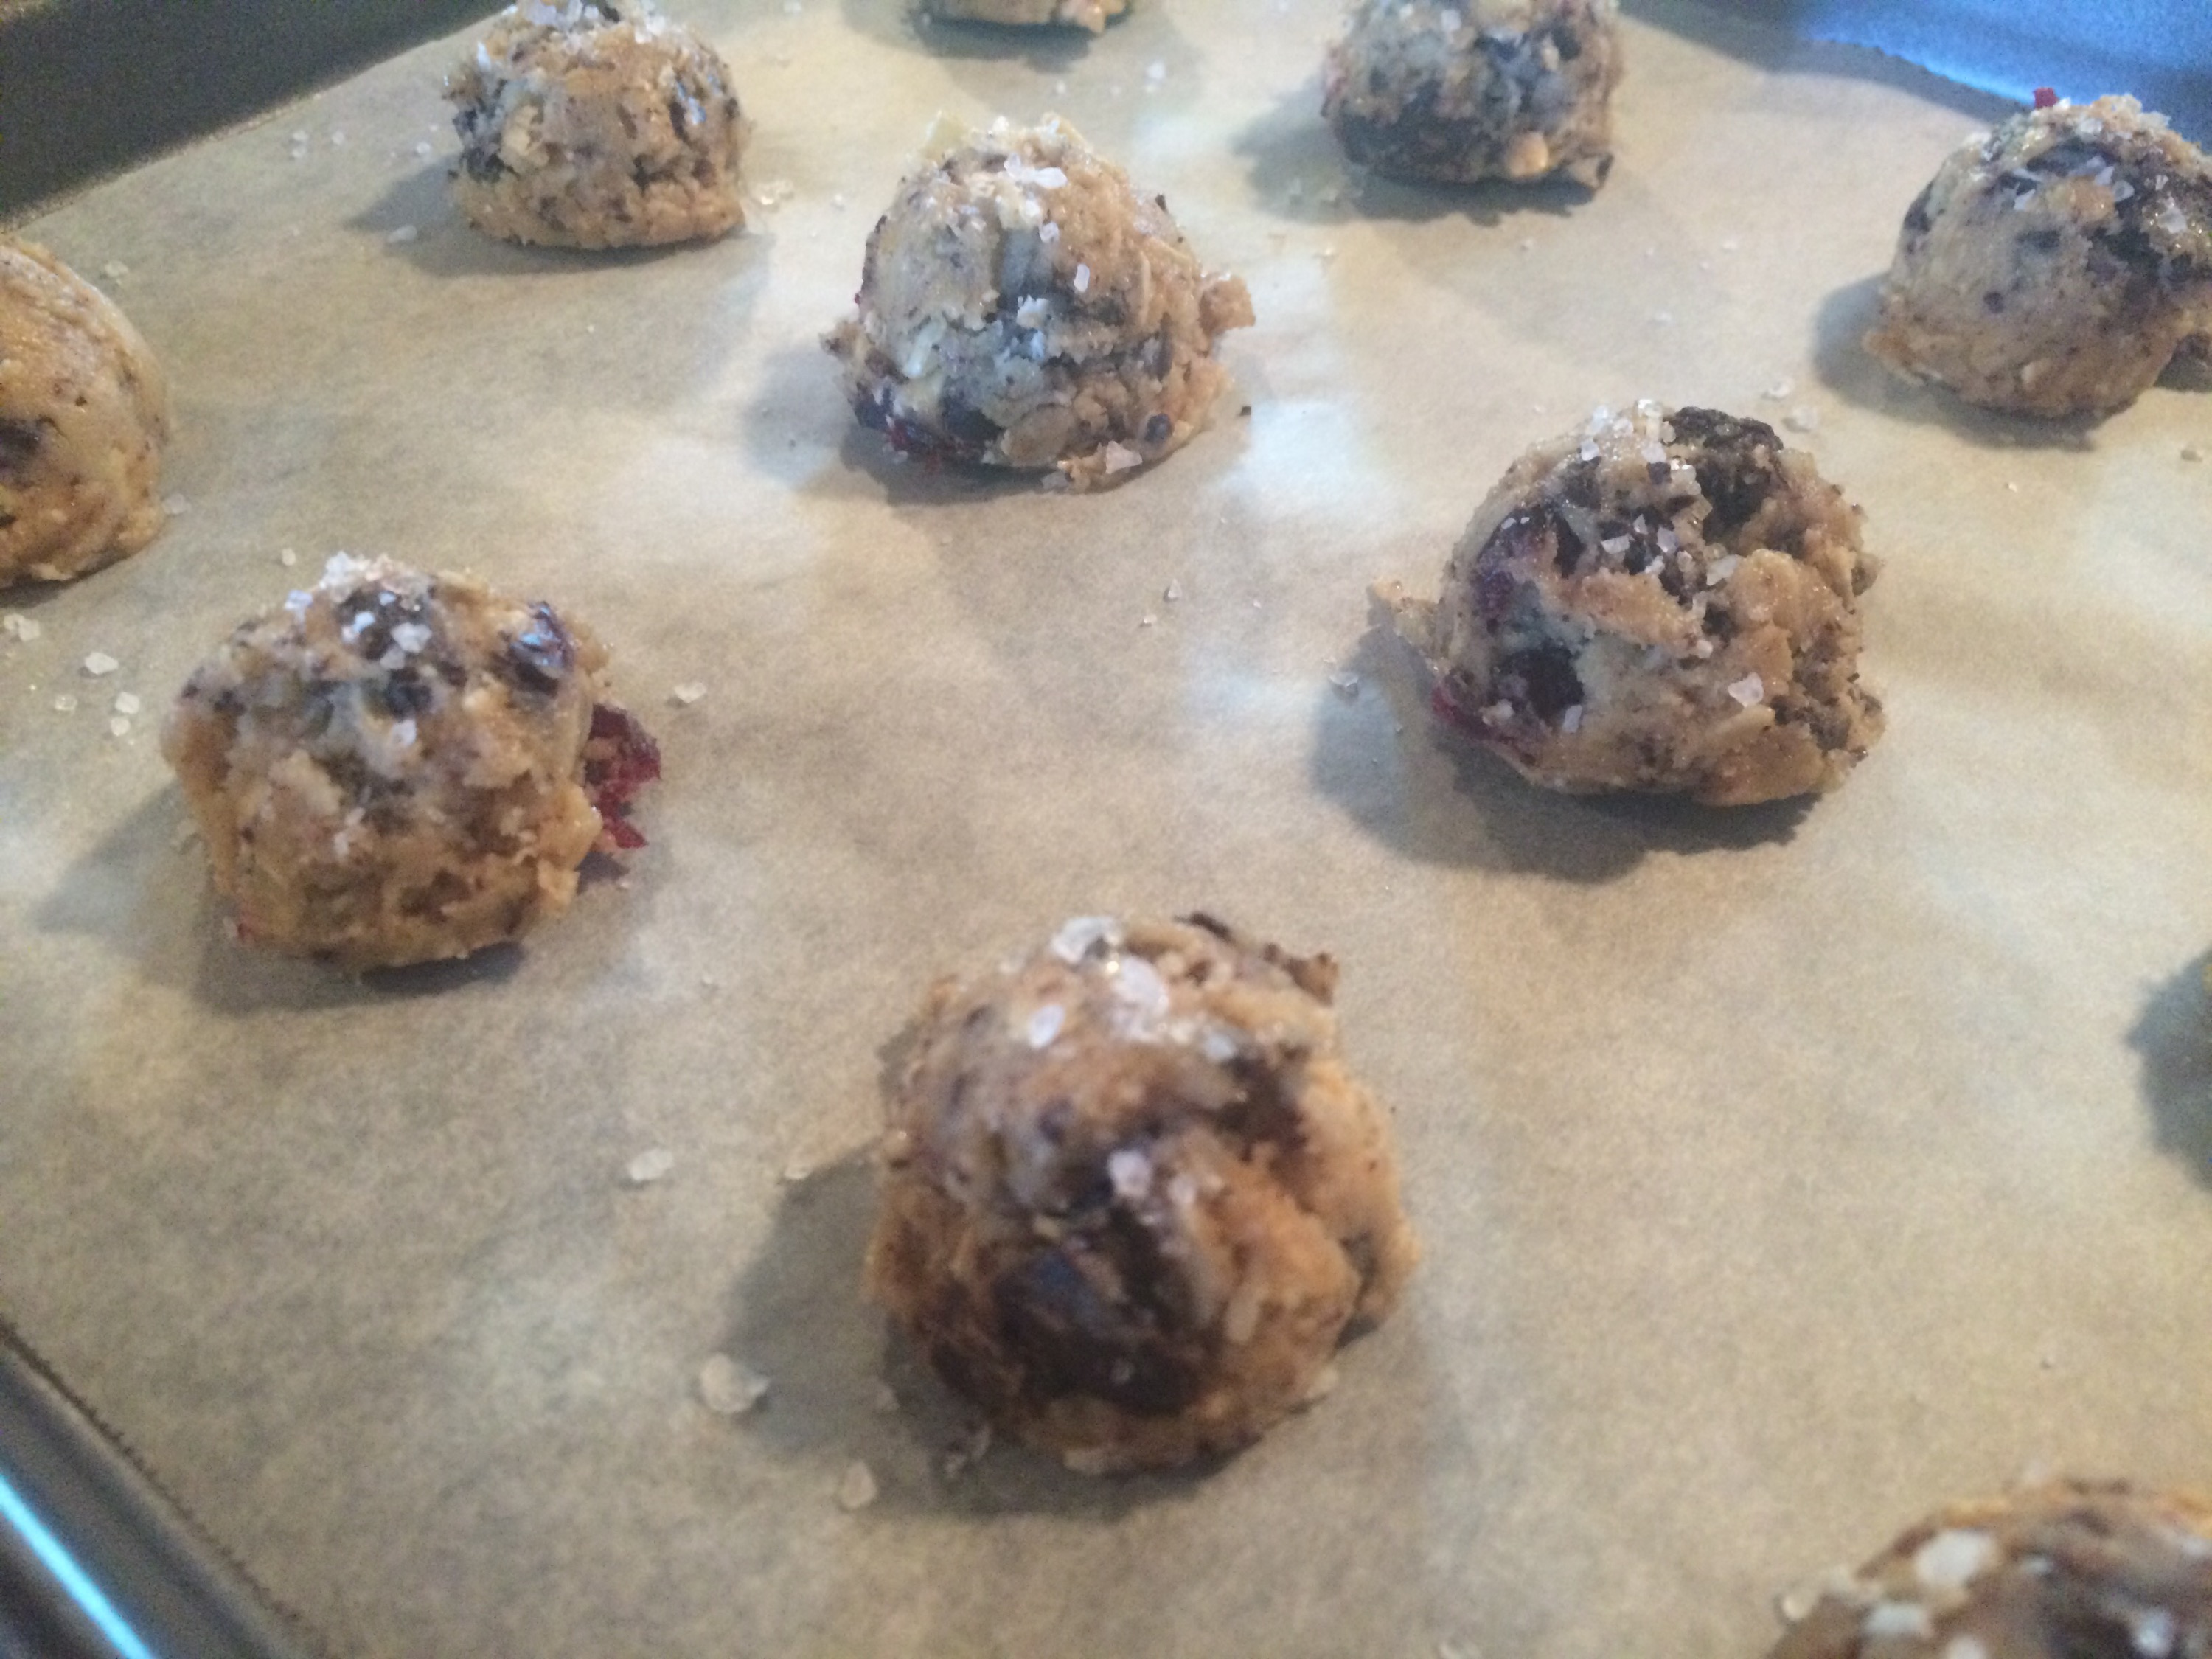
One of my most important jobs on the island is making sure the cookie jar stays fully stocked at all times. I am always trying to find a new, even more spectacular cookie recipe to wow the guests. This week I tried a new recipe from Barefoot Contessa: Salty Oatmeal Chocolate Chunk Cookies
These cookies turned out amazing! I really liked the combination of dried cranberries, bittersweet chocolate and old fashioned oats. The sea salt on top pushed it over the edge to downright dangerous levels of cookie addiction. I tried this recipe a bunch of different ways and in the end, I preferred a well chilled dough with a generous sprinkle of coarse ground sea salt. I used a 1 Tbsp disher and cooked in a 375 F oven on the top rack for 9 minutes and they came out crispy on the outside with a soft chewy center.
Salty Oatmeal Chocolate Chunk Cookies
Ingredients:
1/2 pound unsalted butter soft
3/4 cup light brown sugar
3/4 cup granulated sugar
2 tsp vanilla extract
2 XL eggs room temp
1 3/4 cups AP flour
1 tsp baking soda
1 tsp kosher salt
1 1/4 cups old fashioned oats
3/4 pound bittersweet chocolate (Lindt) chopped
3/4 cup dried cranberries
Sea salt
Directions:
Preheat the oven to 375 degrees. Line 3 sheet pans with parchment paper.
In an electric mixer fitted with the paddle attachment, beat the butter, brown sugar, and granulated sugar on medium-high speed for 3 minutes, until light and fluffy. Scrape down the bowl with a rubber spatula. On low speed, add the vanilla, then the eggs, one at a time. Scrape down the bowl again.
Meanwhile, sift the flour, baking soda, and salt into a medium bowl. Mix in the oats. With the mixer on low, slowly add the flour mixture to the butter-sugar mixture. Don’t overbeat it! With a rubber spatula, stir in the chocolate and cranberries until the dough is well mixed. With a 1¾-inch ice cream scoop (or two spoons), scoop round balls of dough onto the prepared sheet pans. Sprinkle lightly with fleur de sel. Bake for 10 to 12 minutes, until nicely browned. Serve warm or at room temperature.
If you prefer cookies thin and crisp, bake them straight from the mixing bowl. If you prefer them chewy in the middle and crisp outside, chill the balls of dough.

Warning: Smoking is highly addictive. You may become hooked, even after just one time. Proceed at your own risk.
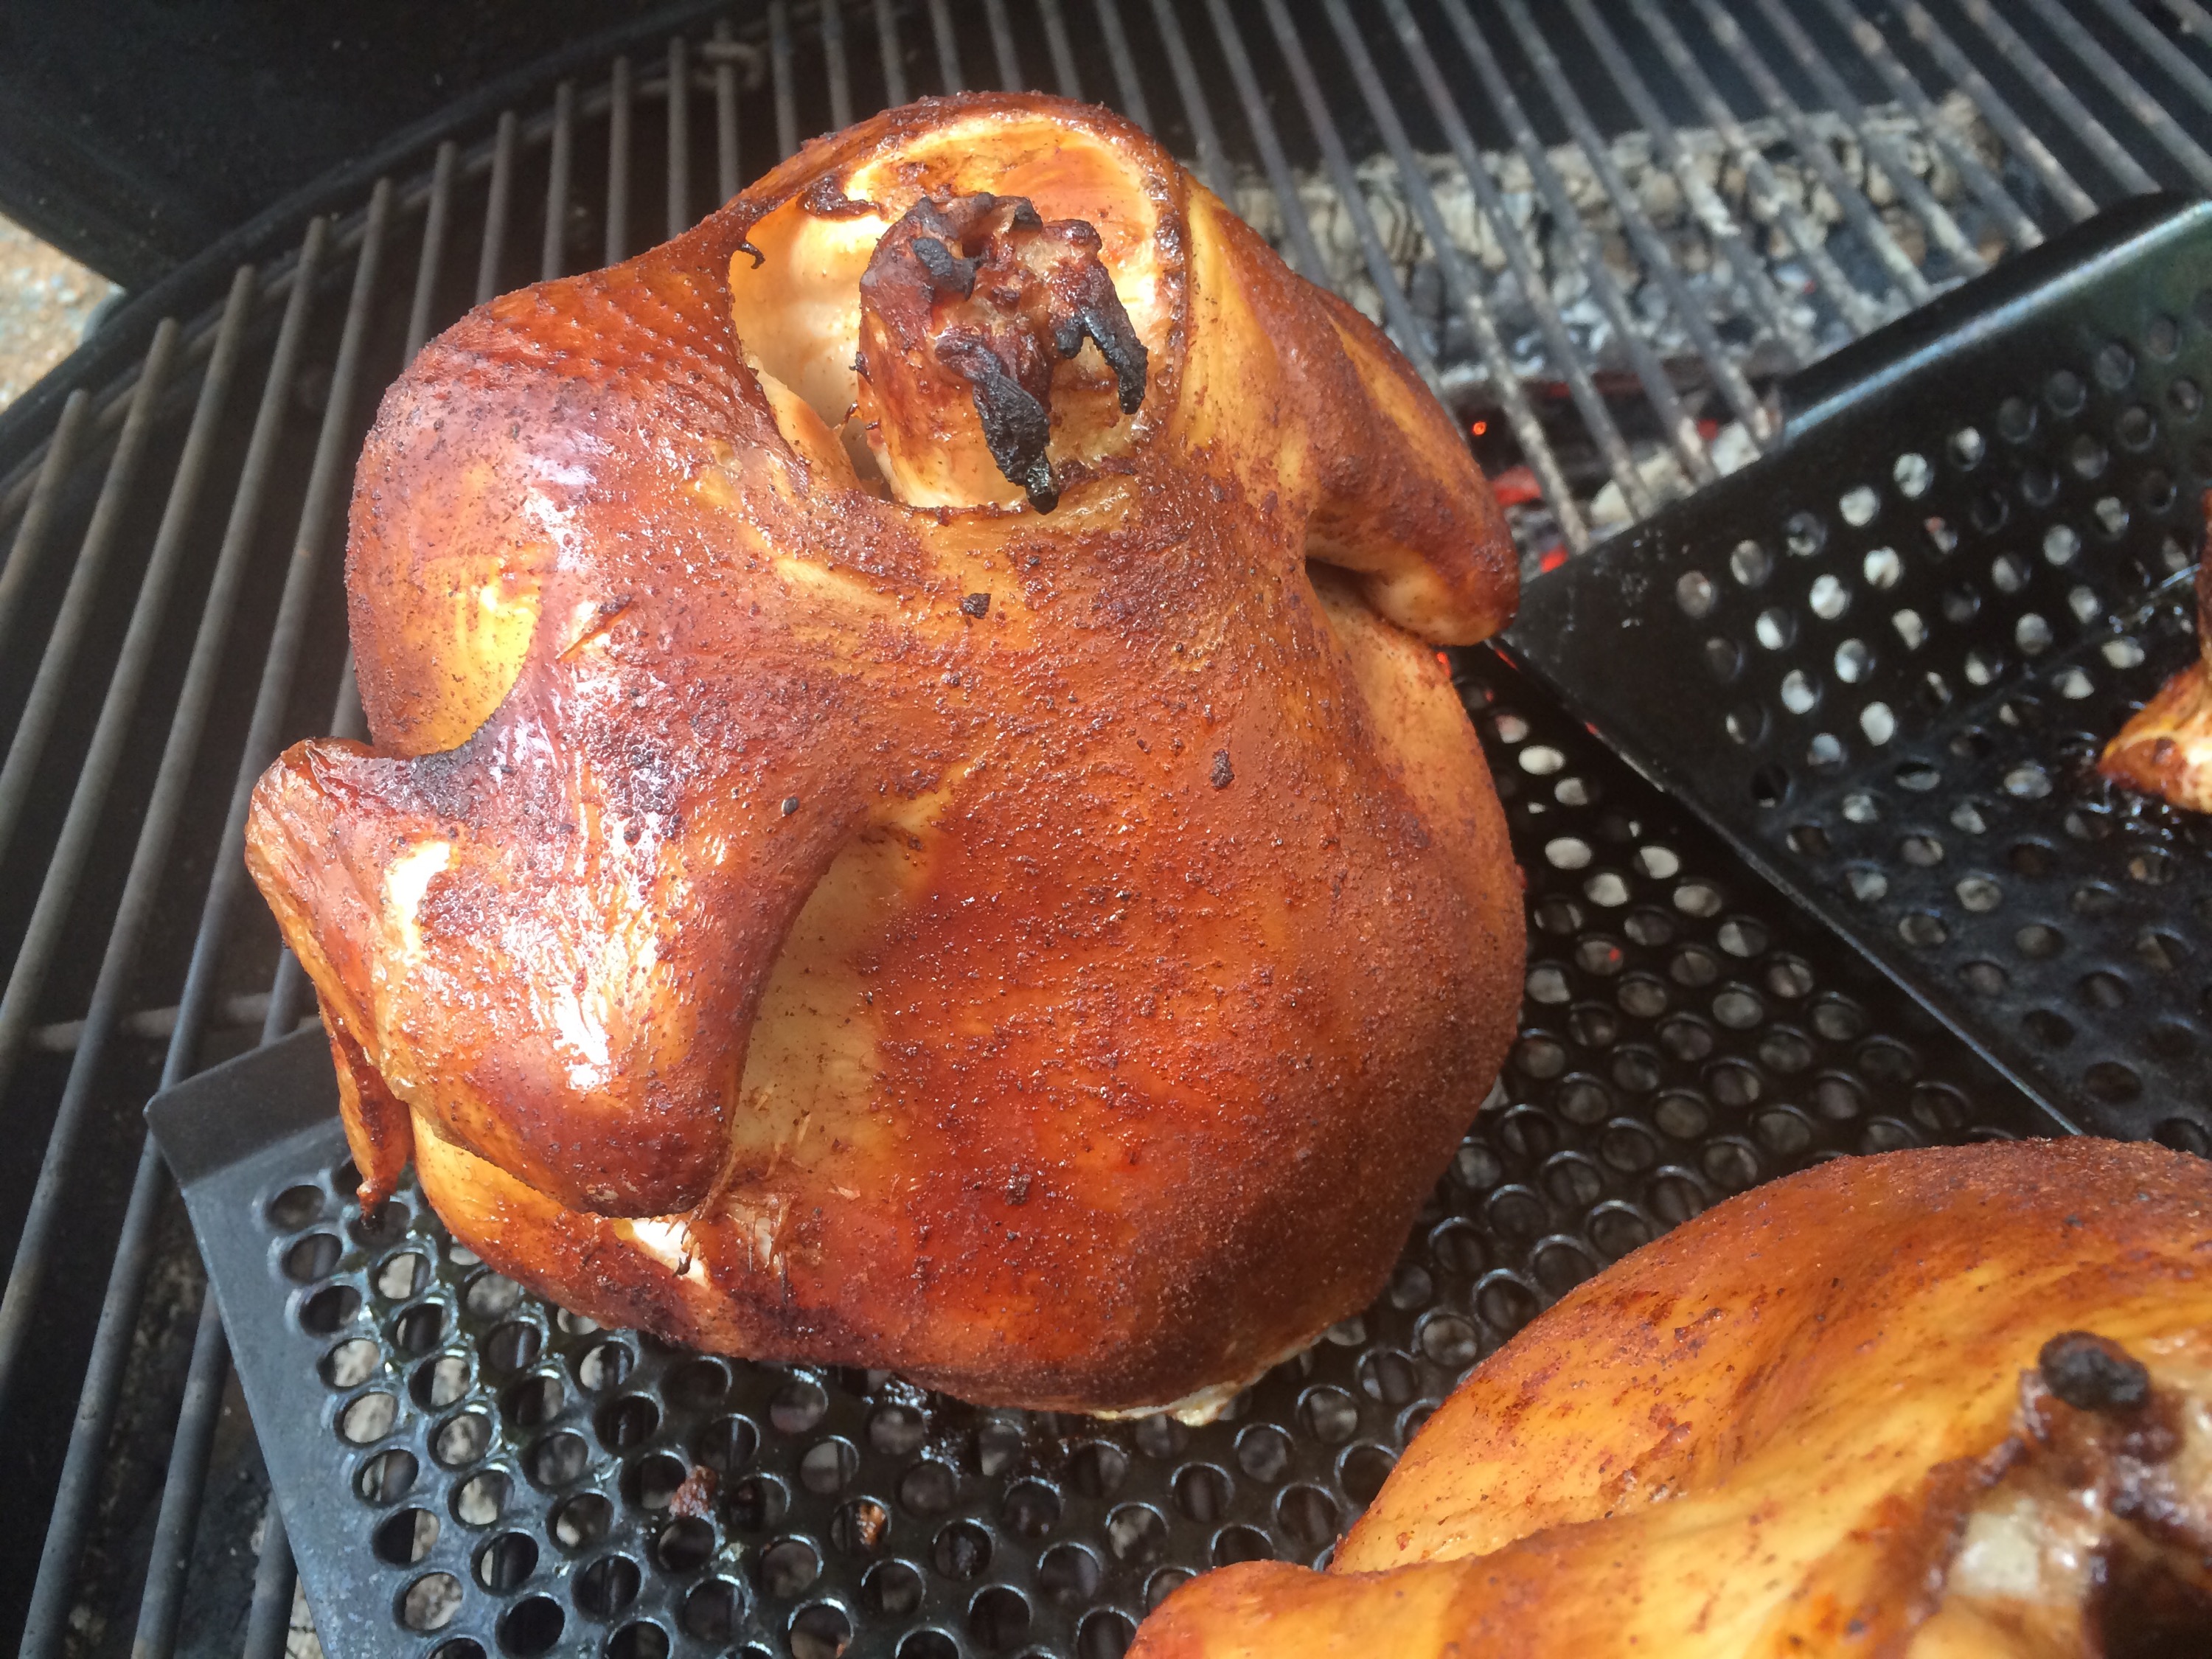
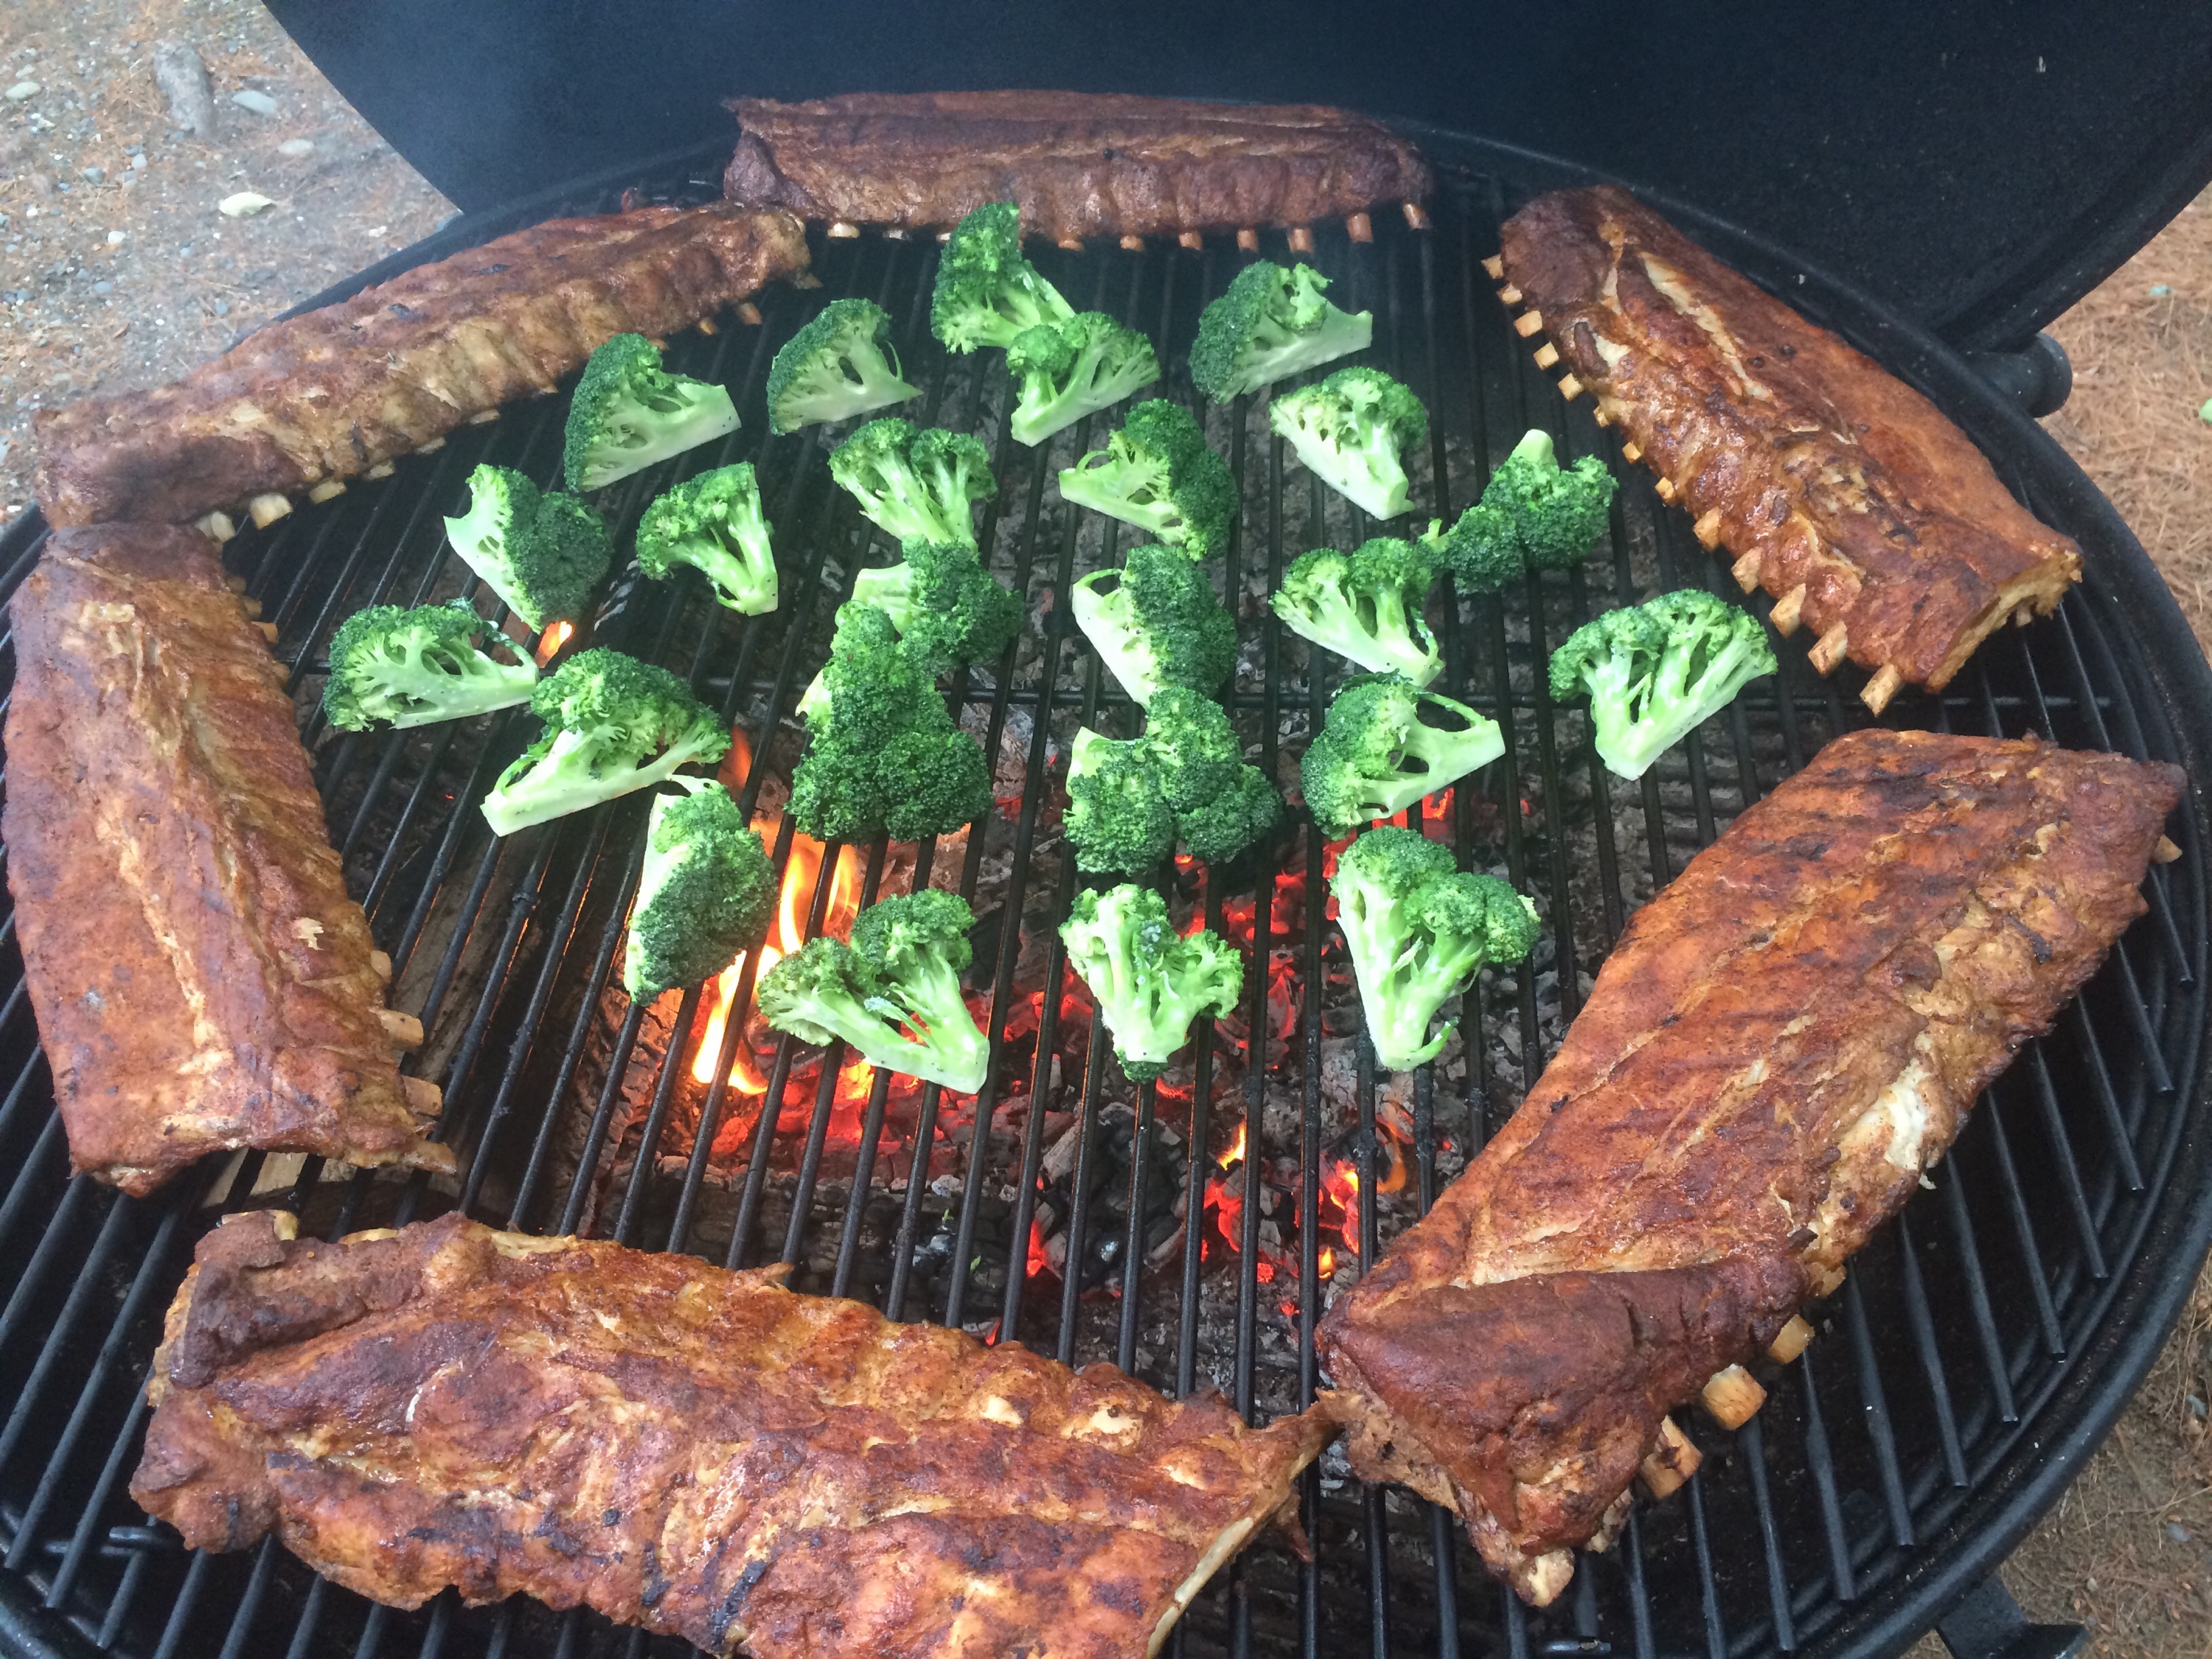
There is something about an open fire and the smell of smoke that people everywhere respond to at an elemental level. Capturing this flavor and feeling is what smoking is all about and it’s not as complicated as you might think. Here is my favorite recipe for smoked chicken wings.

Smoked Chicken Wings with BBQ Cumin Rub
Total time: 2 hours
Ingredients:
14-16 Chicken Wings
Brine:
4 Cups Water
1/2 Cup Salt
1/2 Cup Sugar
Dry Rub:
3 Tbsp Light Brown Sugar
1 1/2 Tbsp Smoked Paprika
1 1/2 Tbsp Kosher Salt
1 1/2 Tbsp Black Pepper
1 Tbsp Cumin
1/2 Tbsp Chili Powder
1 tsp Garlic Powder
1 tsp Onion Powder
1/4 tsp cayenne
Directions:
Start a hardwood fire on one side of your grill and let it burn down to coals or fire up your electric smoker.
Meanwhile, whisk together water, salt and sugar until completely dissolved. Soak wings in brine for at least 30 minutes. This will help them retain moisture diring the smoking process.
Combine all ingredients for dry rub and mix well.
Remove wings from the brine and pat dry with paper towels.
Sprinkle wings with dry rub and toss to coat. Allow to sit another 30 minutes.
When fire has died down to coals (about one hour) or electric smoker is ready, place wings on grate opposite coals and close lid making sure vents are open.
After 45 minutes, check wings by inserting an instant read thermometer in the thickest part as close to the bone as possible. If the thermometer reads 190 F or above, remove wings and cool. If not, allow to smoke until wings reach 190 F.
Briefly allow to cool and then separate wing from drumette by cutting in half at the joint. Serve as is, drizzle with honey or toss in your favorite sauce.
Today the family and I took it easy and enjoyed ourselves on Moosehead Lake. Here are some of the highlights.

Coffee and Mugdunkers at Katahdin Cookie Works in Greenville

They even let my son go in the case and pick out his own donut when he said he didn’t want the cookie he picked out!

After we had our fill of sugar and caffeine, we headed to Lily Bay State Park for a little fun in the sun.

We had a wonderful time at the beach and a lot of fun exploring!

After the beach, we set off on the trail for a short hike.

We weren’t walking too long before we saw a young doe and her fawn.

It wasn’t long before we saw another deer enjoying this gorgeous day.

After we left the park we headed up to Kokadjo to see the sights.

It’s a little out of the way but well worth the trip.

It was starting to get late in the day so we headed south past Greenville to get some dinner.

We drove toward Monson to go to our favorite BBQ place but they had closed early. It ended up being a good thing because the place we checked out next had a great band playing and a beautiful view of the lake.

We made it back to camp just in time for the sunset. This was a perfect day. The whole family had a great time enjoying it together. I am going to remember this day fondly for a very long time.

Yesterday was a good day. No, scratch that. Yesterday was a great day. I had enough time in the afternoon to wander about the island enjoying the beautiful weather and the best nature has to offer.

Early in the afternoon, my client came down to the kitchen to tell me how much they enjoyed the filet with chanterelle velouté and ask me if I knew of any more chanterelles we could have for dinner that night. I told her I would be happy to go find some and headed out to check the usual spots. I don’t like to take everything out of one spot so I went down to a spot near the beach where I had seen some last year.

I only found a couple mushrooms but was pleasantly surprised by how many wild strawberries were growing and how perfectly ripe most of them were! I wasted no time collecting the nicest ones and set off down the beach looking for more chanterelles.
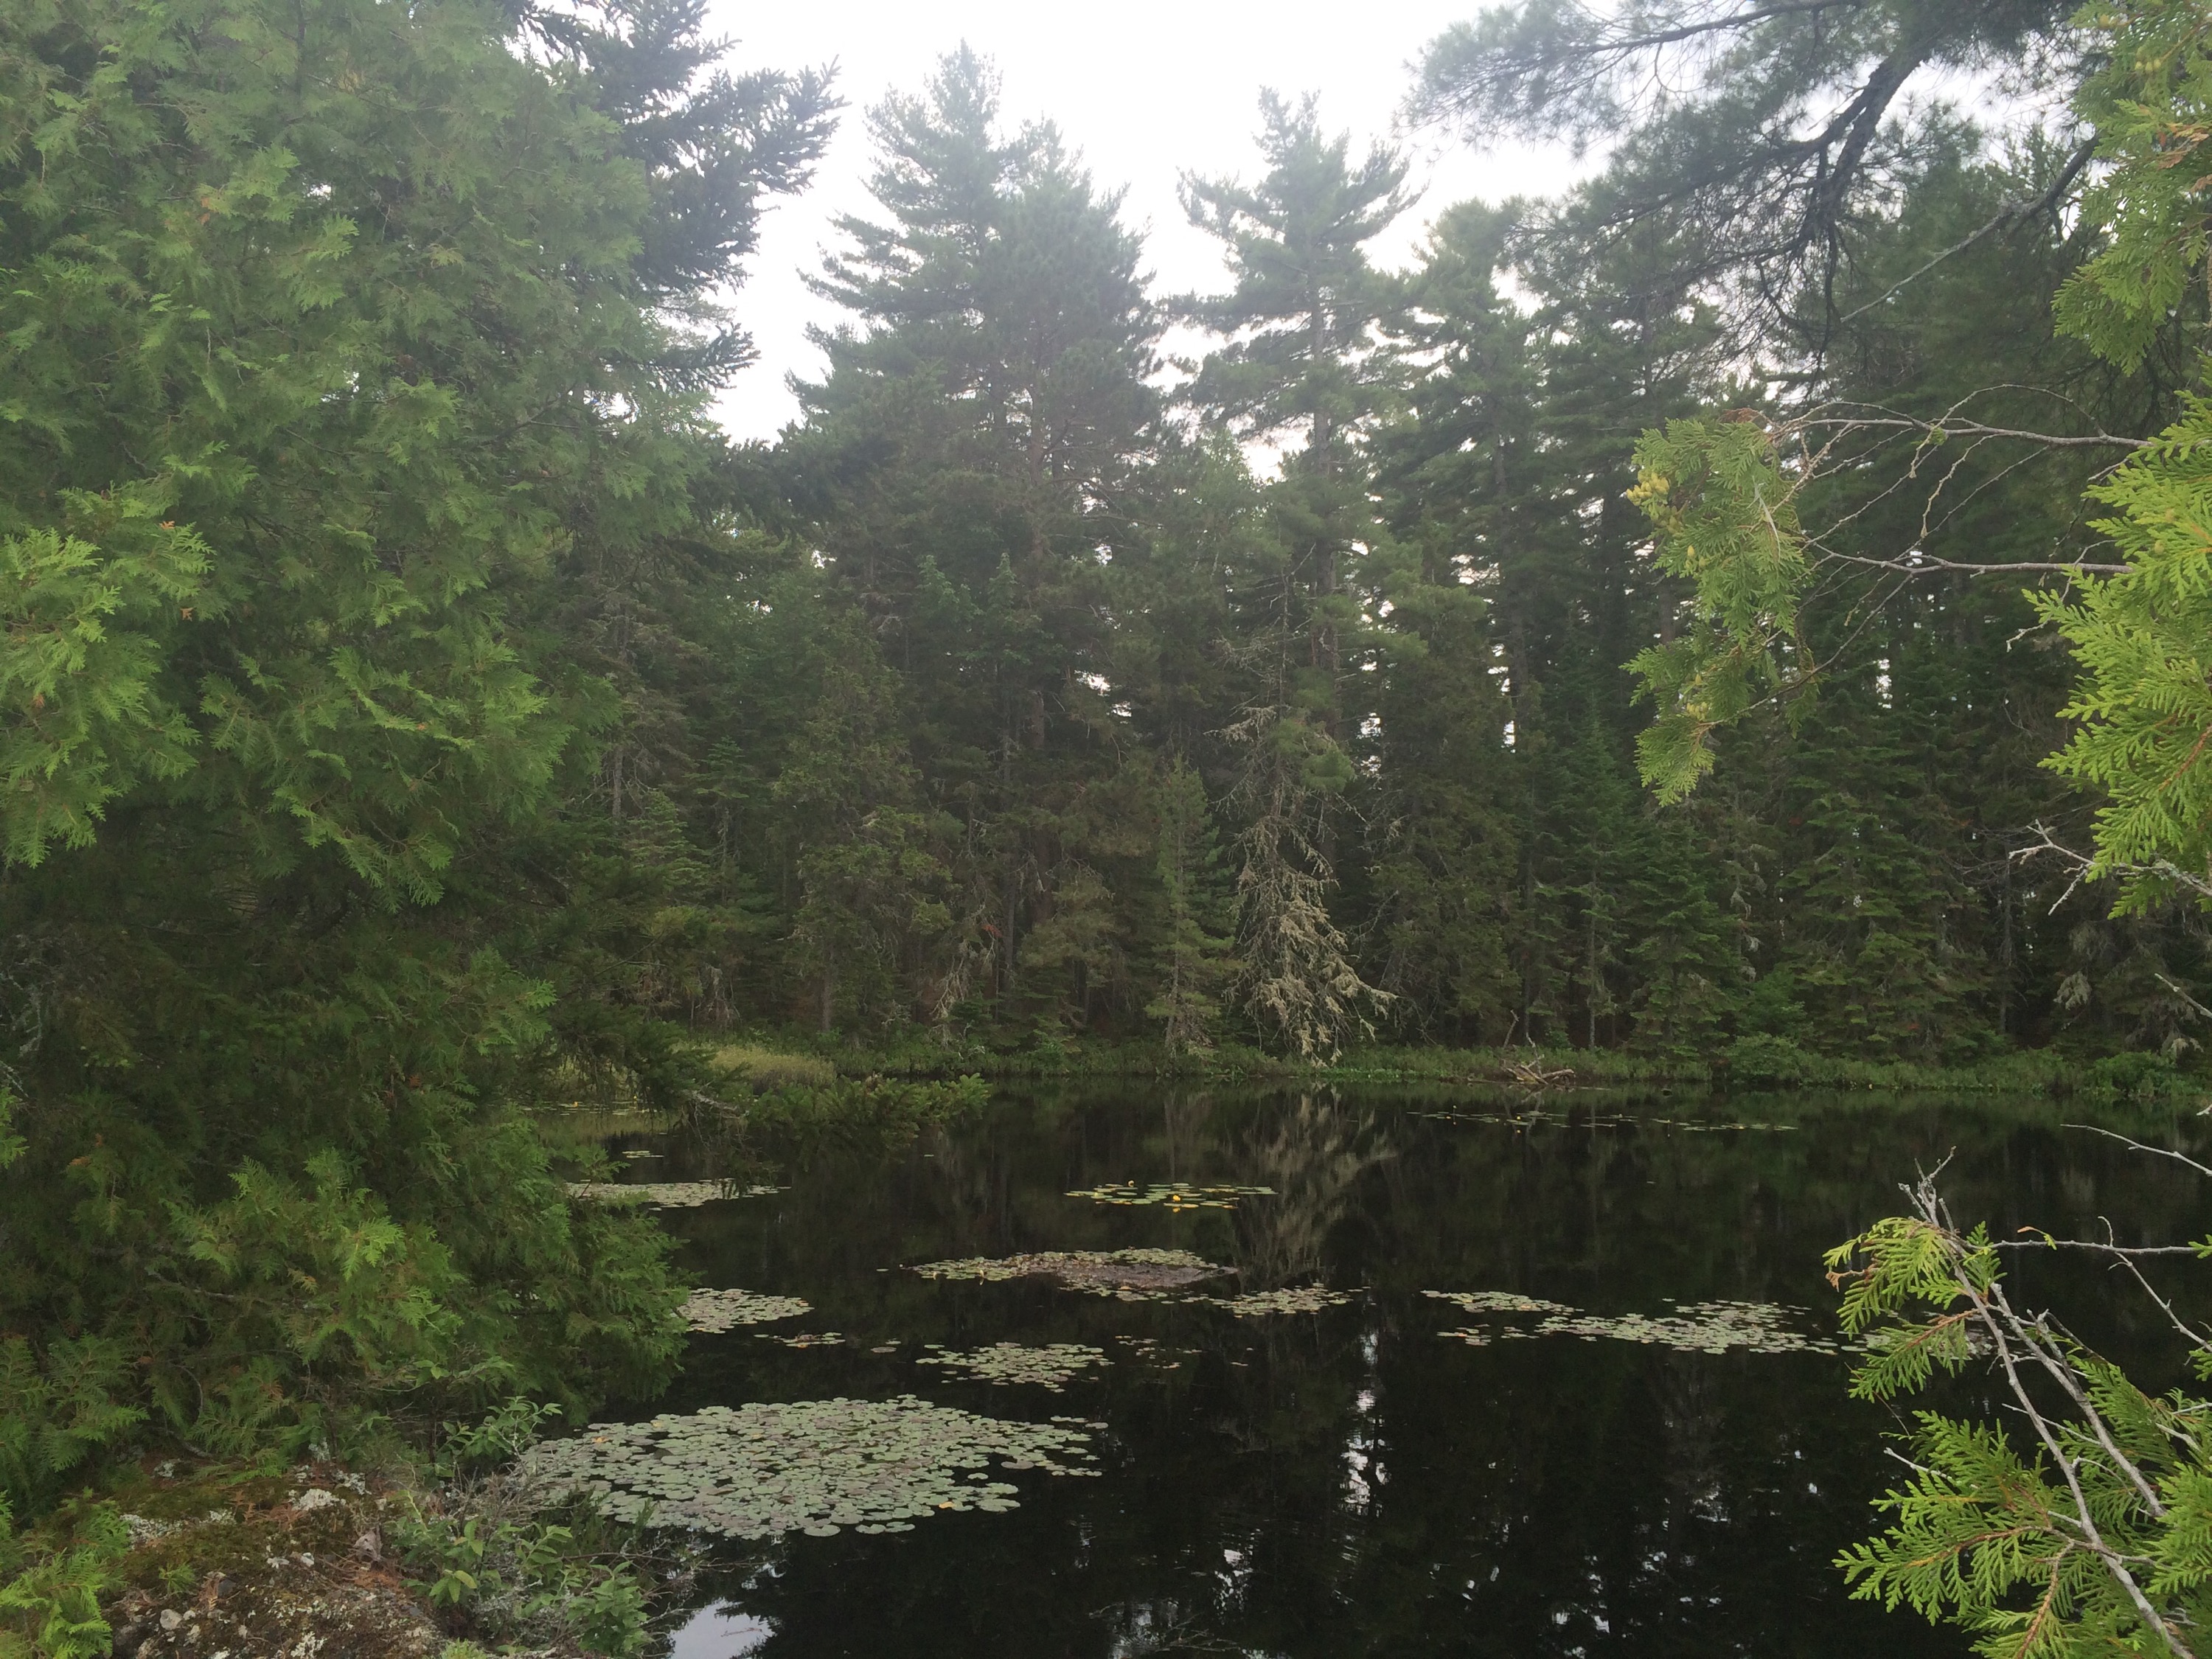
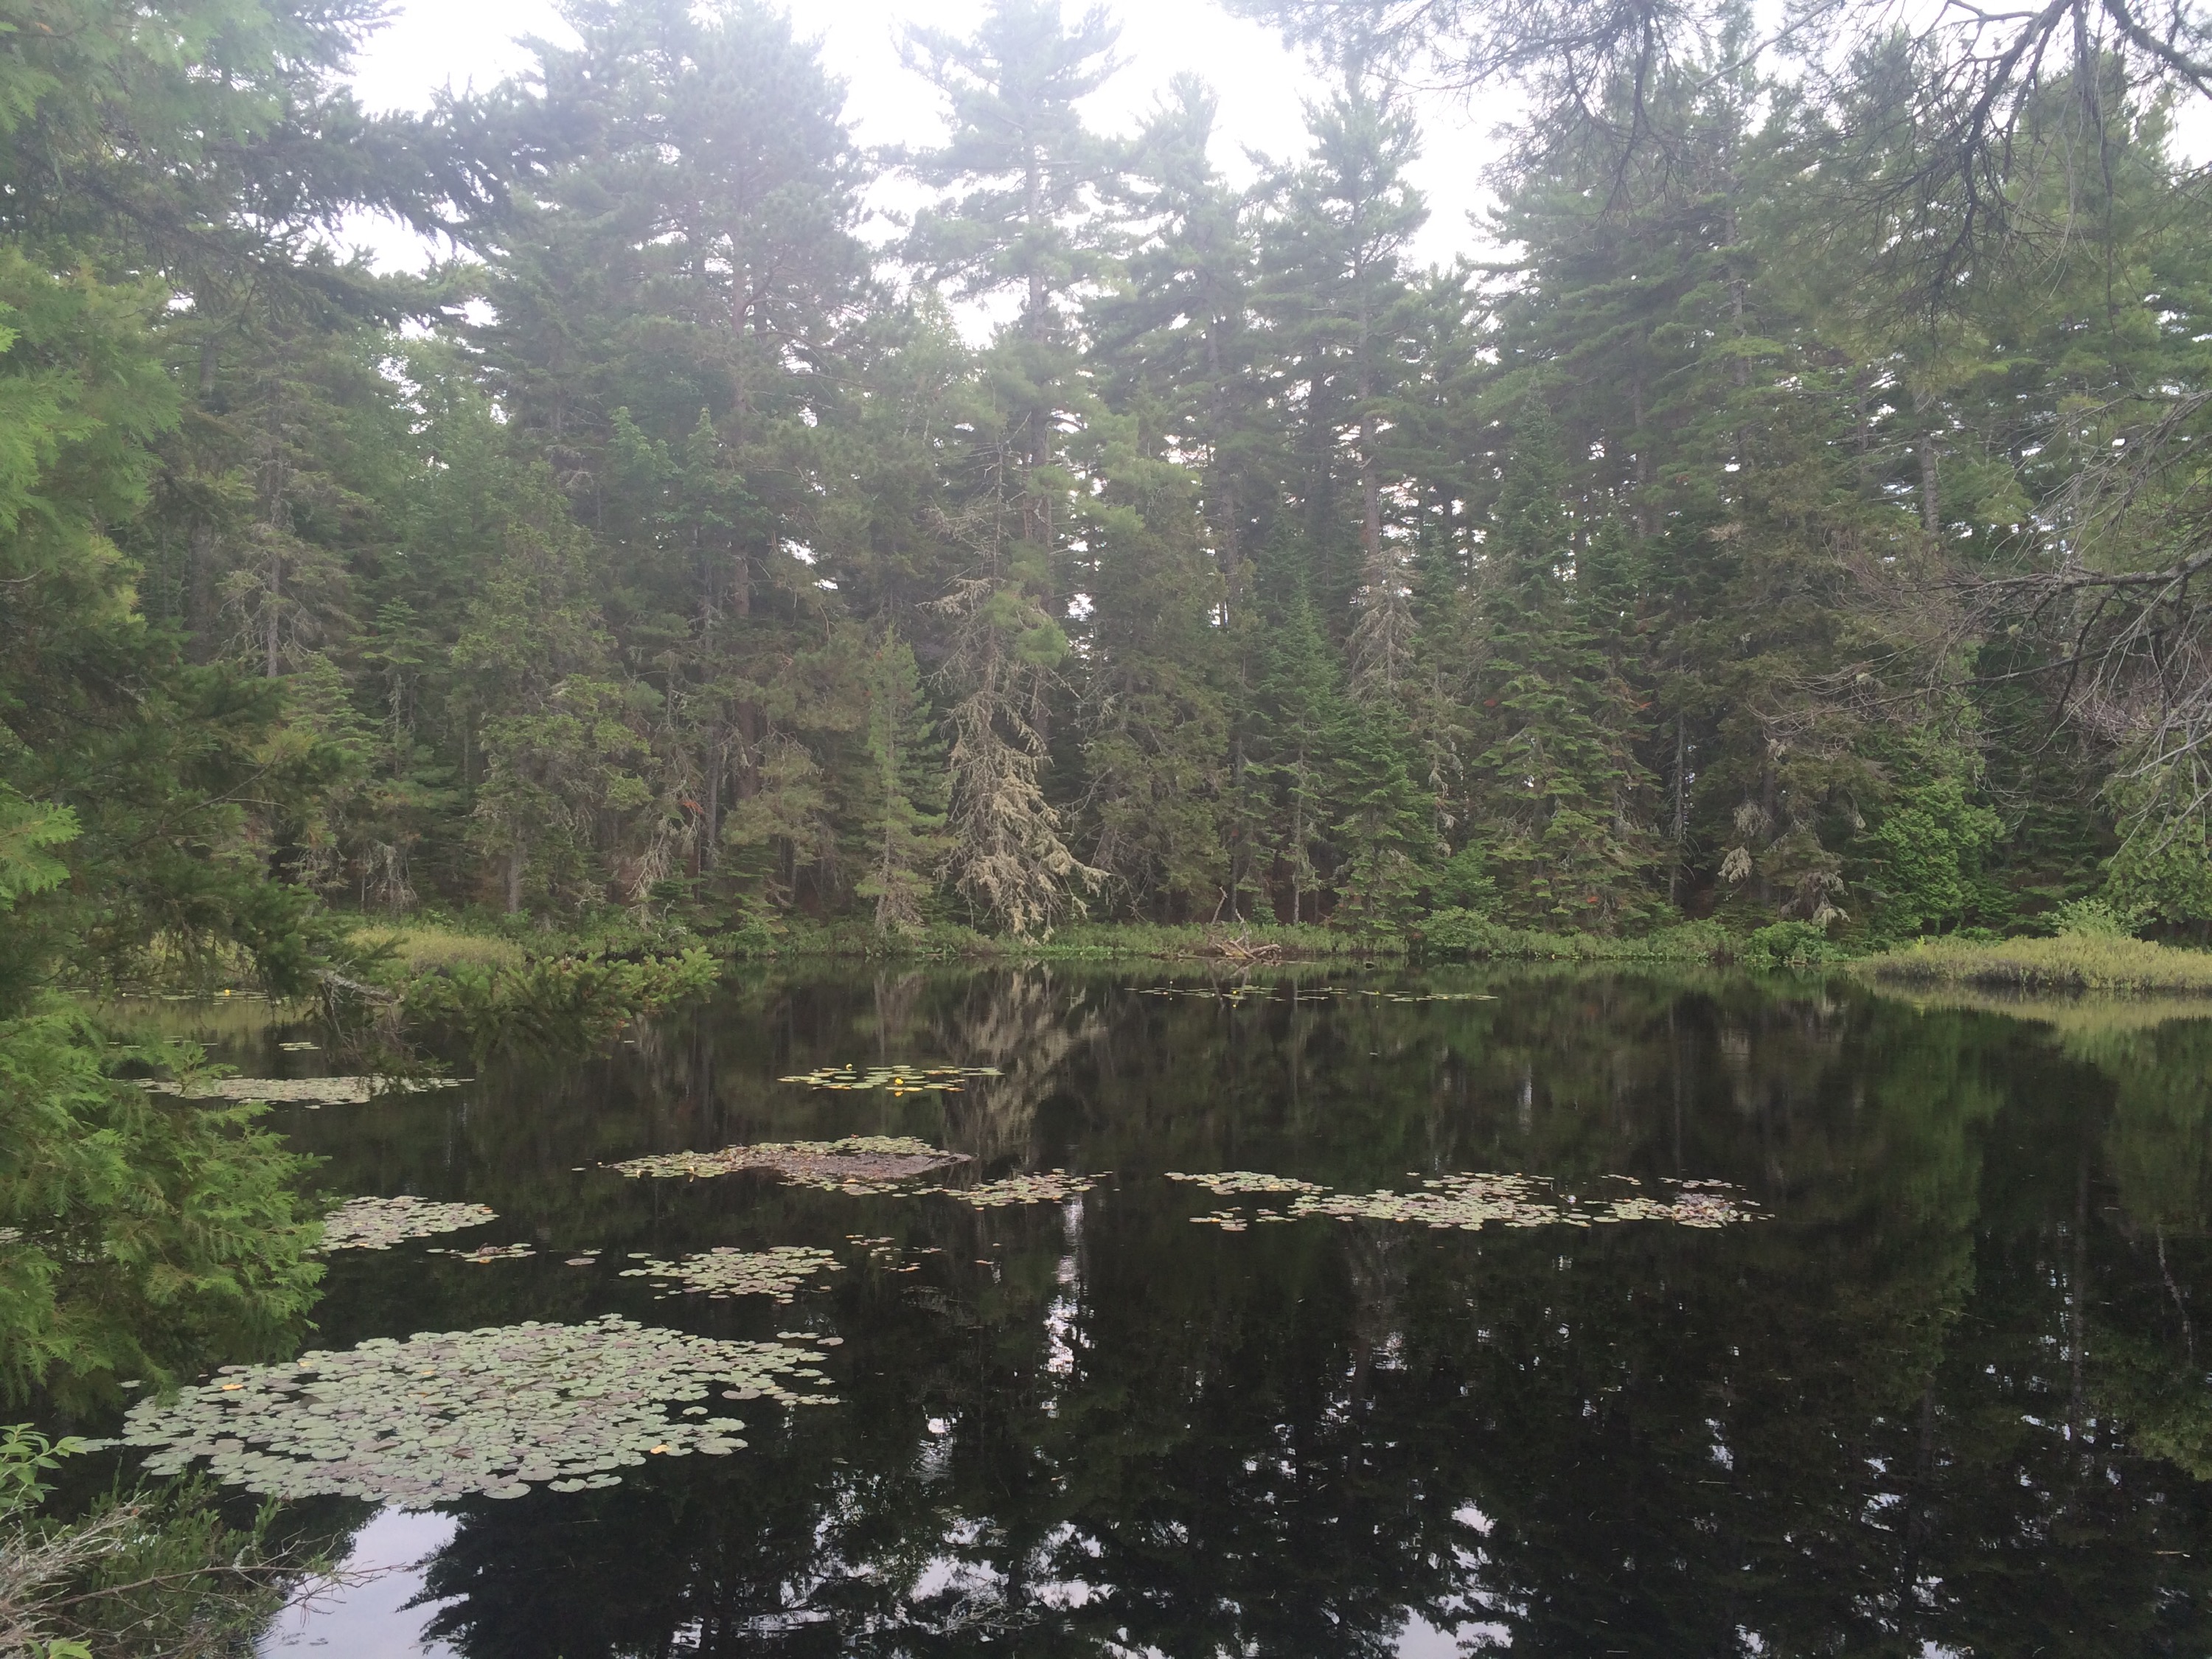
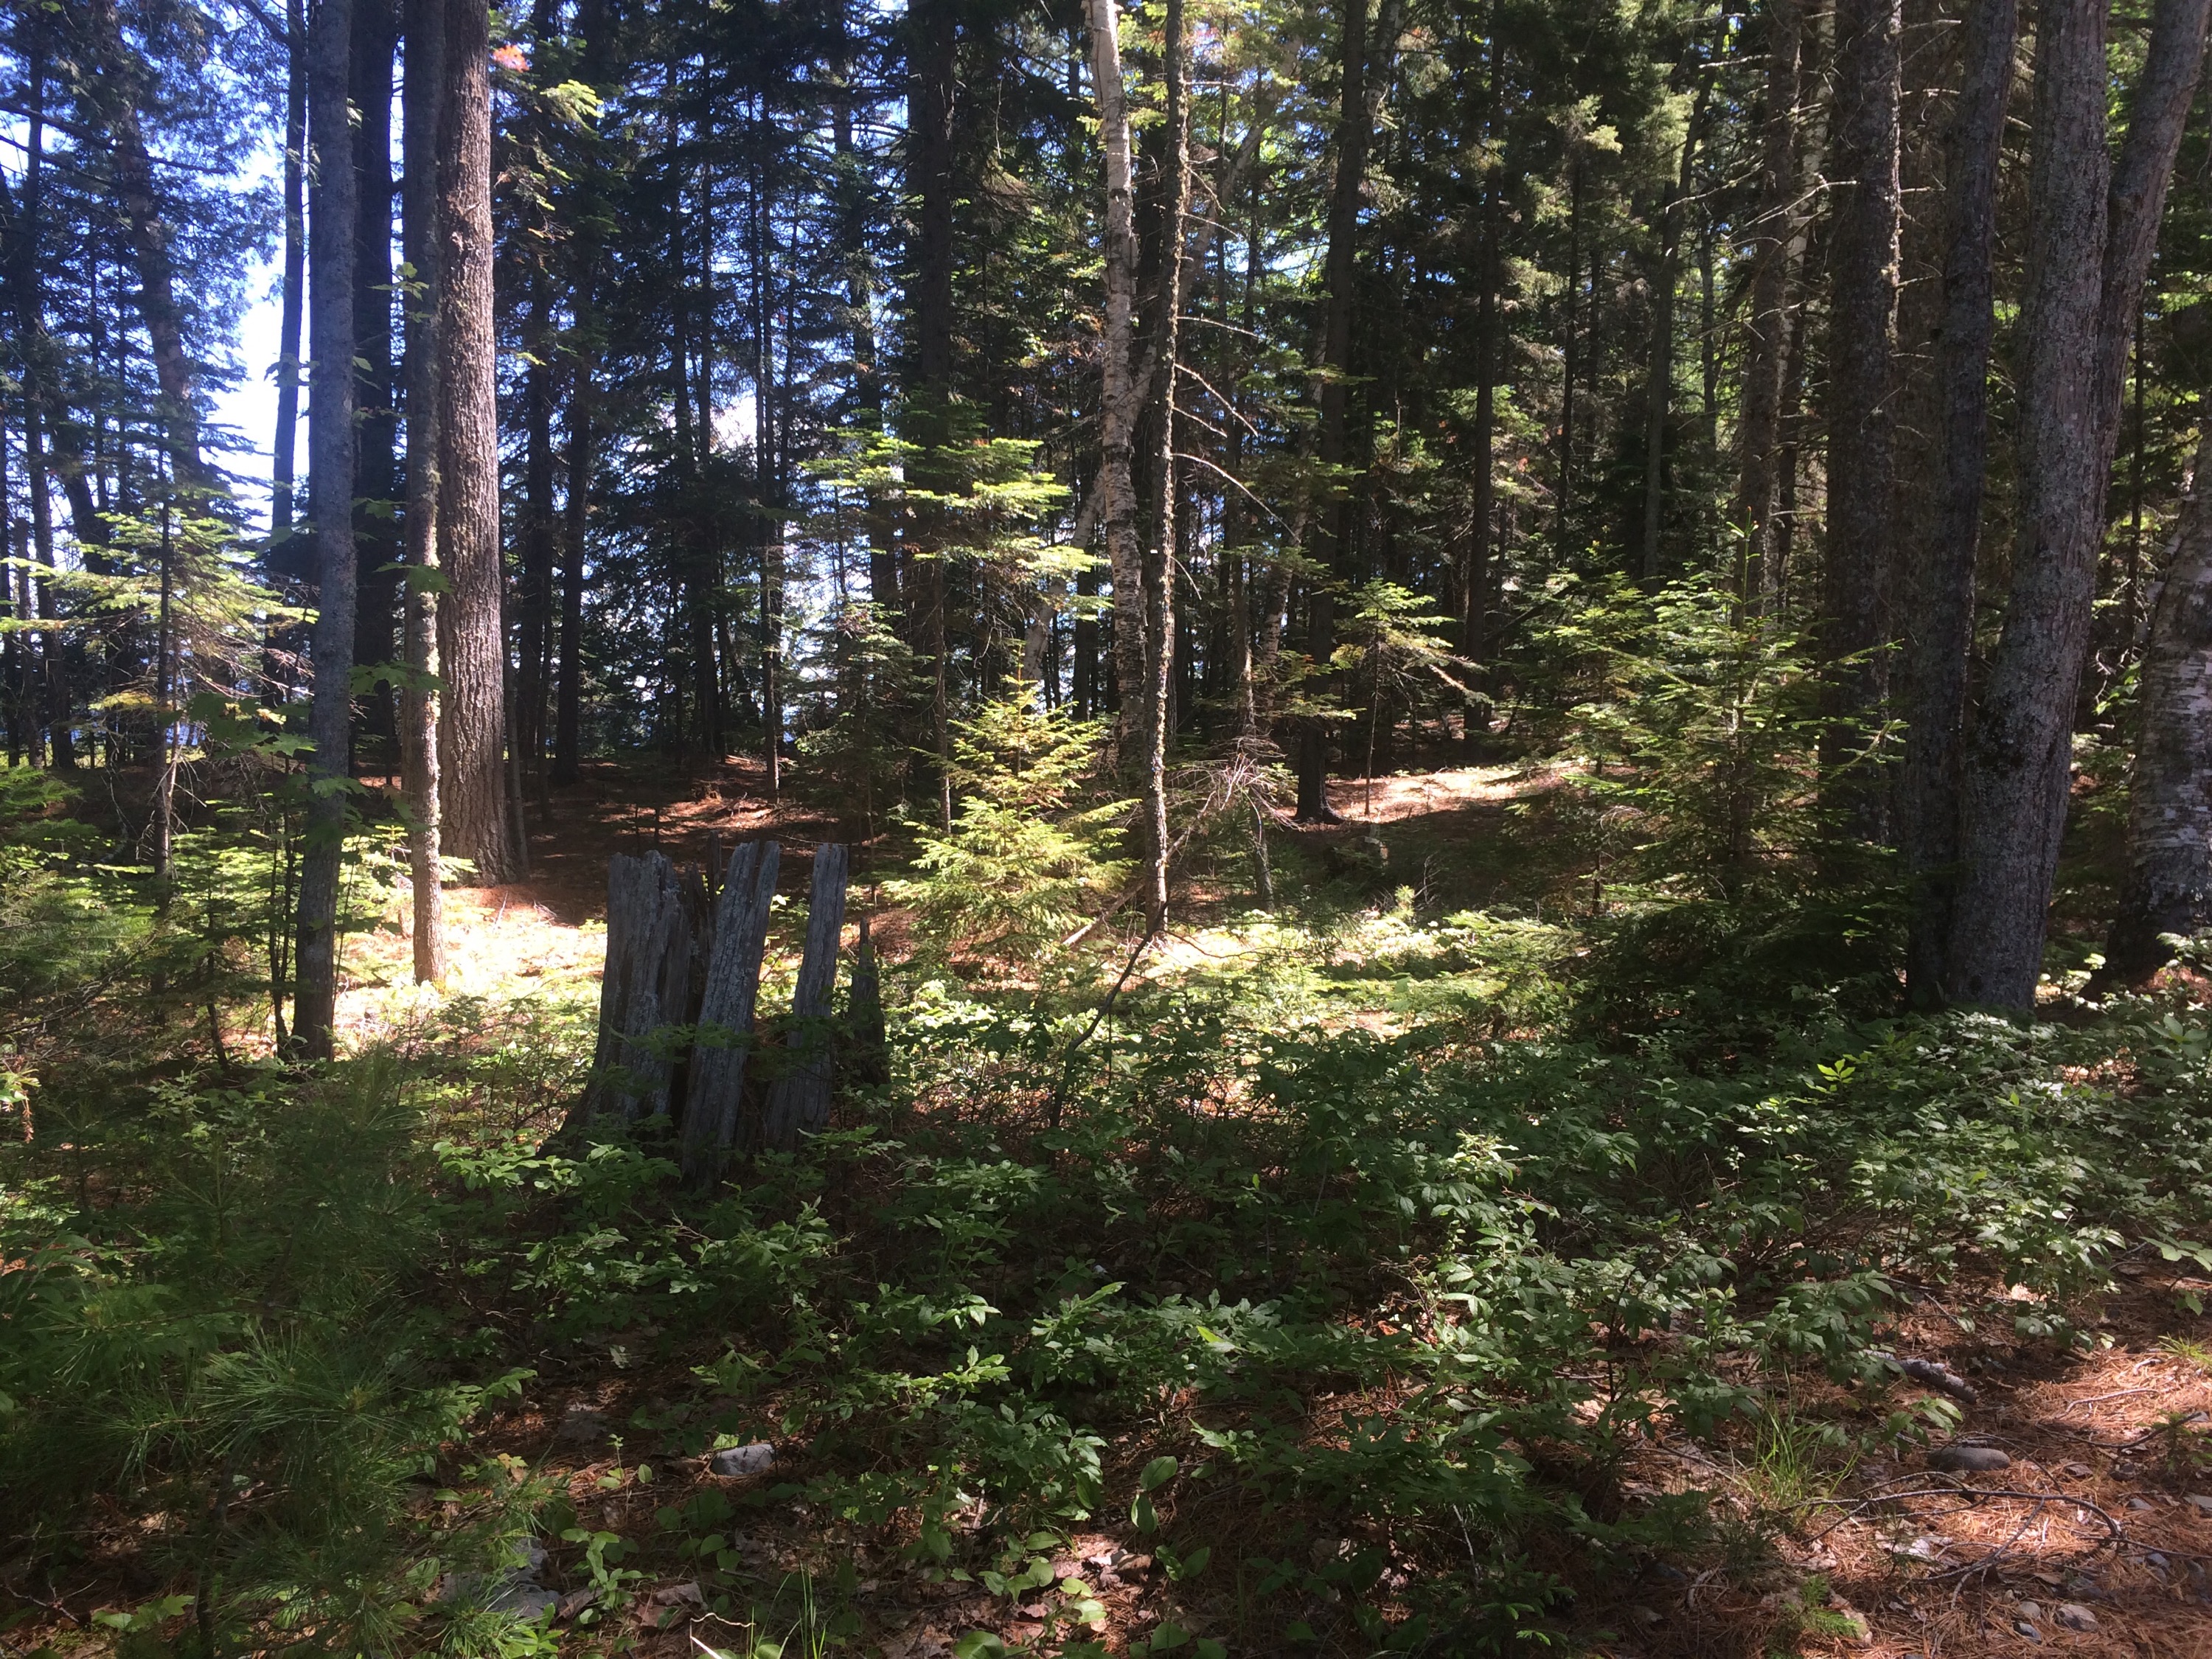
I didn’t find much more than tranquility and spectacular views walking down the beach. That was more than enough for me, but I had promised my client mushrooms for dinner so I doubled back through the woods hoping to get lucky.

As I wandered through the woods with my eyes on the forest floor, I saw many mushrooms. I marveled at the diversity of nature and the beauty of its many creatures. I walked for over an hour revelling at my surroundings but did not find a single chanterelle.

As I headed nearer to the kitchen, I thought I might at least see if I could find some more strawberries. Maybe this just wasn’t my day for mushroom hunting. I headed back down toward the beach where I had seen the strawberries, thinking about how I might use them later. I found a few more ripe ones I had missed earlier and turned to head back and build the fire. Suddenly, I stopped dead in my tracks.

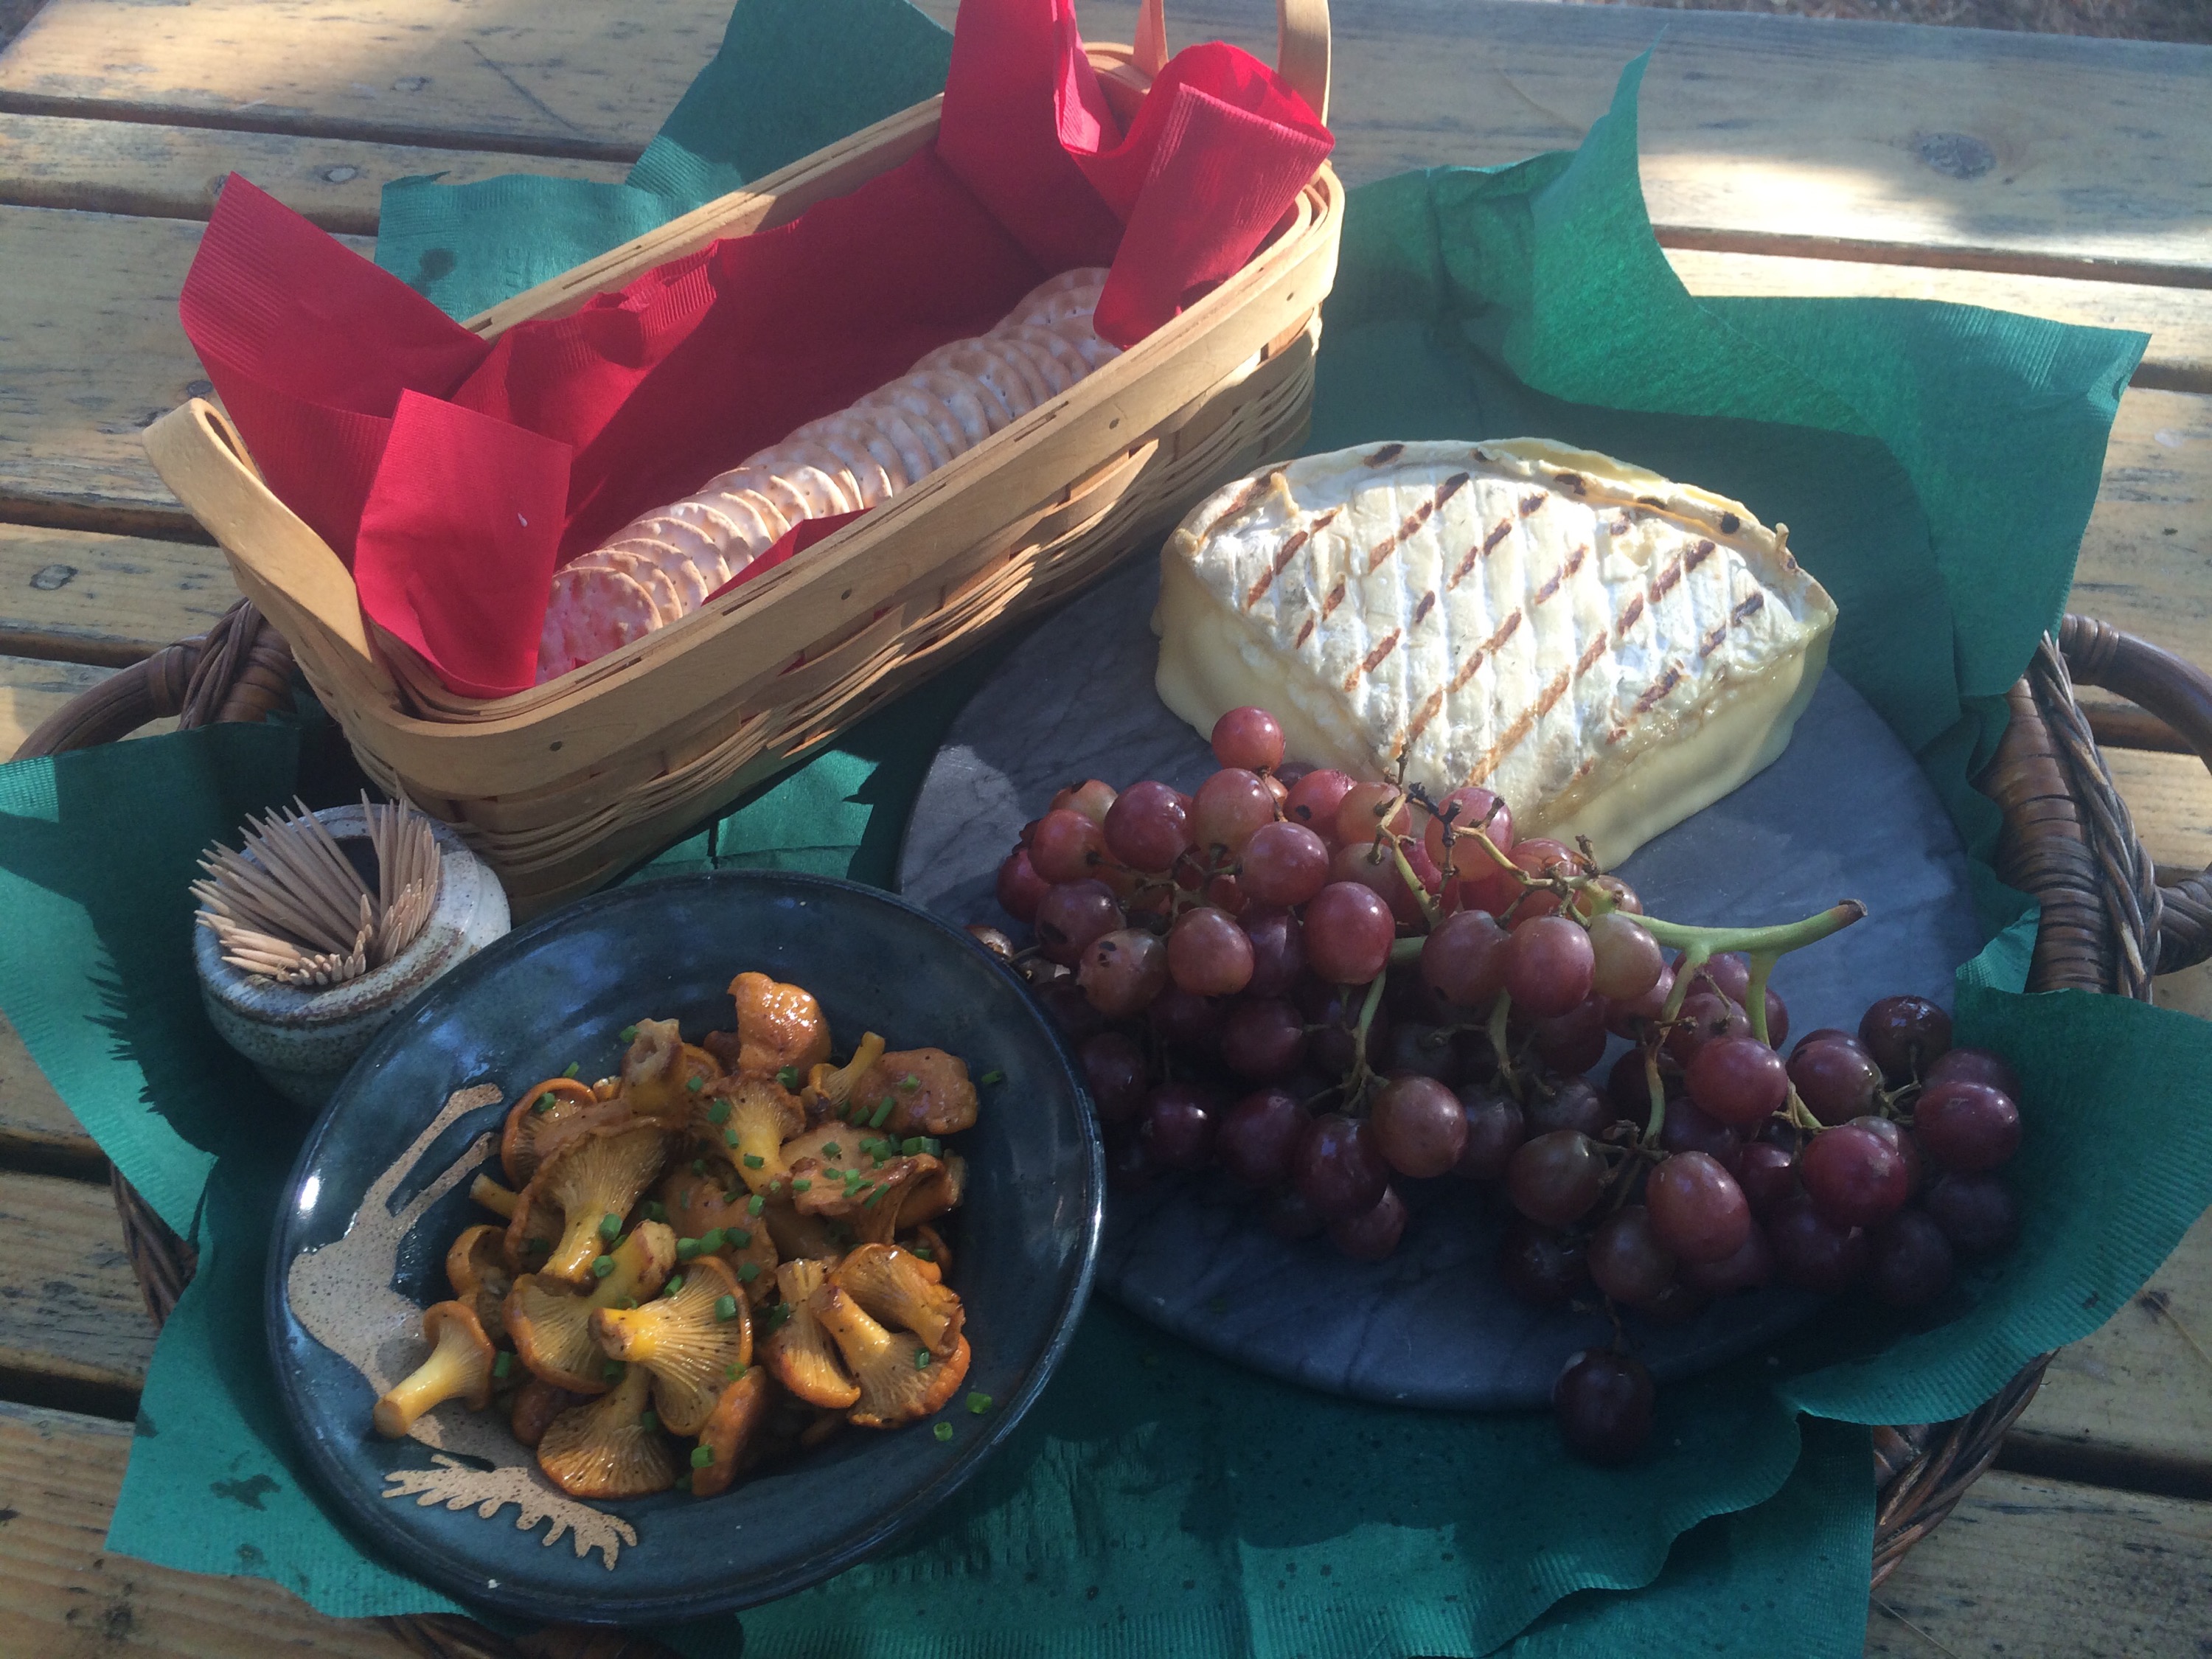
Directly in front of me was a big patch of apricot colored beauties. More than enough for dinner, and just in time! I quickly gathered the nicest ones and placed them in my basket before hurrying back to start the fire for dinner.
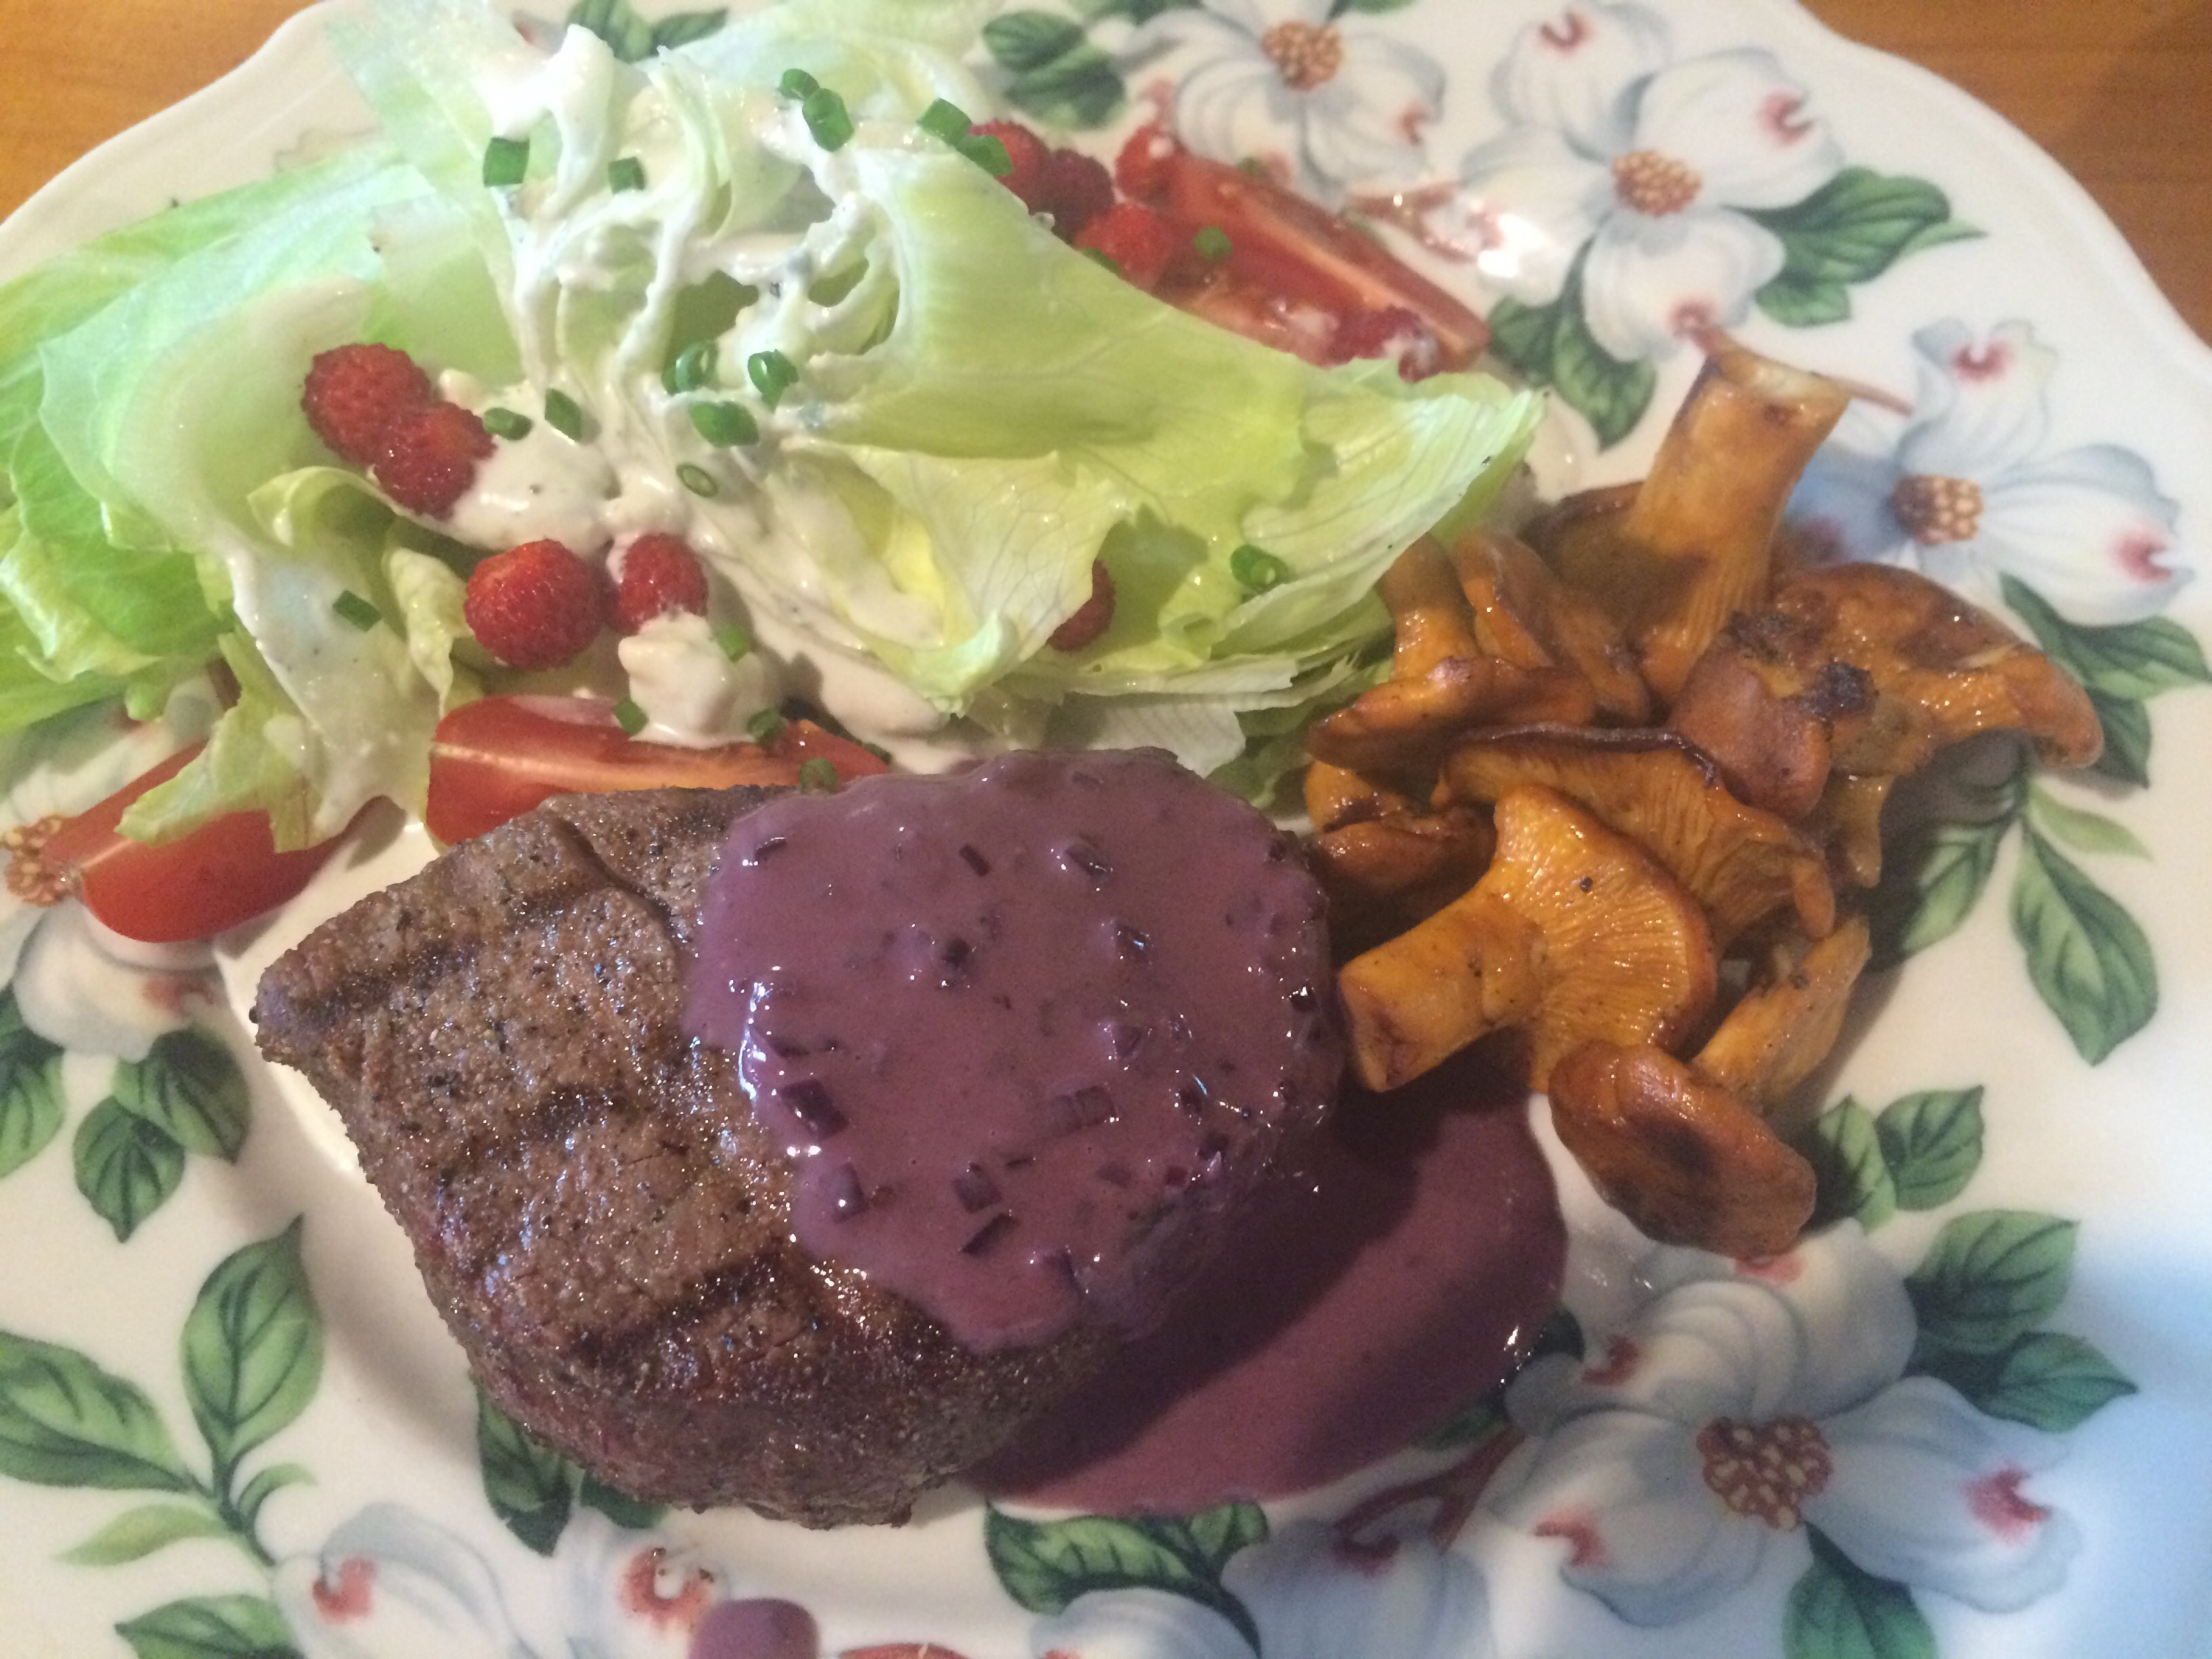
When the fire was ready, I grilled the steaks and the mushrooms together and then made a quick salad with blue cheese dressing, wild strawberries and chives. A red wine reduction mounted with a little cream and butter made a perfect sauce for the steak. My clients were thrilled with dinner but not as thrilled as I was with my afternoon adventure.
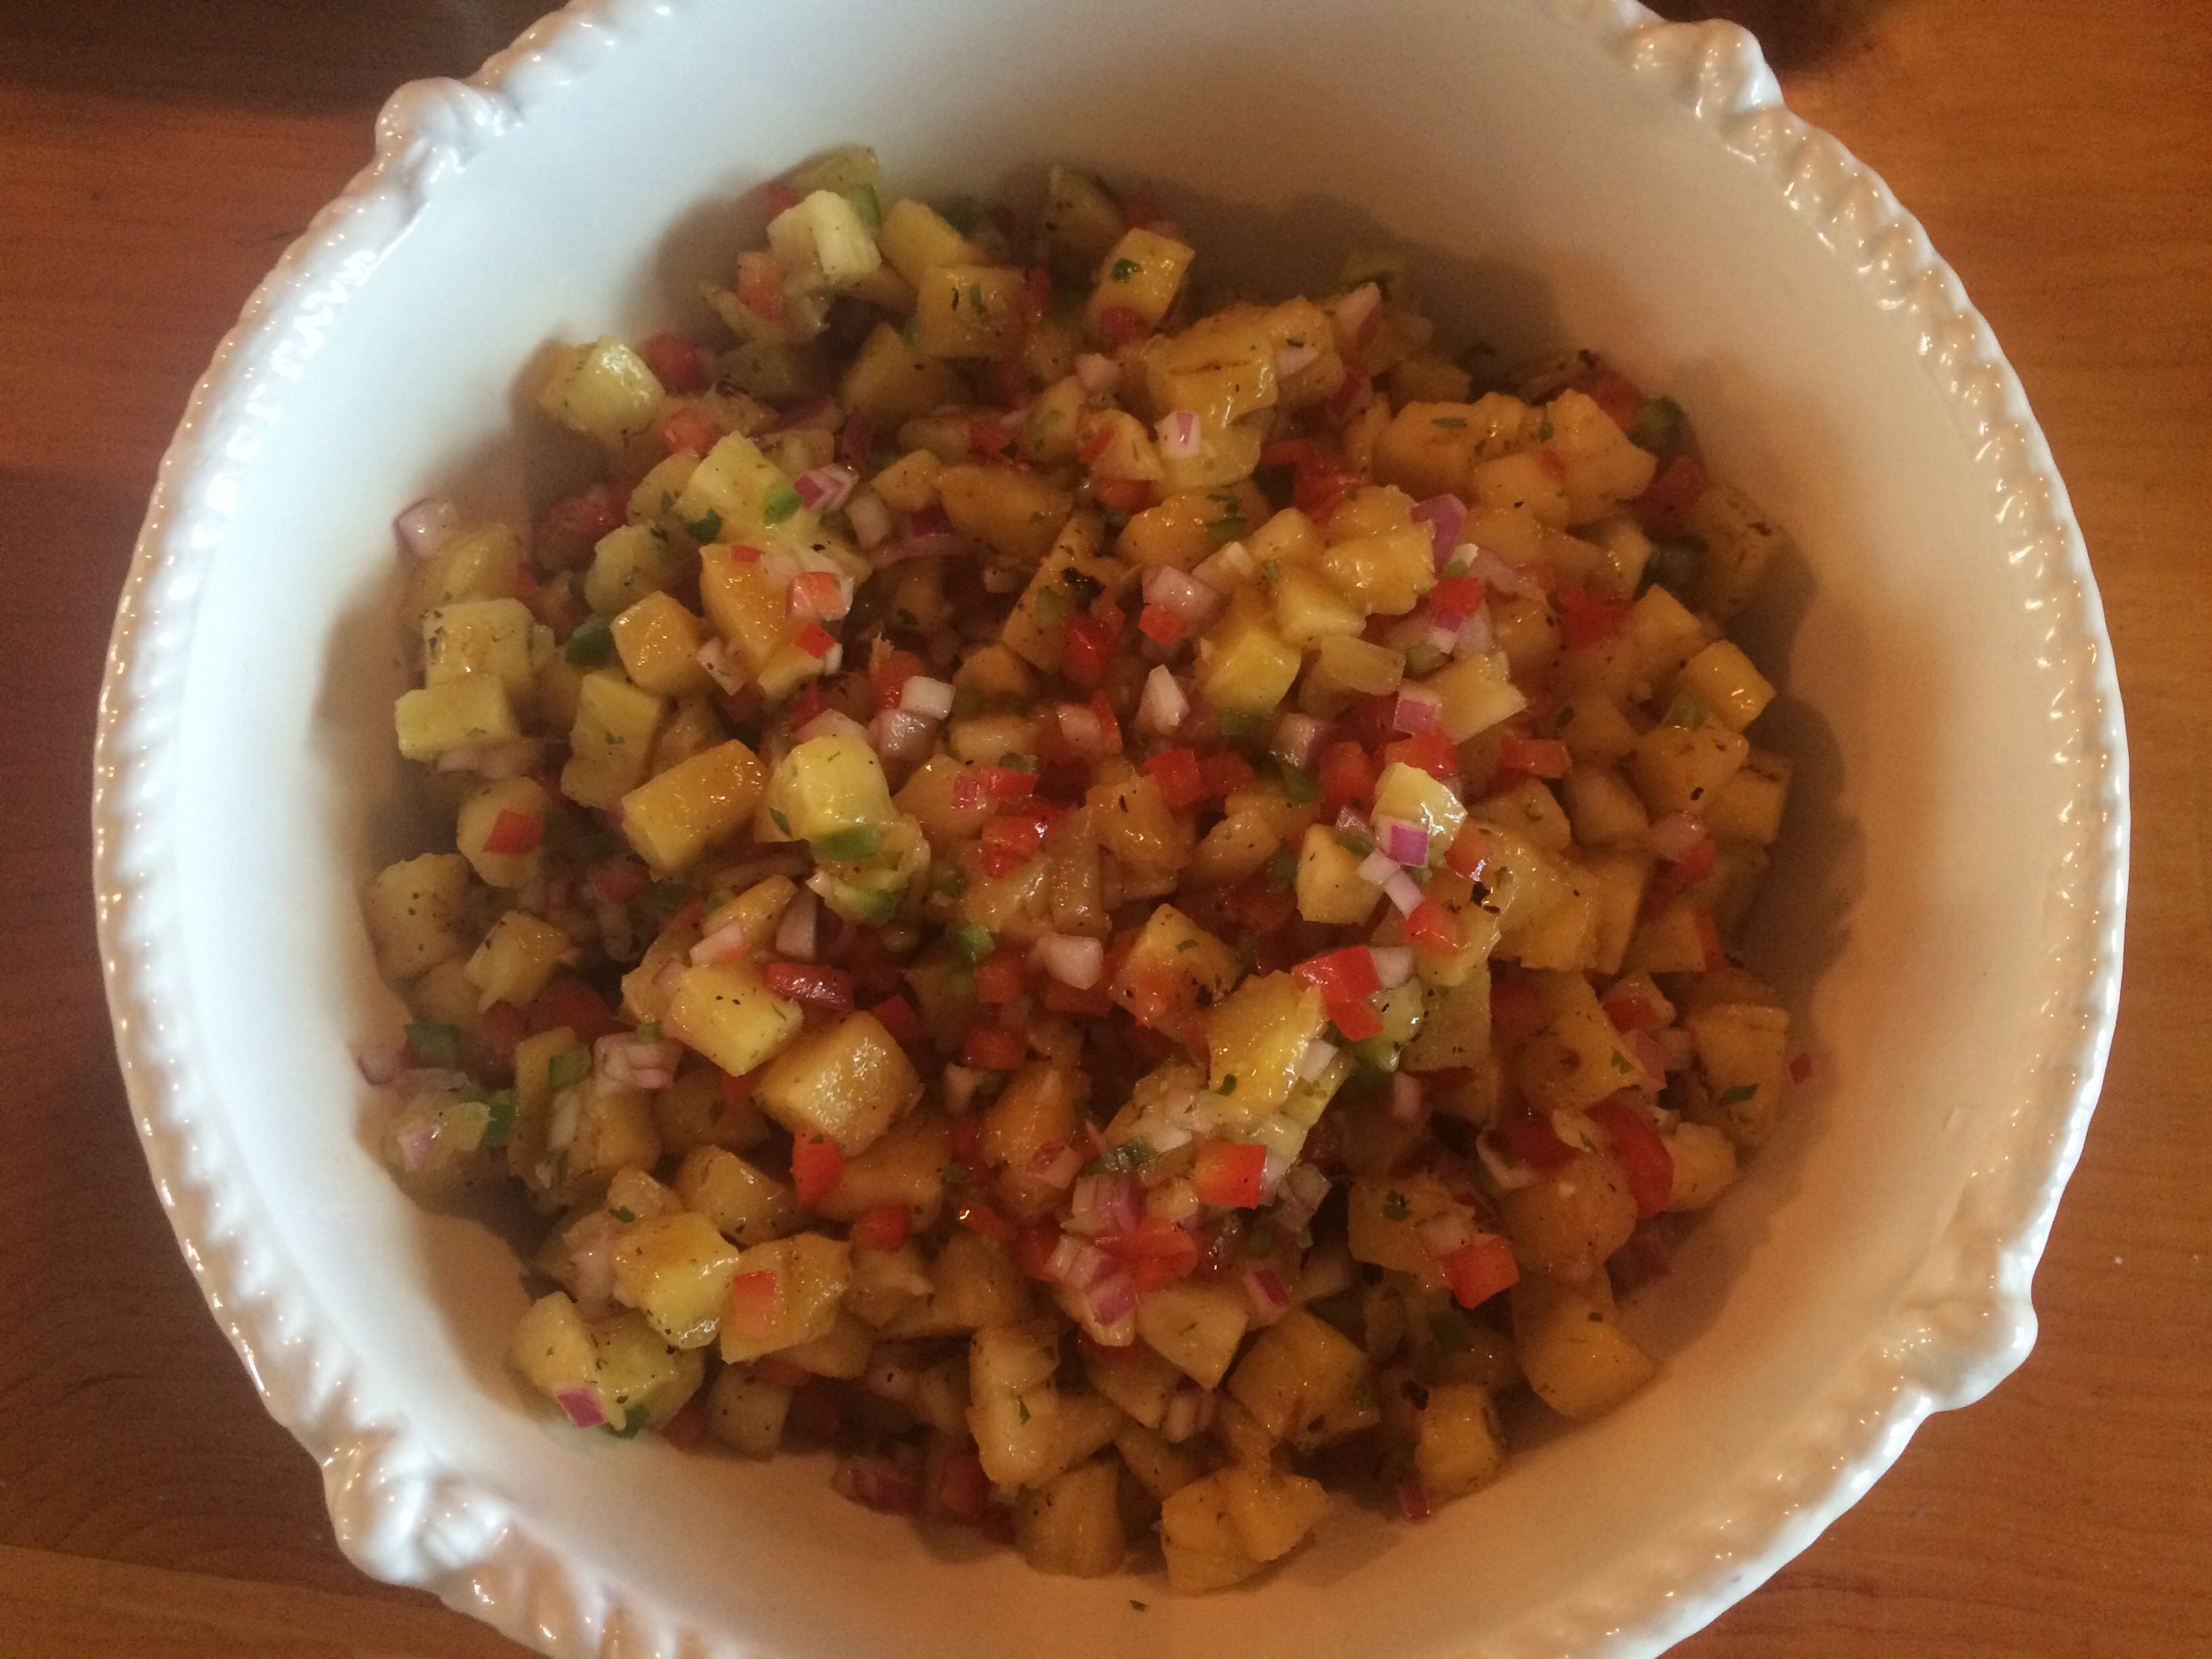
I am always looking for side dishes that are as spectacular as the main course. These two recipes are naturally gluten free and completely vegan and are sure to please everyone, even those with dietary concerns. I have served them with everything from fajitas to quesadillas to fish tacos but they are great with just a big bowl of tortilla chips. These bold, Mexican flavors are a wonderful complement to any meal. Try the salsa as a garnish for grilled fish or pork or spread the guacamole on a BLT instead of mayonnaise. The possibilities are endless!

Grilled Pineapple Salsa
Ingredients:
1 or 2 Pineapples
1 Sweet Red Pepper, Small Dice
1 or 2 Jalapeno or Serrano Peppers
1/2 Red Onion, Small Dice
2 to 3 Limes, Juiced
2 Tbsp Olive Oil
1/2 Bunch Cilantro, Chopped
Salt and Pepper to taste
Directions:
Remove the top and bottom of the pineapple and cut around the sides so you remove all the skin and spines.

Working toward the core of the pineapple, cut slices 1/4 inch thick.
Season the pineapple with salt and pepper. Grill the slices briefly over high heat, 1 to 2 minutes per side.
Remove to a baking sheet to chill slightly.
Meanwhile, cut the onion and pepper into a small dice and place in a bowl.
Remove the seeds from the Jalapeno or Serrano peppers (or leave them in if you like it spicy) and dice small before adding to the bowl.
Add the lime juice and olive oil and toss to combine.

When the pineapple has cooled slightly, cut the slices lengthwise into long strips and then across to make a medium dice. Add the diced pineapple and any juices to the bowl.
Chop the Cilantro and add to the salsa. Mix well, taste and add salt and pepper if necessary.

Guacamole
Ingredients:
5 or 6 Hass Avocados
2 Limes, Juiced
1/2 Tsp Kosher Salt
1/2 Tsp Cumin
1/4 Tsp Cayenne
1/2 Red Onion, Small Dice
4 Small Tomatoes or 2 Large
1 large clove garlic, minced
1/2 Bunch Cilantro
Salt and Pepper to taste

Directions:
Cut the avocados in half lengthwise, working around the pit. Using the heel of your knife, remove the pit and discard. Scoop the flesh out of the skin using a large kitchen spoon and place in a mixing bowl. Immediately add the lime juice and toss to coat.
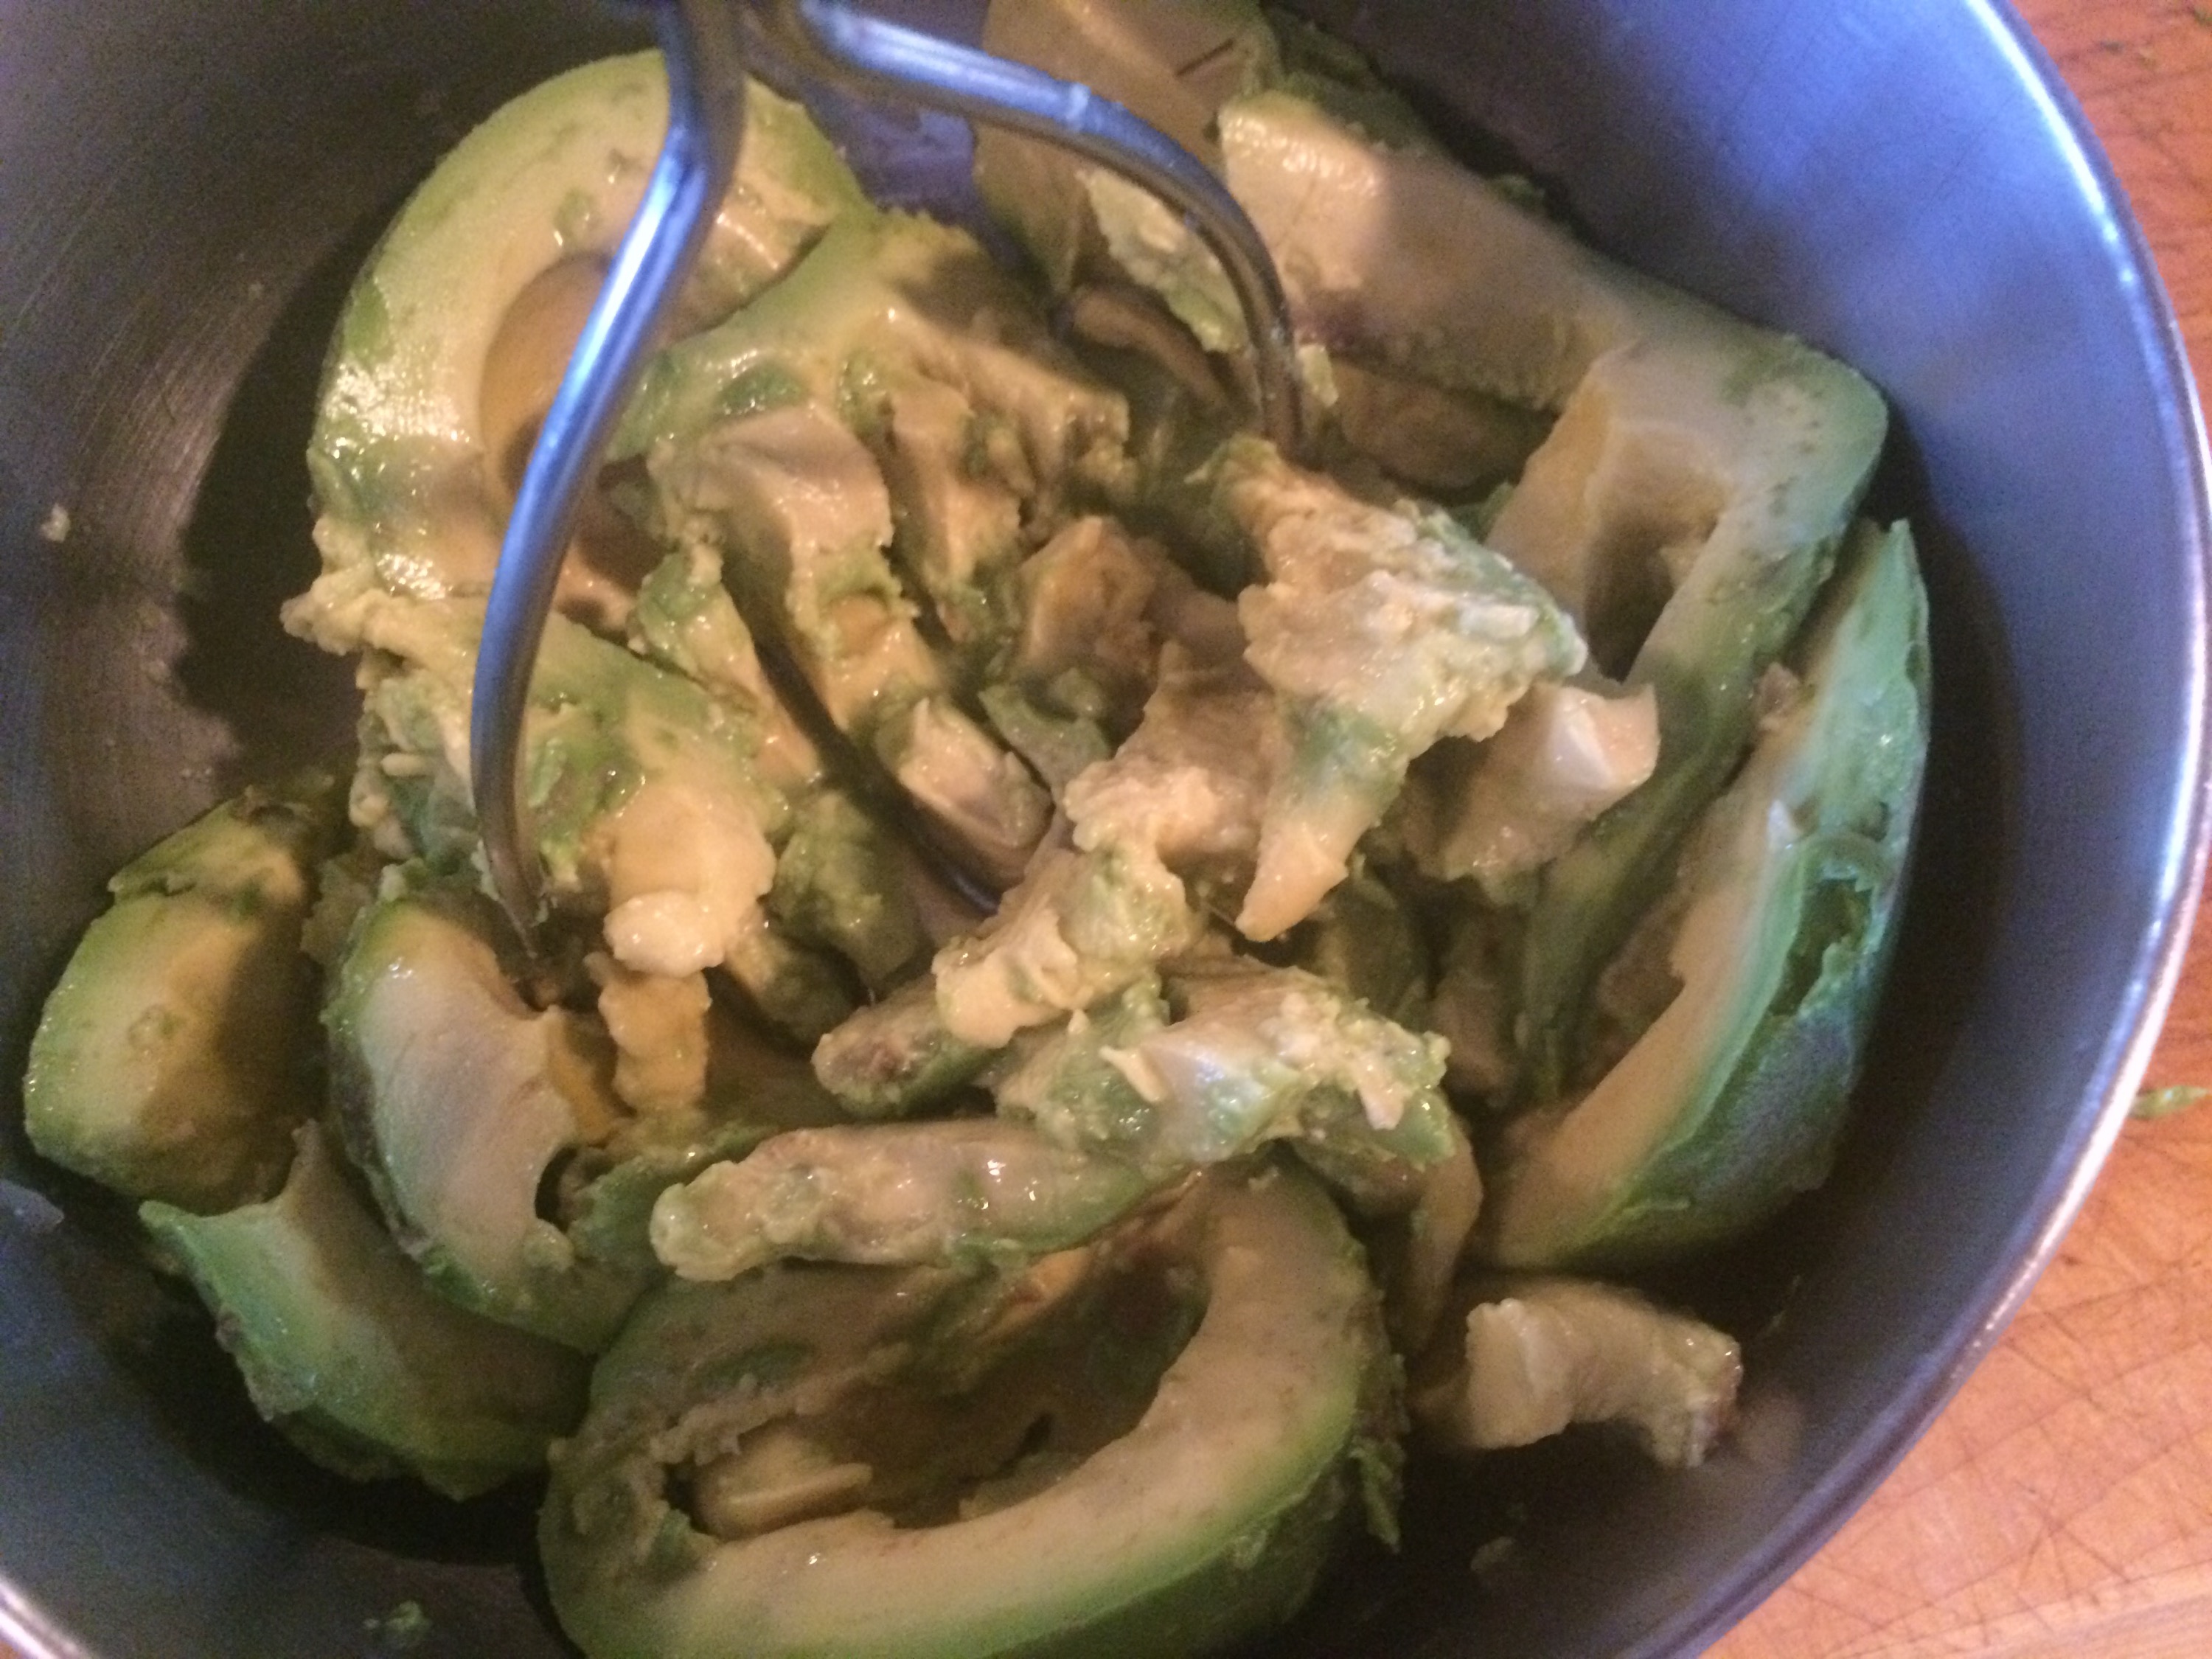
Add the seasoning and mash with a potato masher until it is the consistency you like.

Cut around the tomato to separate the outer flesh from the core and seeds where all the juice is. Cut flesh into strips and then dice. Add tomato to the avocado in the bowl.
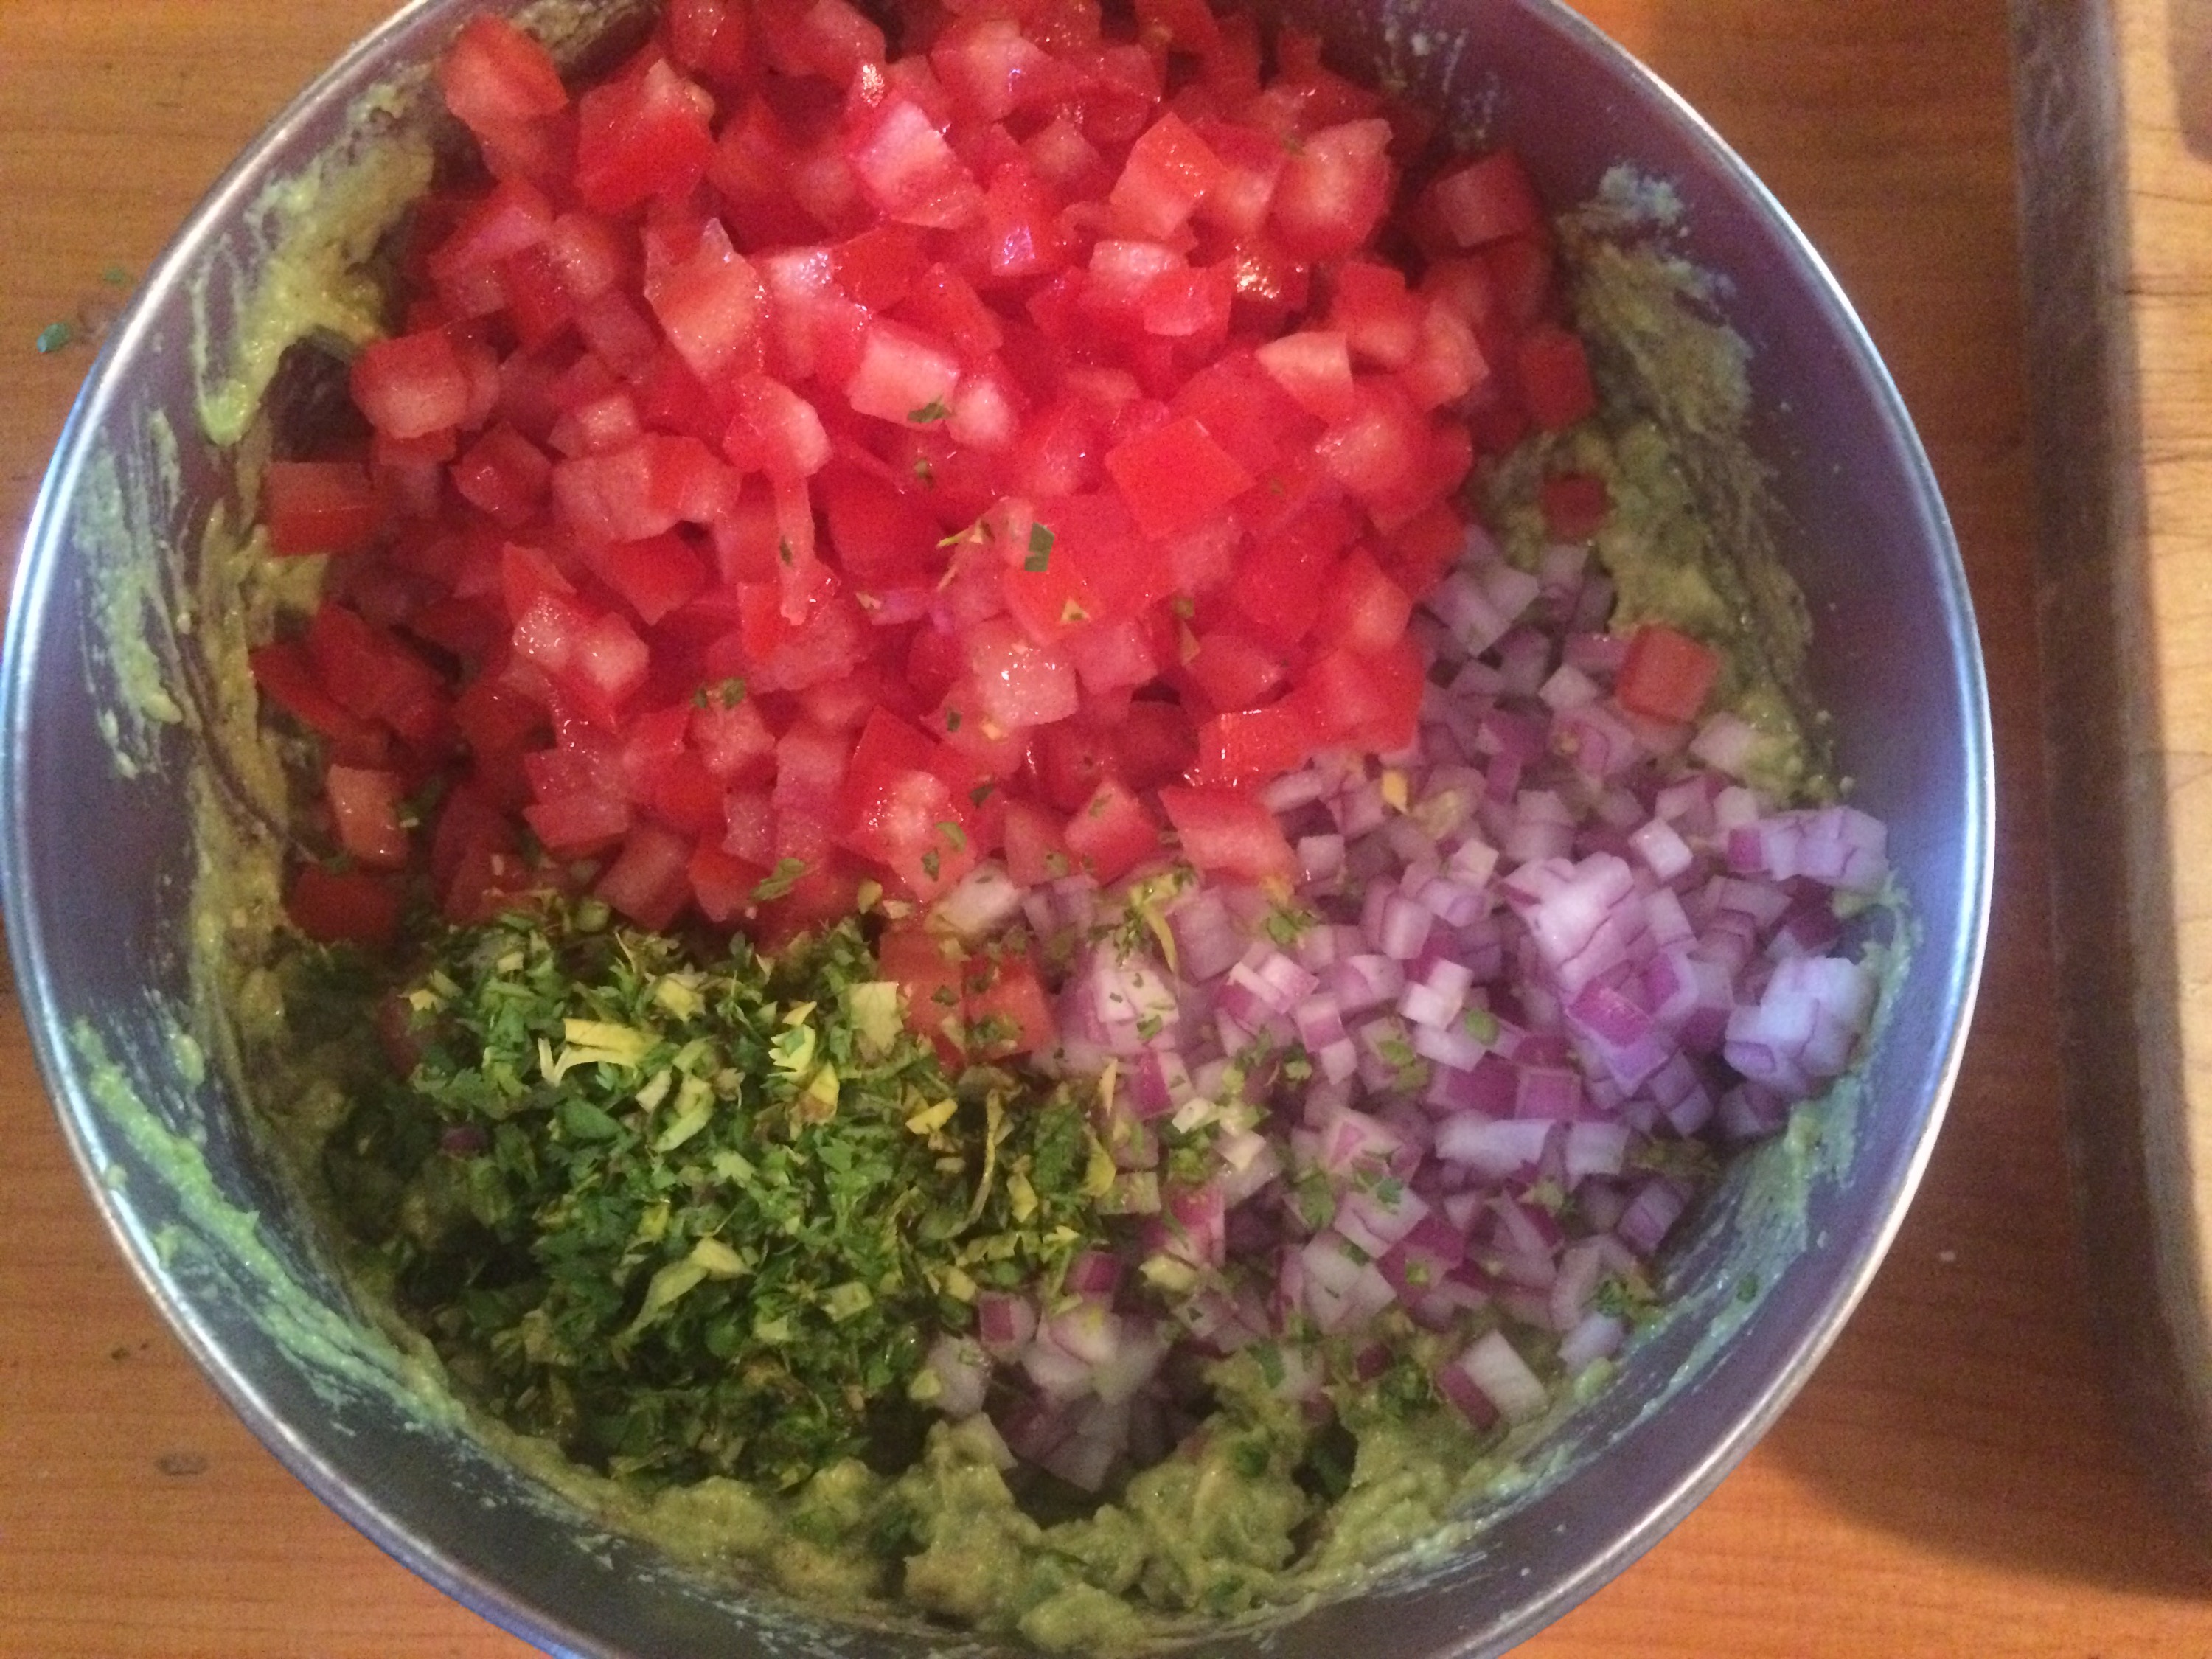
Dice the onion and chop the cilantro and add to the bowl.
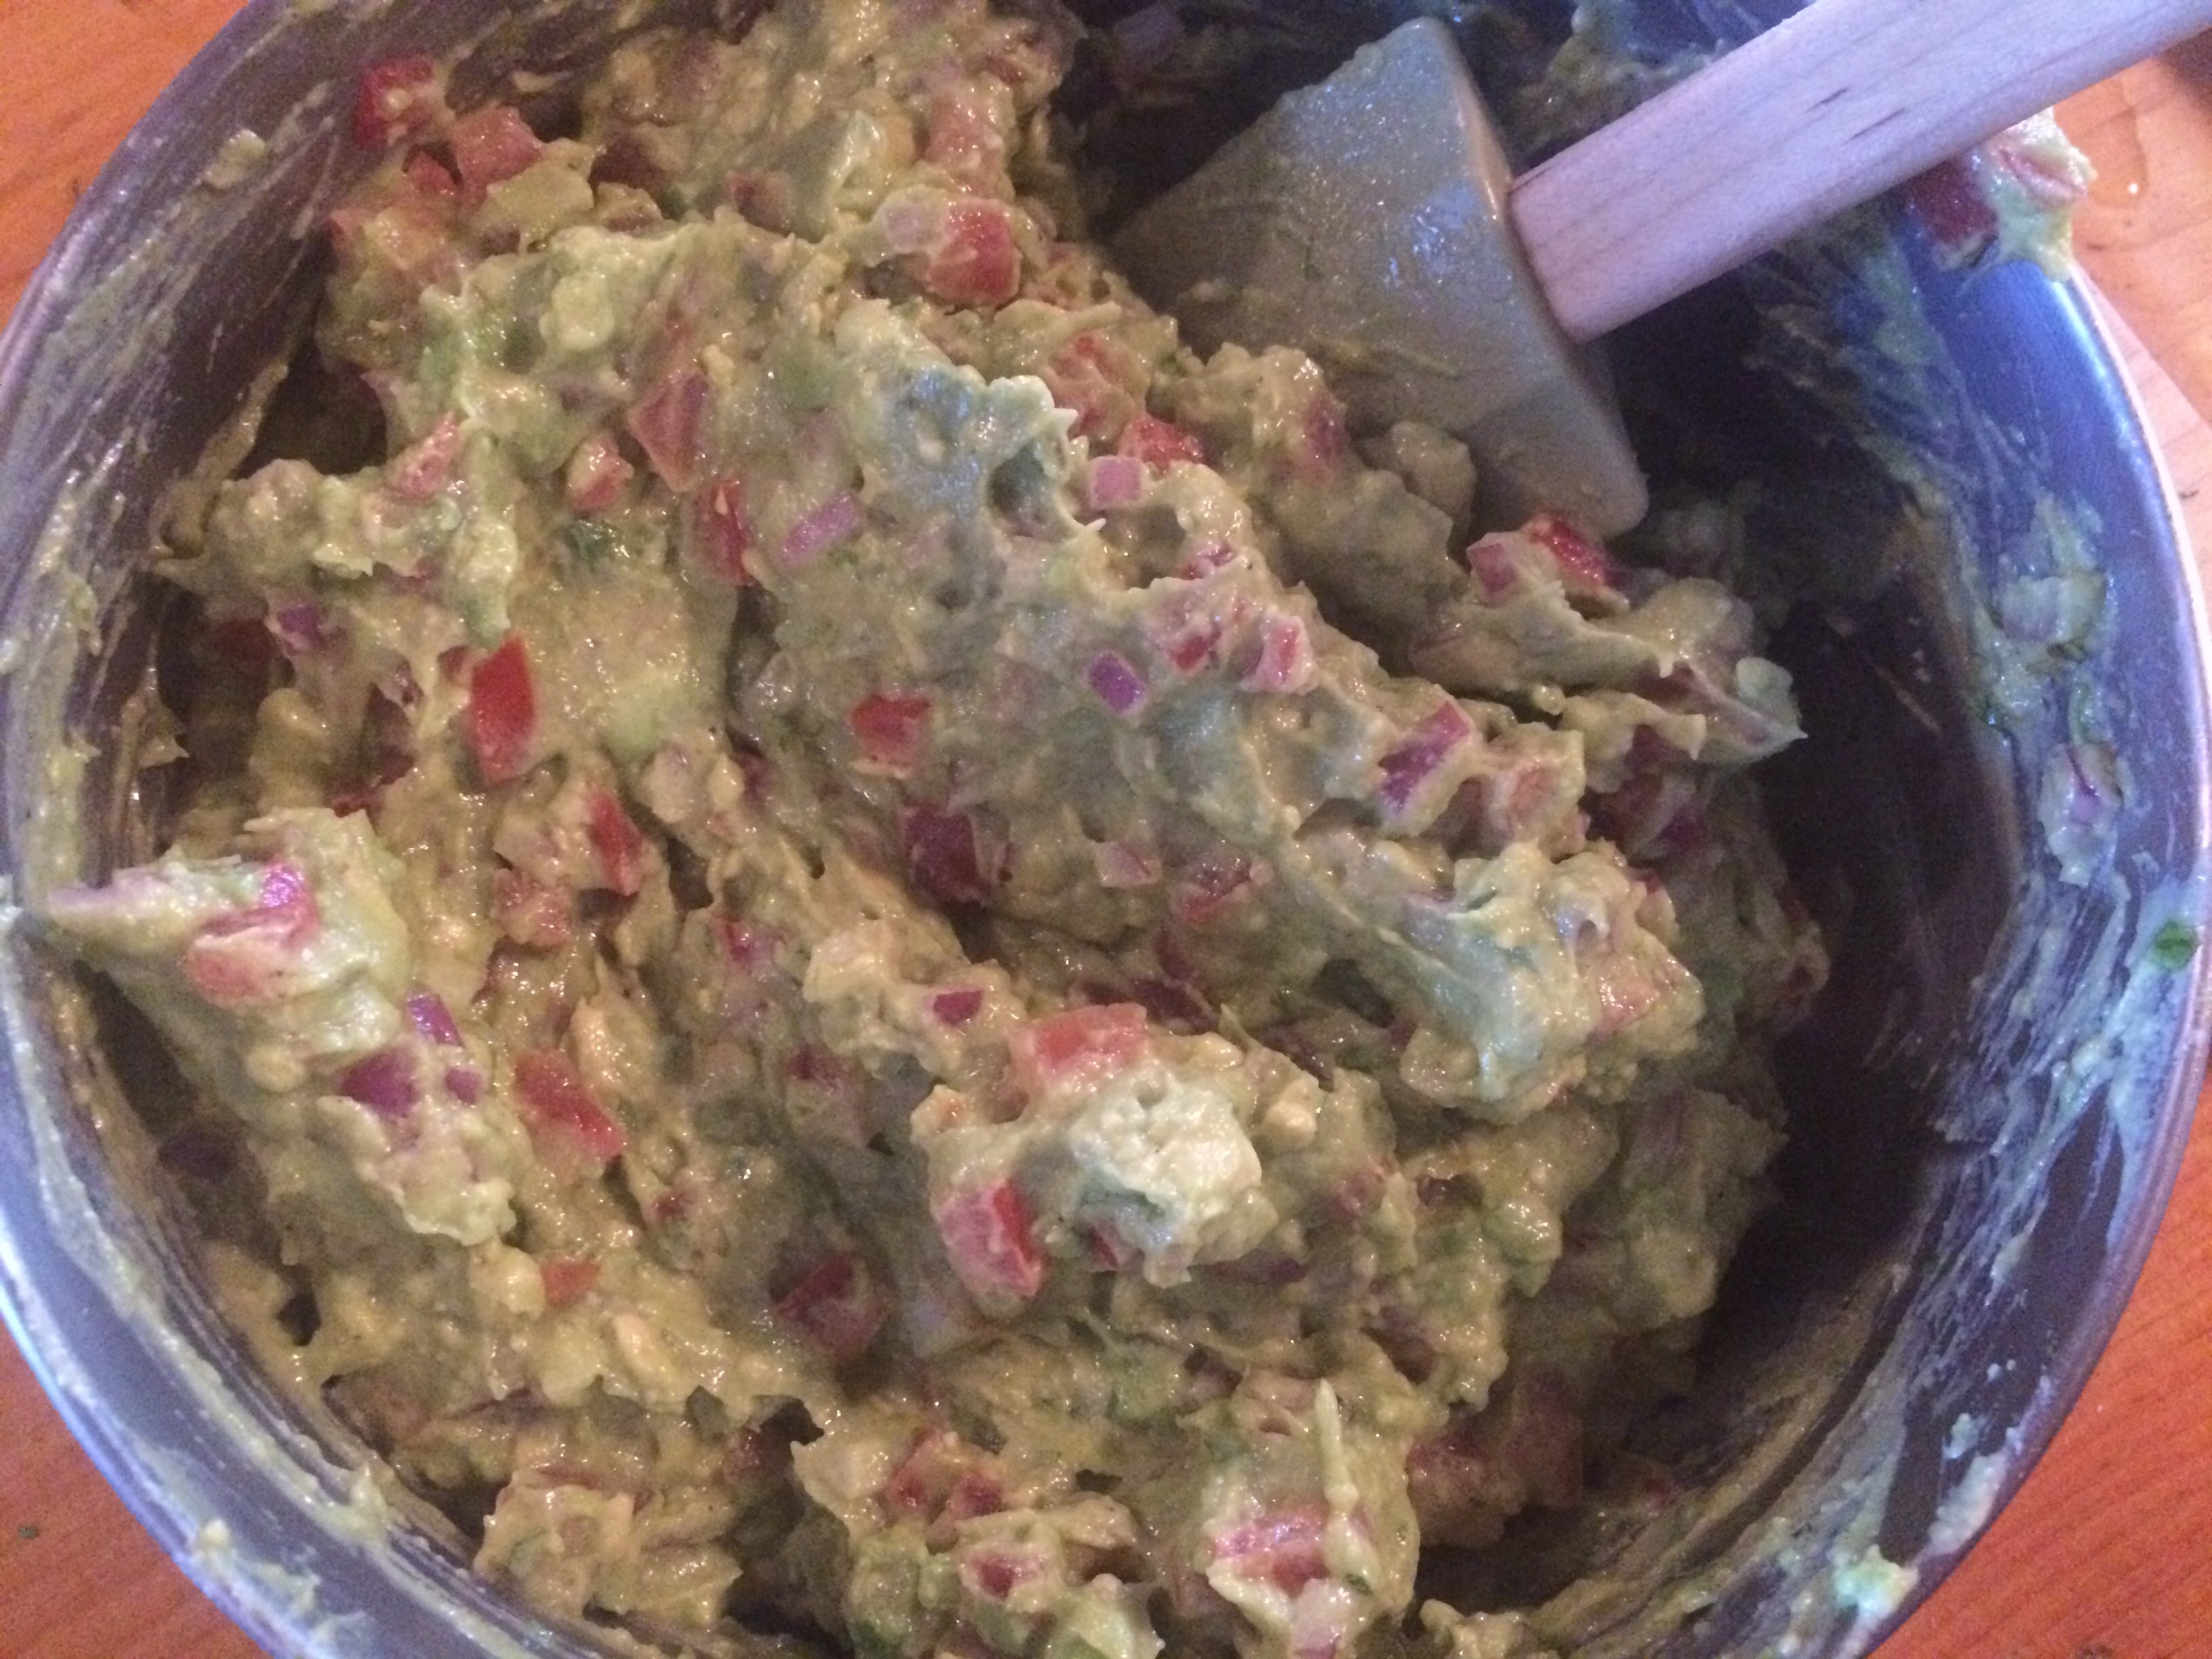
Gently fold the ingredients into the avocado mixture with a spatula. Taste and season with salt and pepper if necessary.
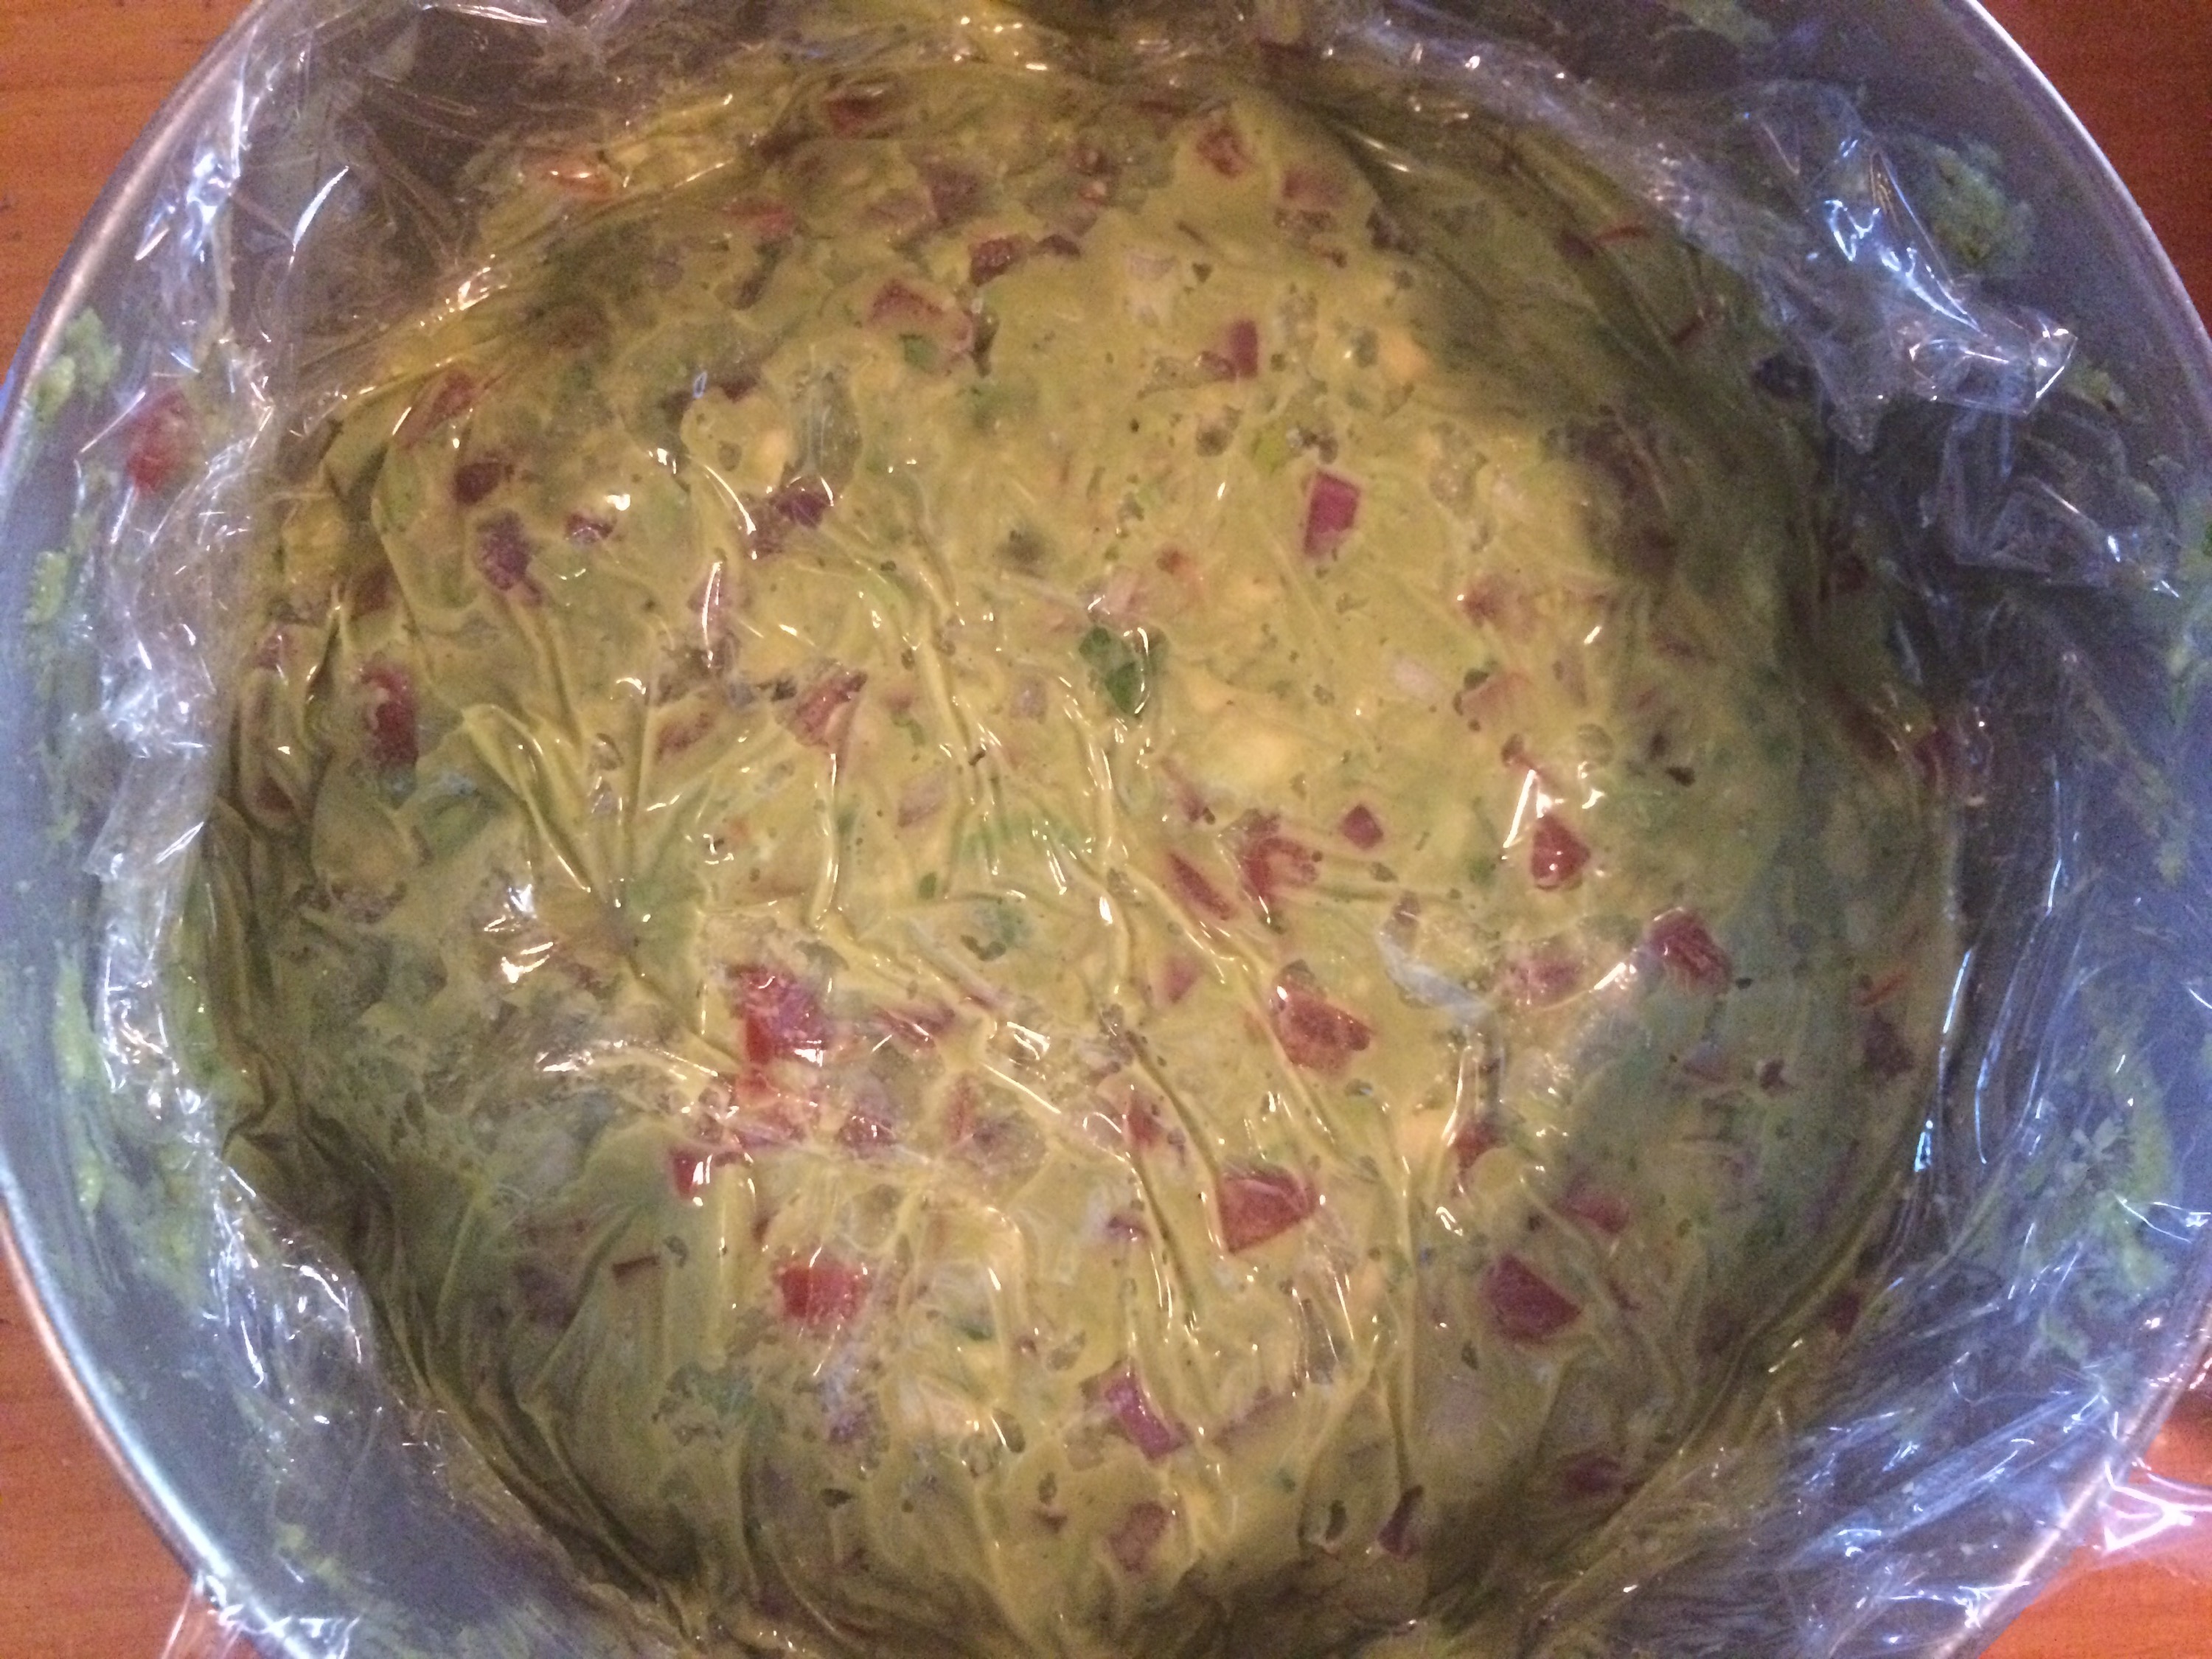
Press plastic wrap directly onto the surface of the guacamole, making as much contact as possible and refrigerate until ready to serve.
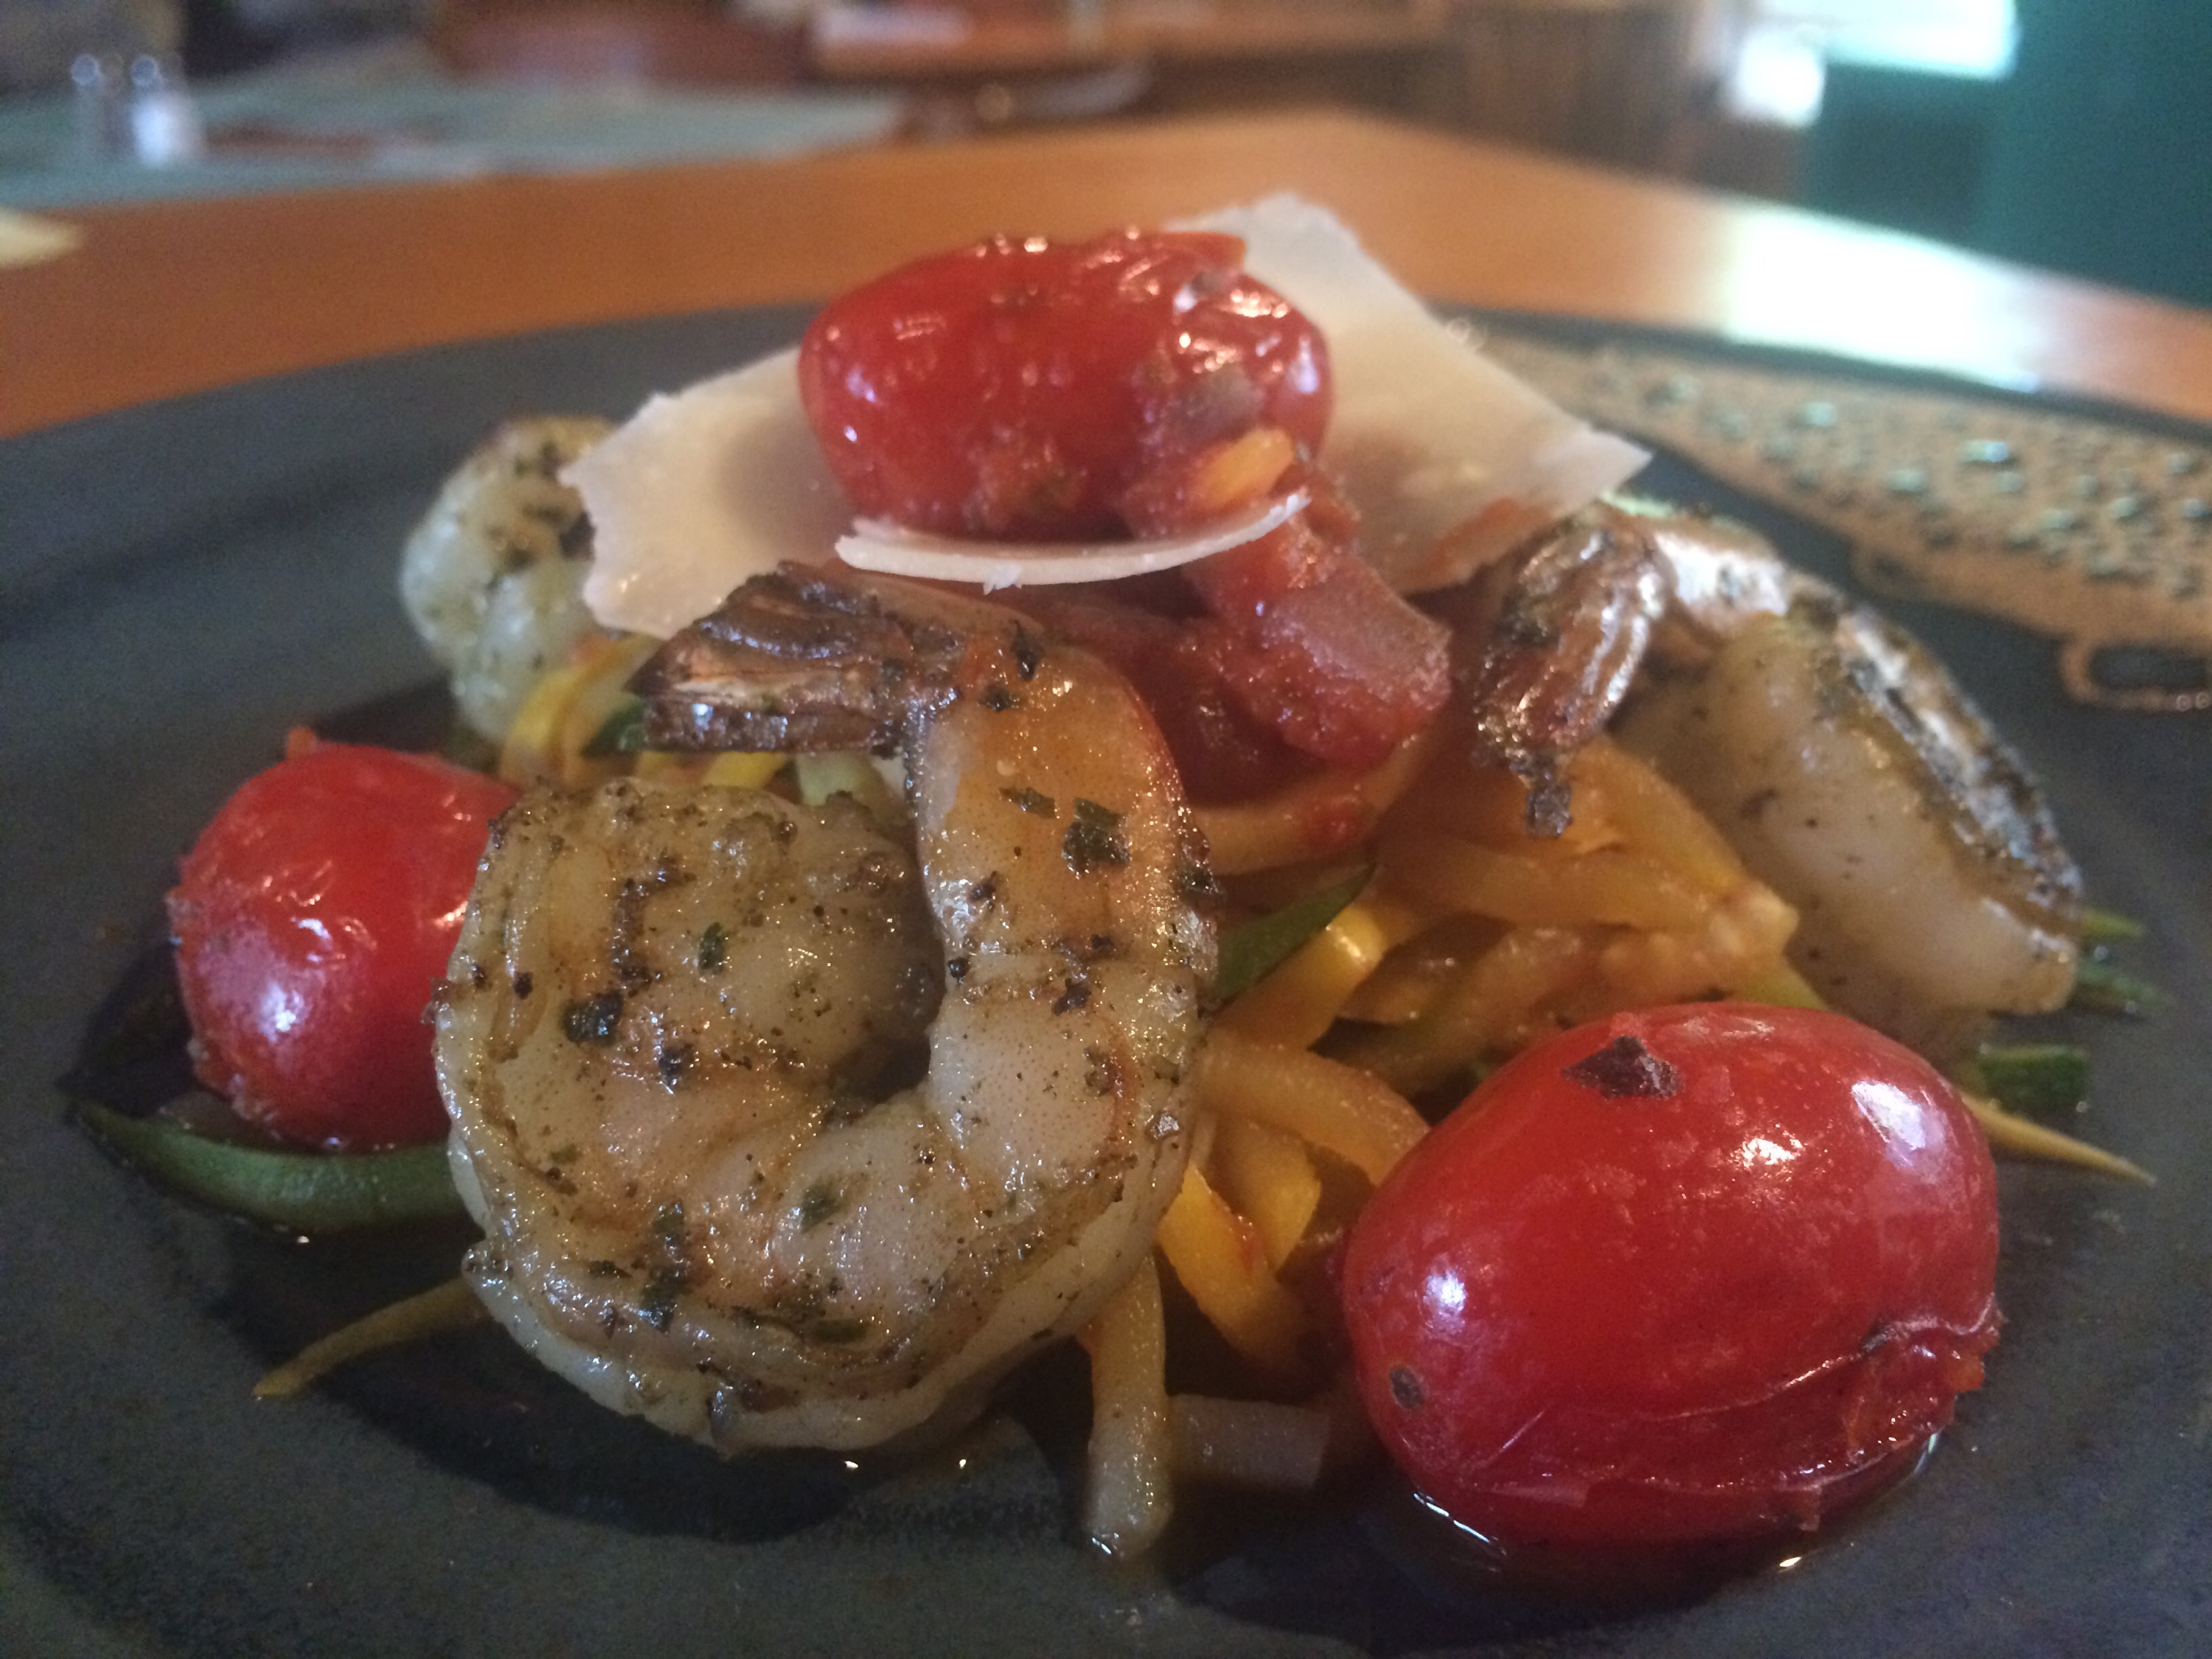
One of my clients is a cancer survivor who tries to limit the amount of white flour in his diet. By substituting long strips of julienne squash for traditional pasta, this dish provides the comfort of a hearty Italian meal while being healthy and full of big flavors. You can make it vegan and gluten free by simply omitting the shrimp and Parmesan cheese.
Gluten Free Grilled Shrimp Pasta with Fire Roasted Vegetables and Blistered Tomatoes
Ingredients:
1 Sweet Bell Pepper
1/4 Red Onion
2 Cups Grape or Cherry Tomatoes
1 Pound Shrimp, peeled and deveined
1/4 Cup Basil Pesto
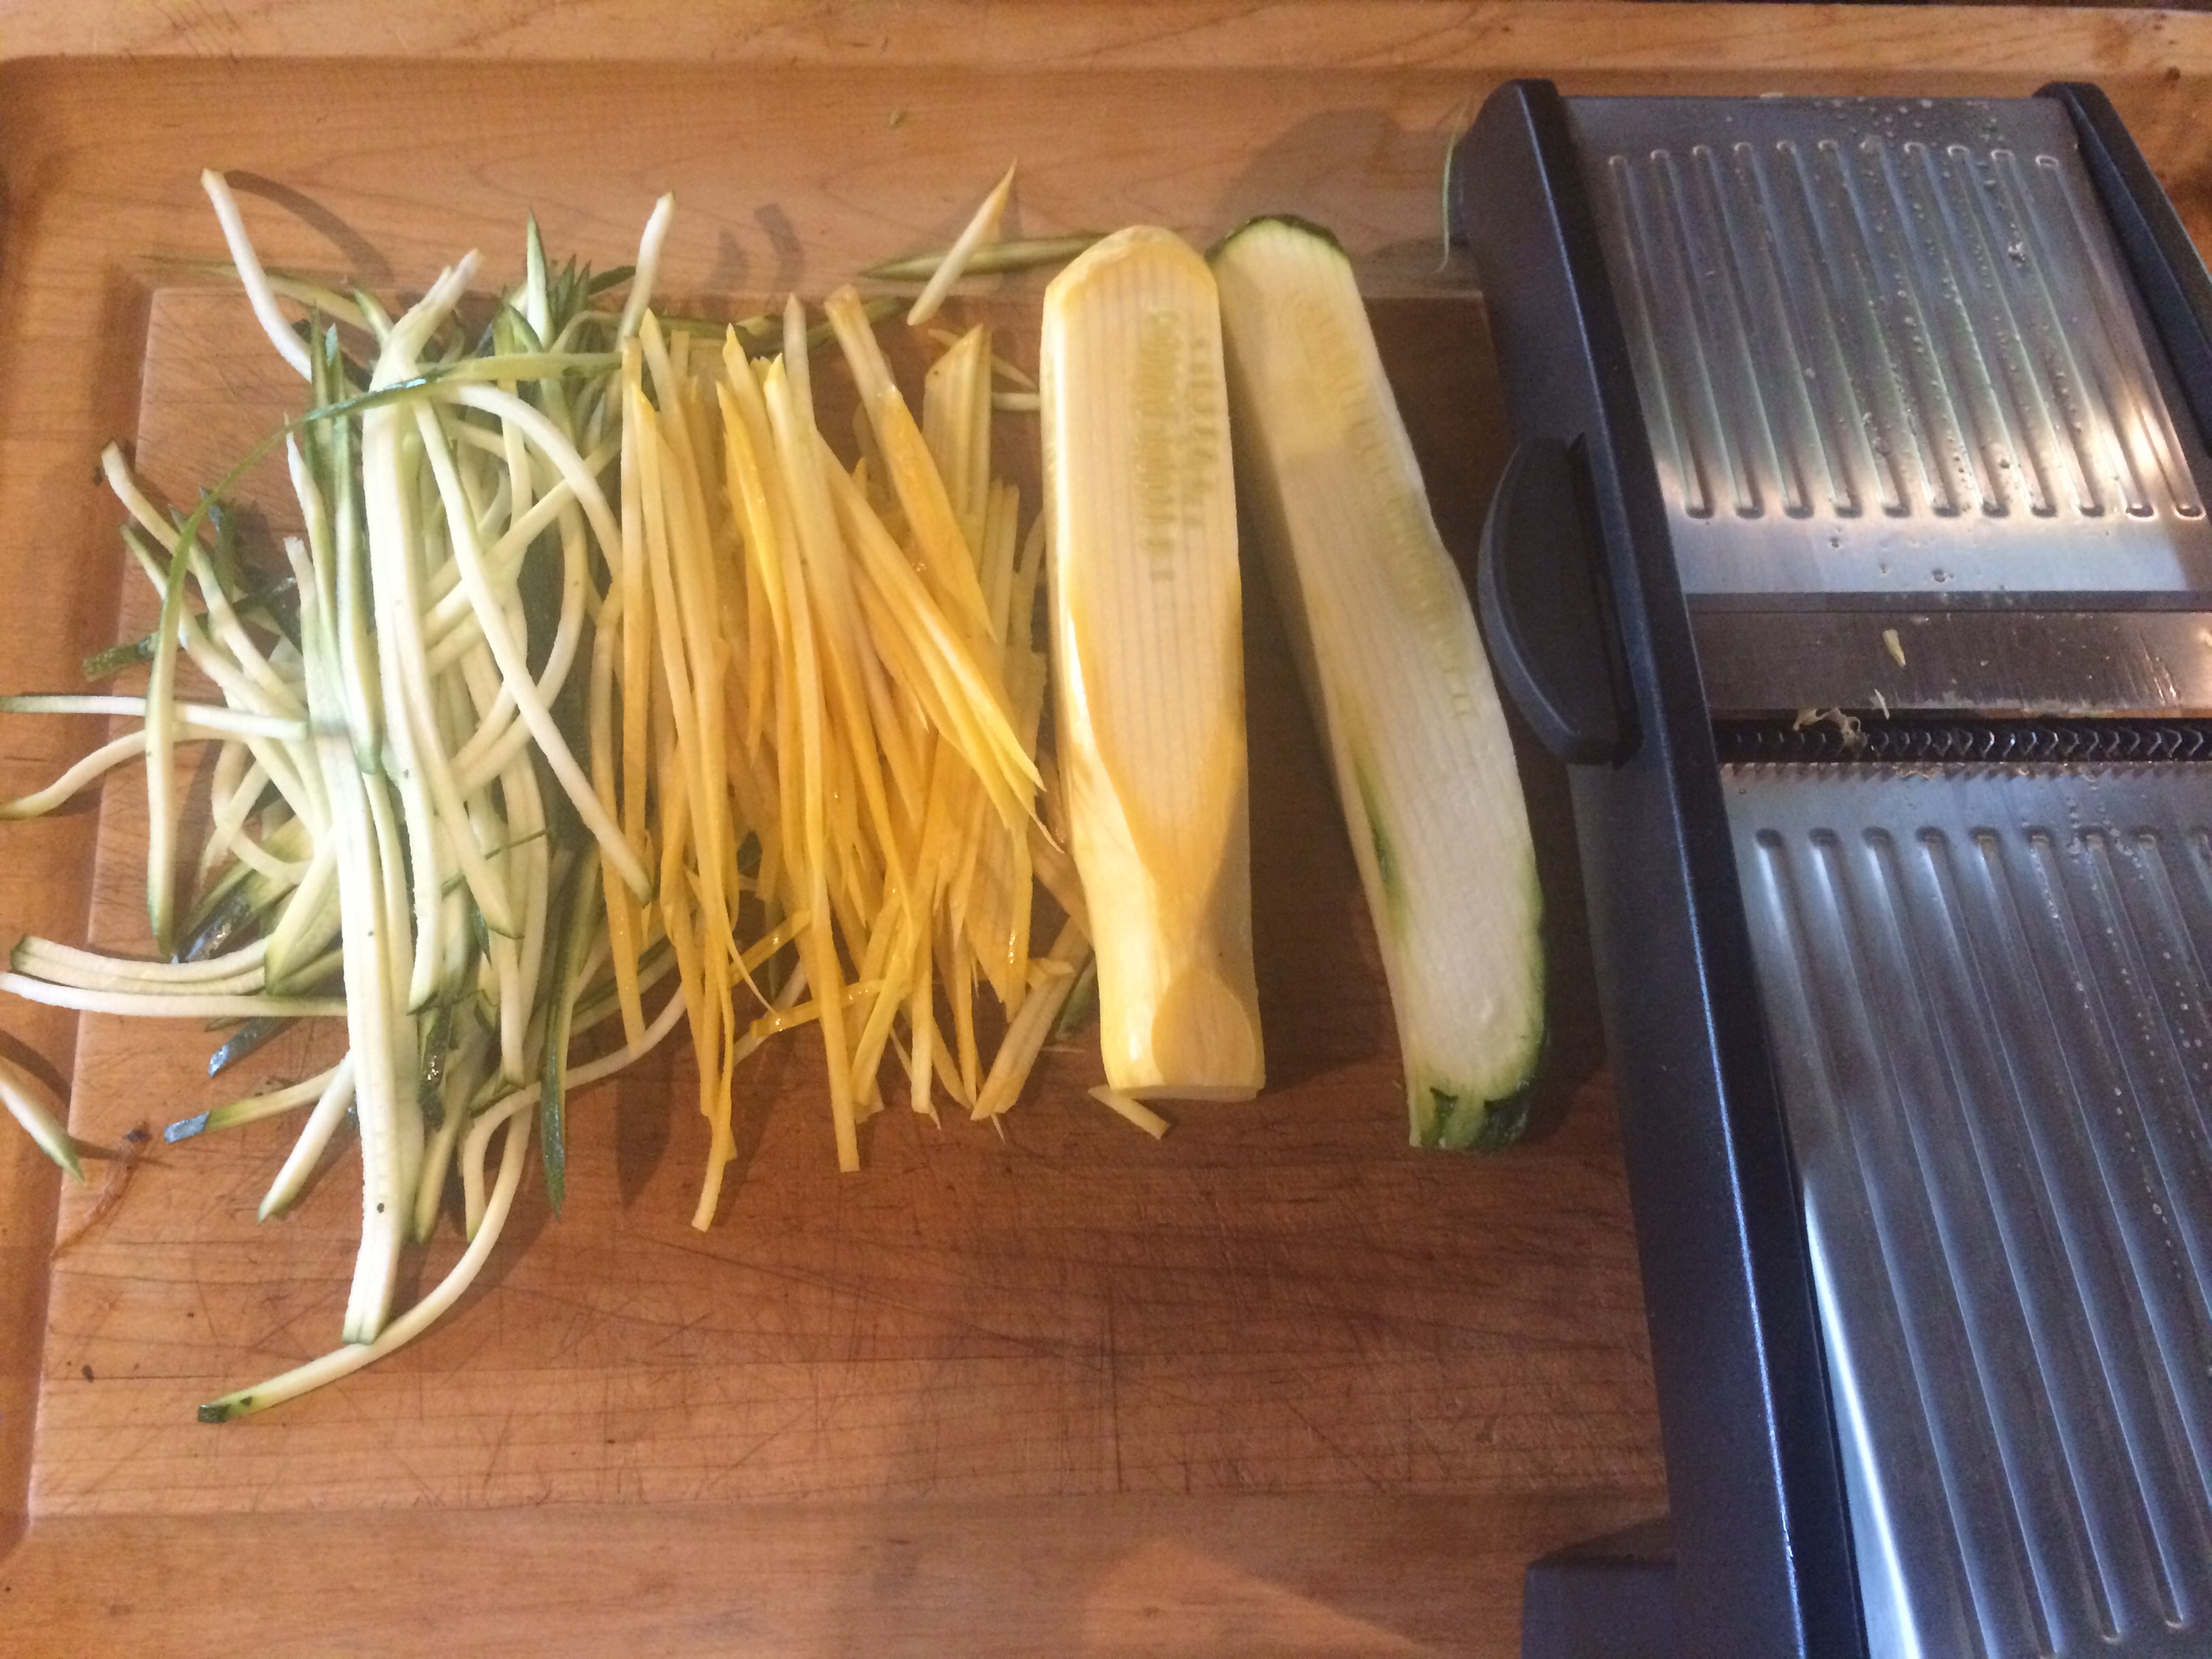
2 Medium Summer Squash
1 Cup Tomato Sauce
Olive Oil
Salt and Pepper to Taste
Parmesan Cheese
Directions:
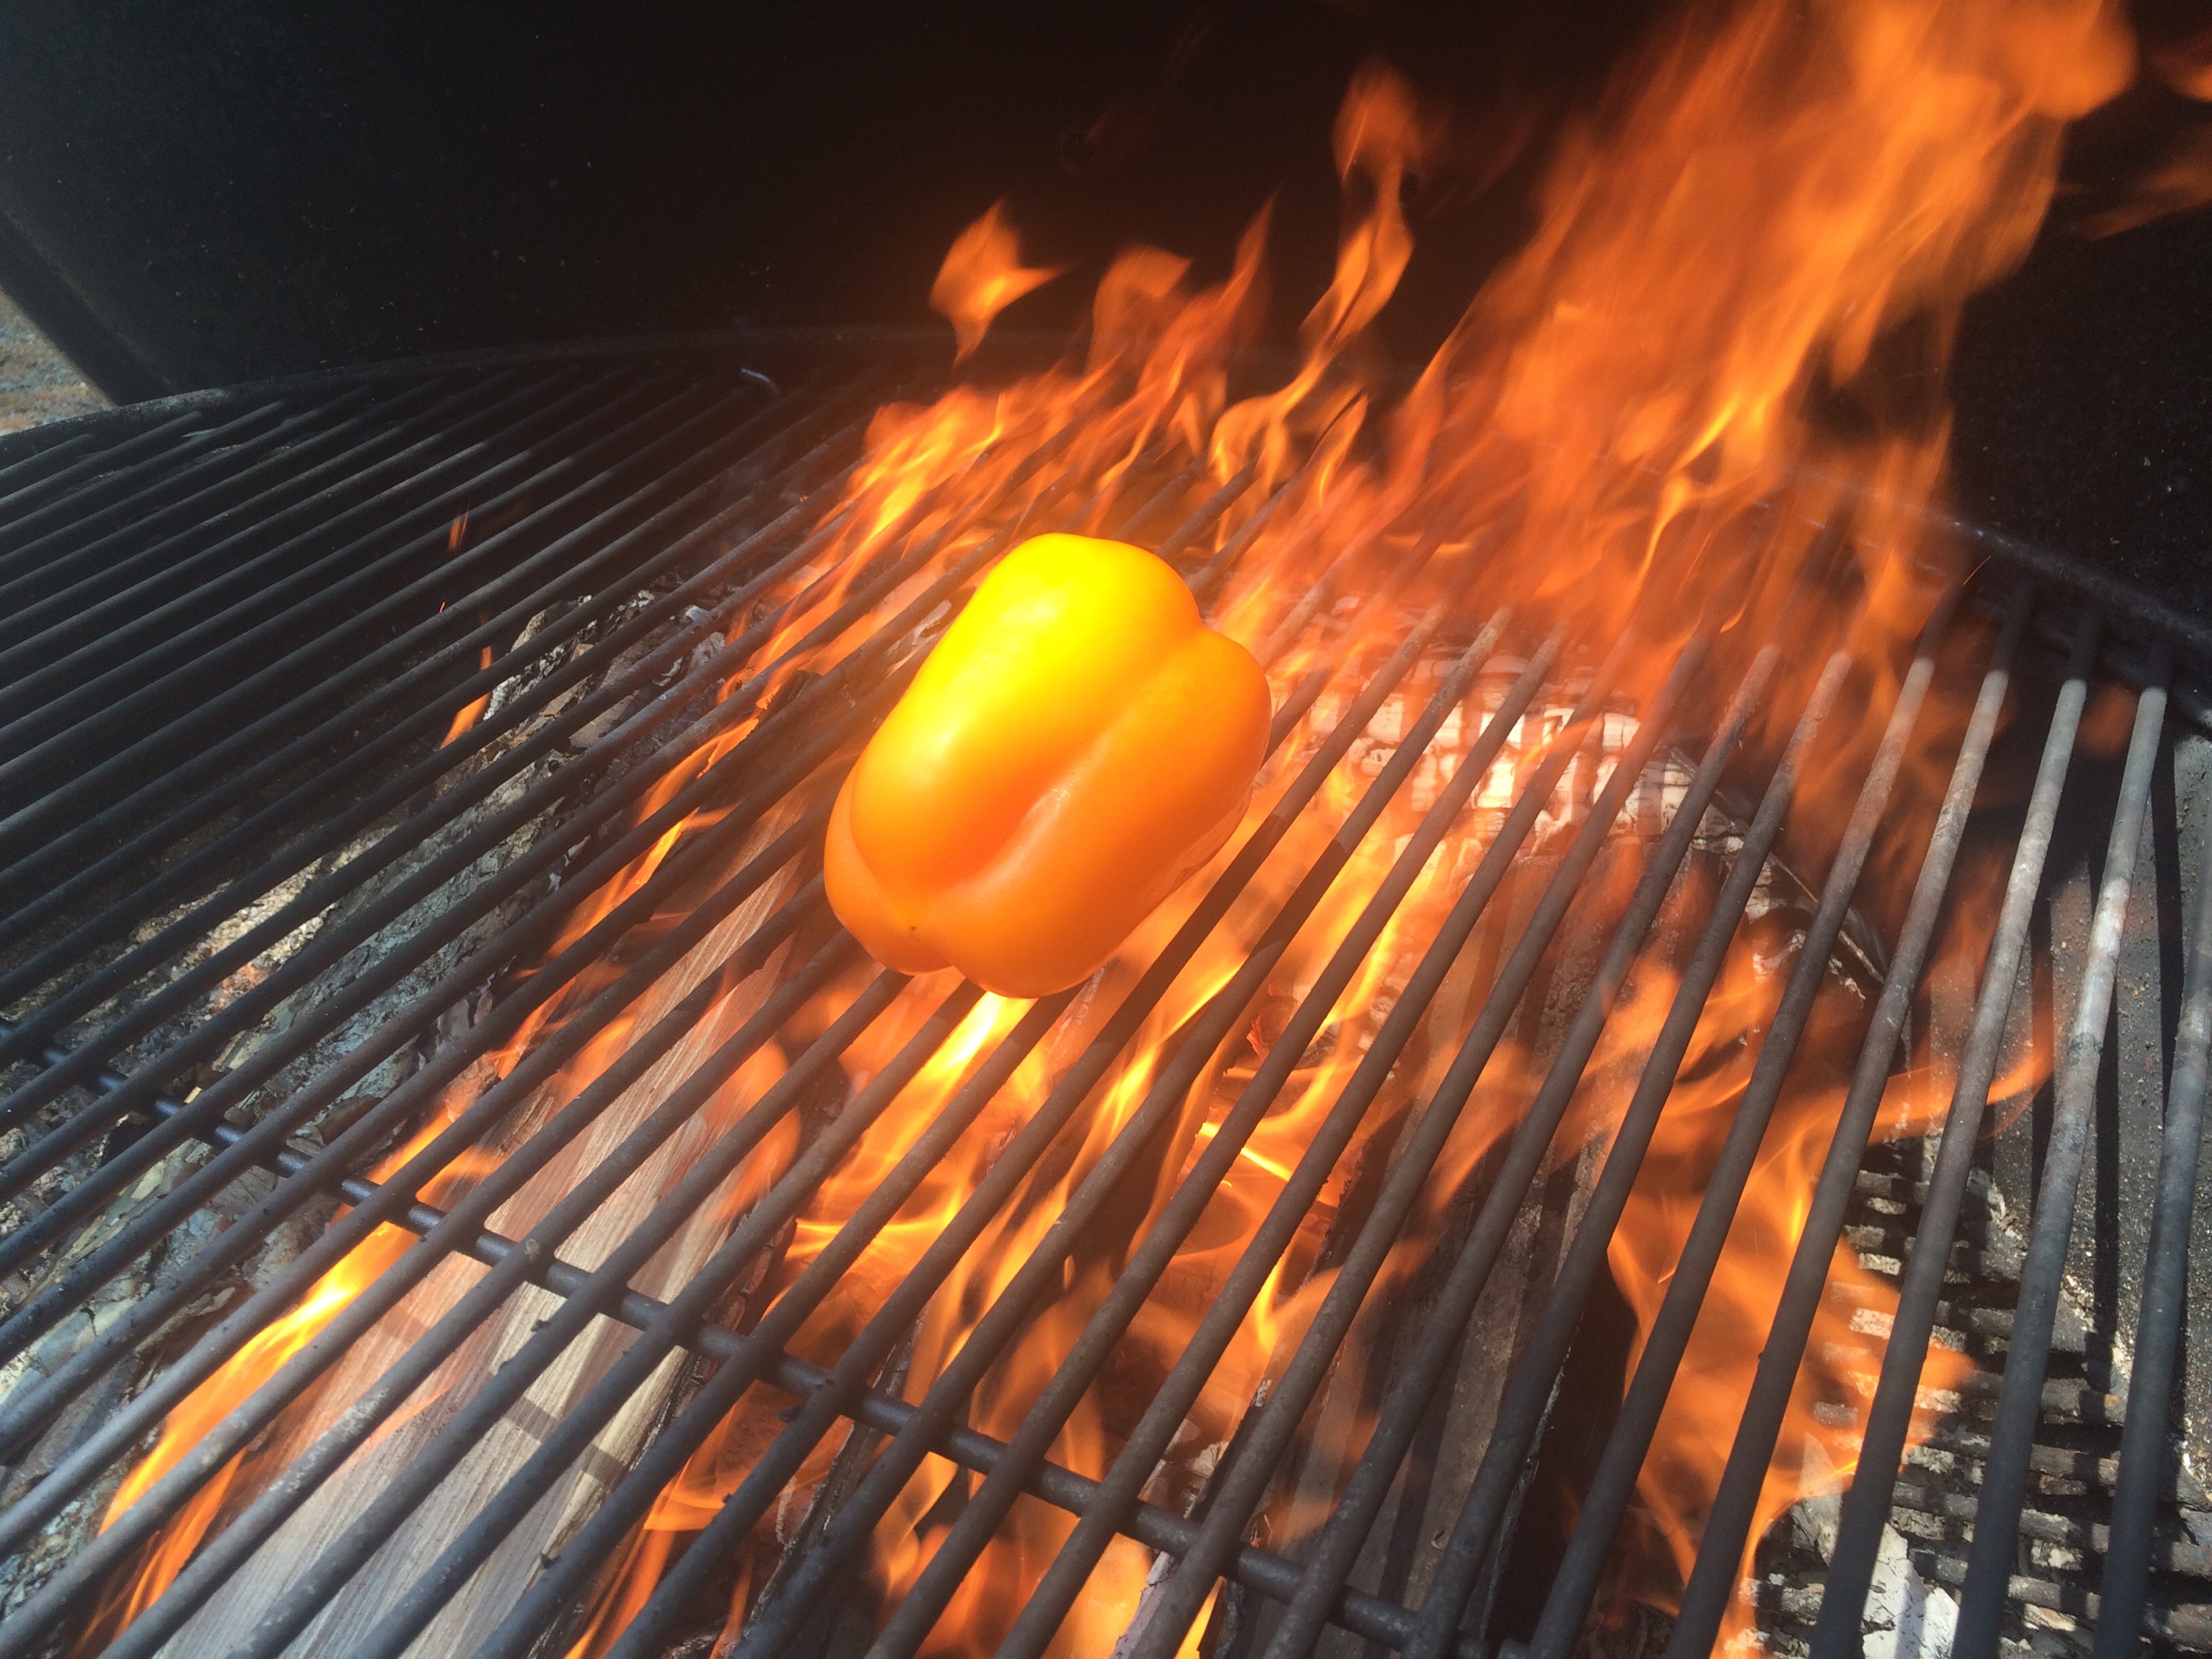
Build a nice roaring fire or turn on your gas grill.
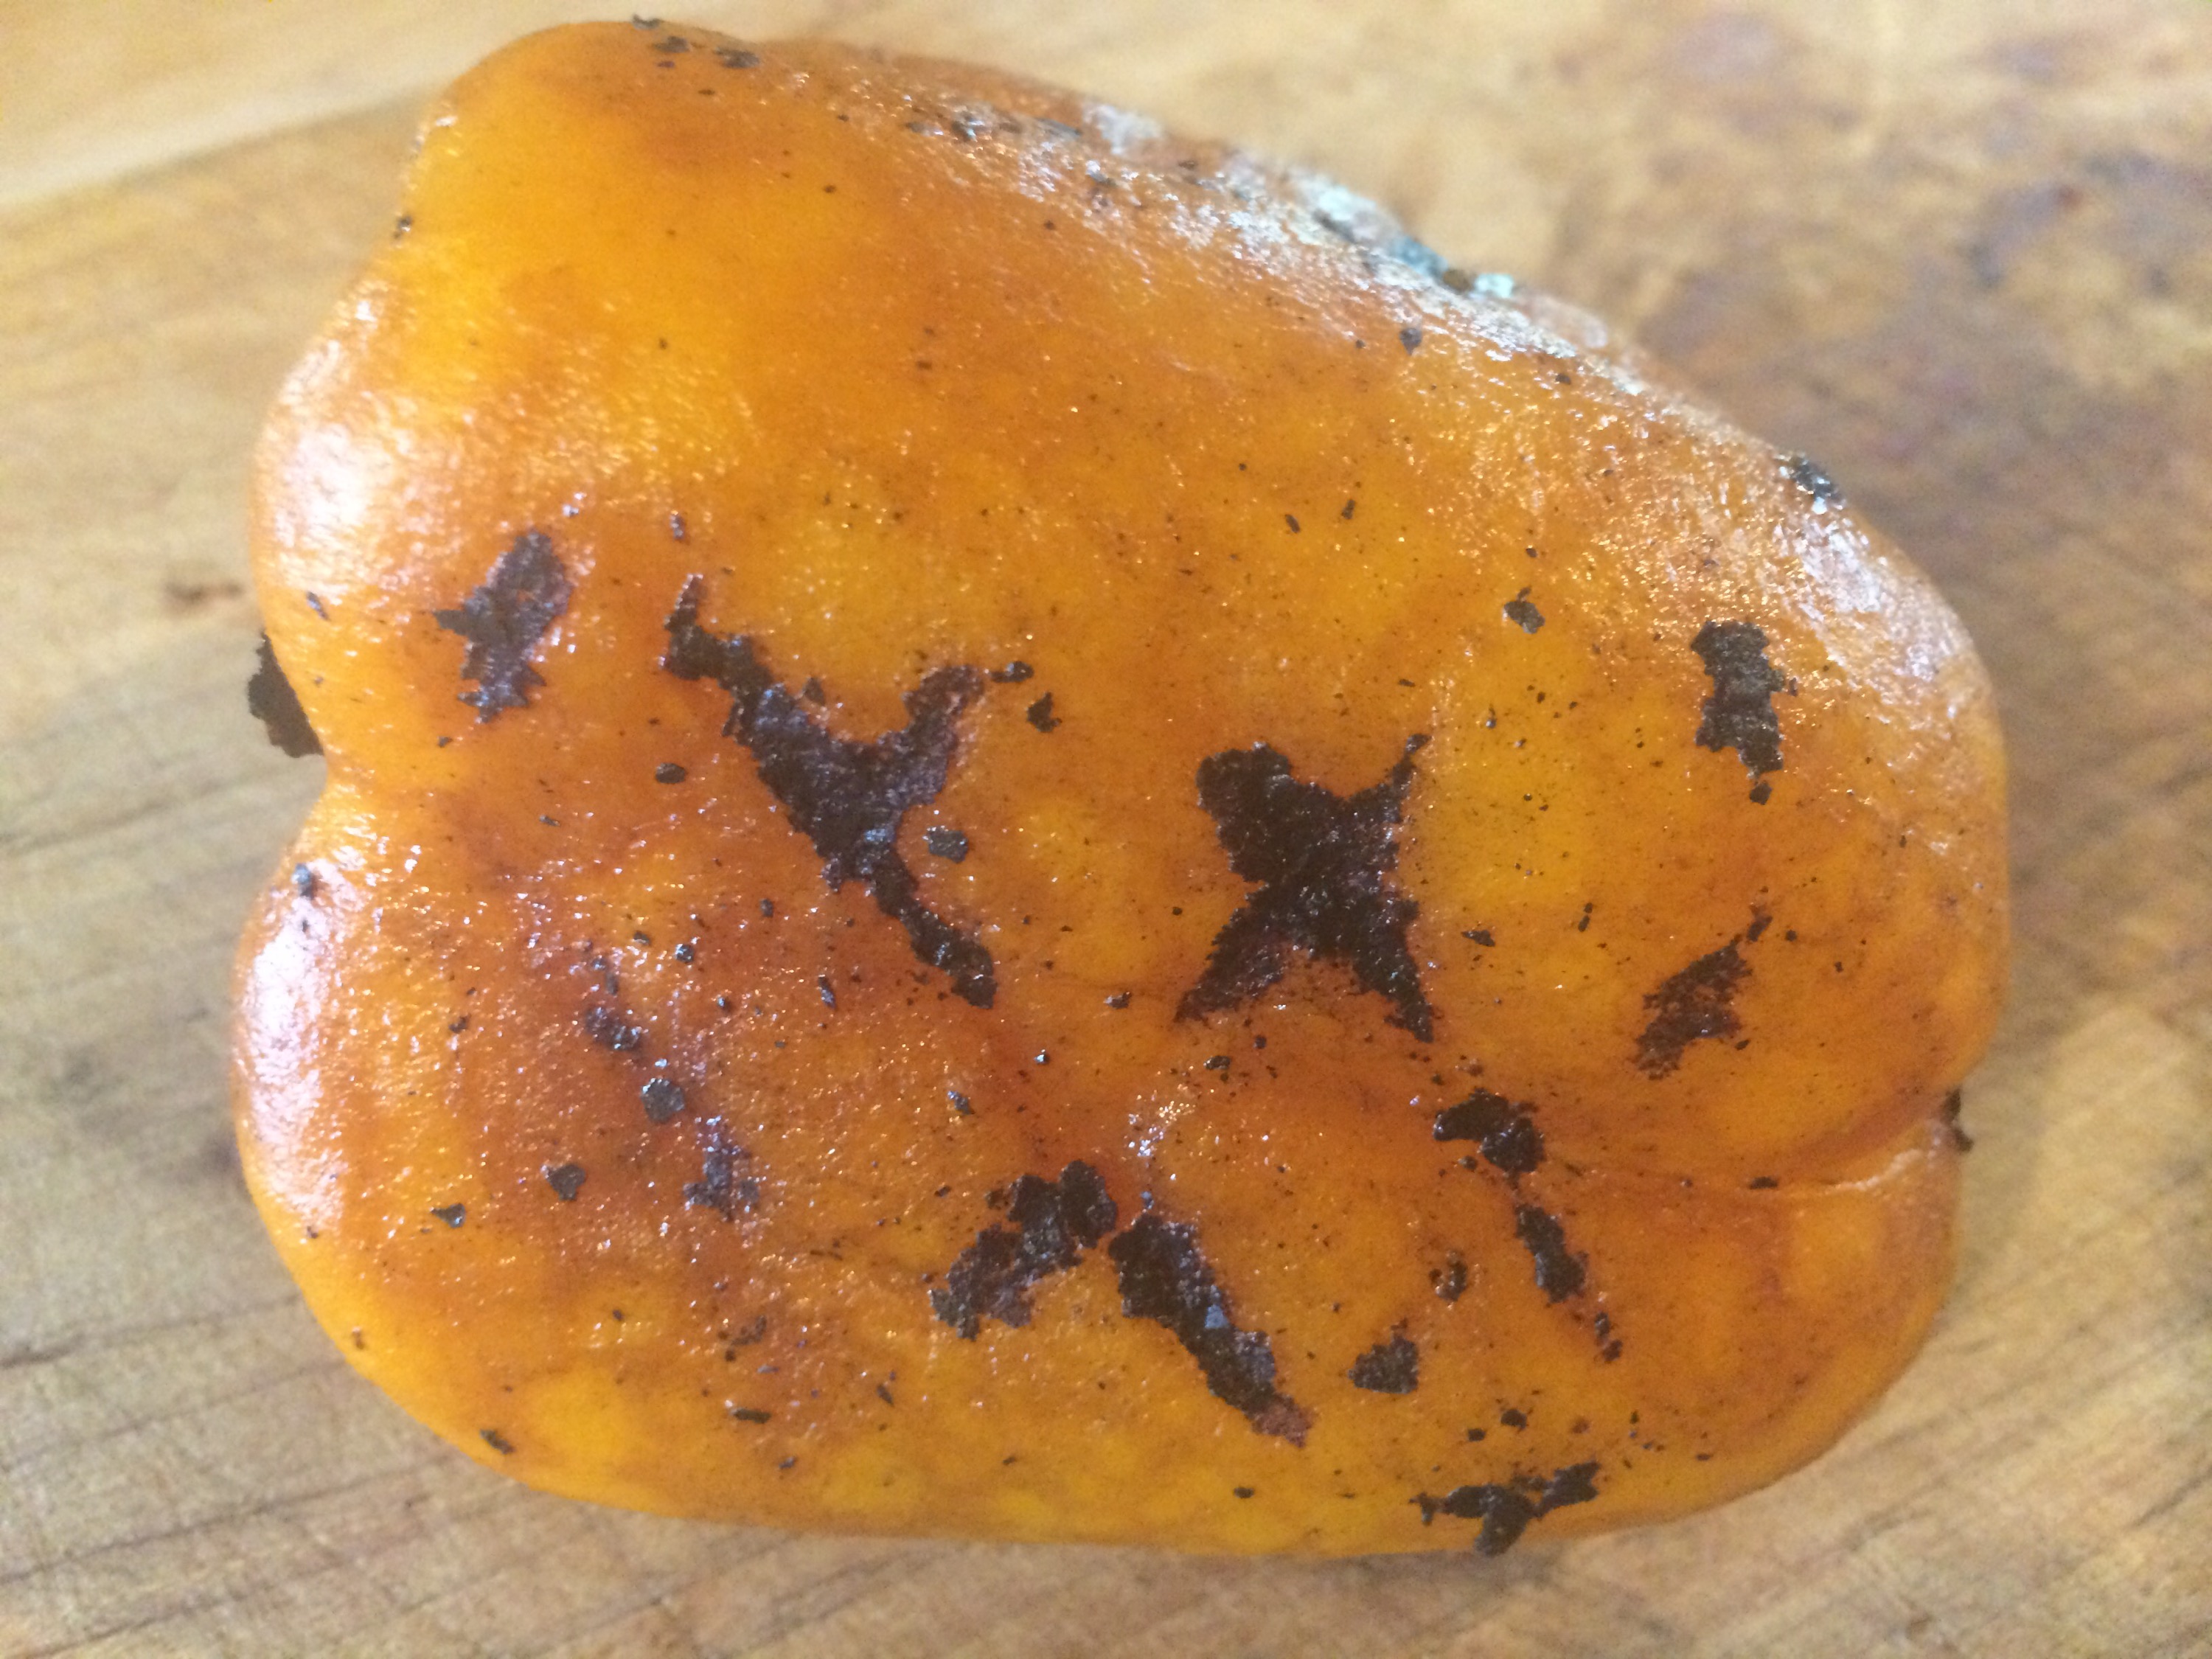
Roast the bell pepper over the open flame until completely charred on all sides. Immediately place in a bowl and wrap tightly with plastic. It is important you make a good seal or the steam will escape and make it difficult to peel later.

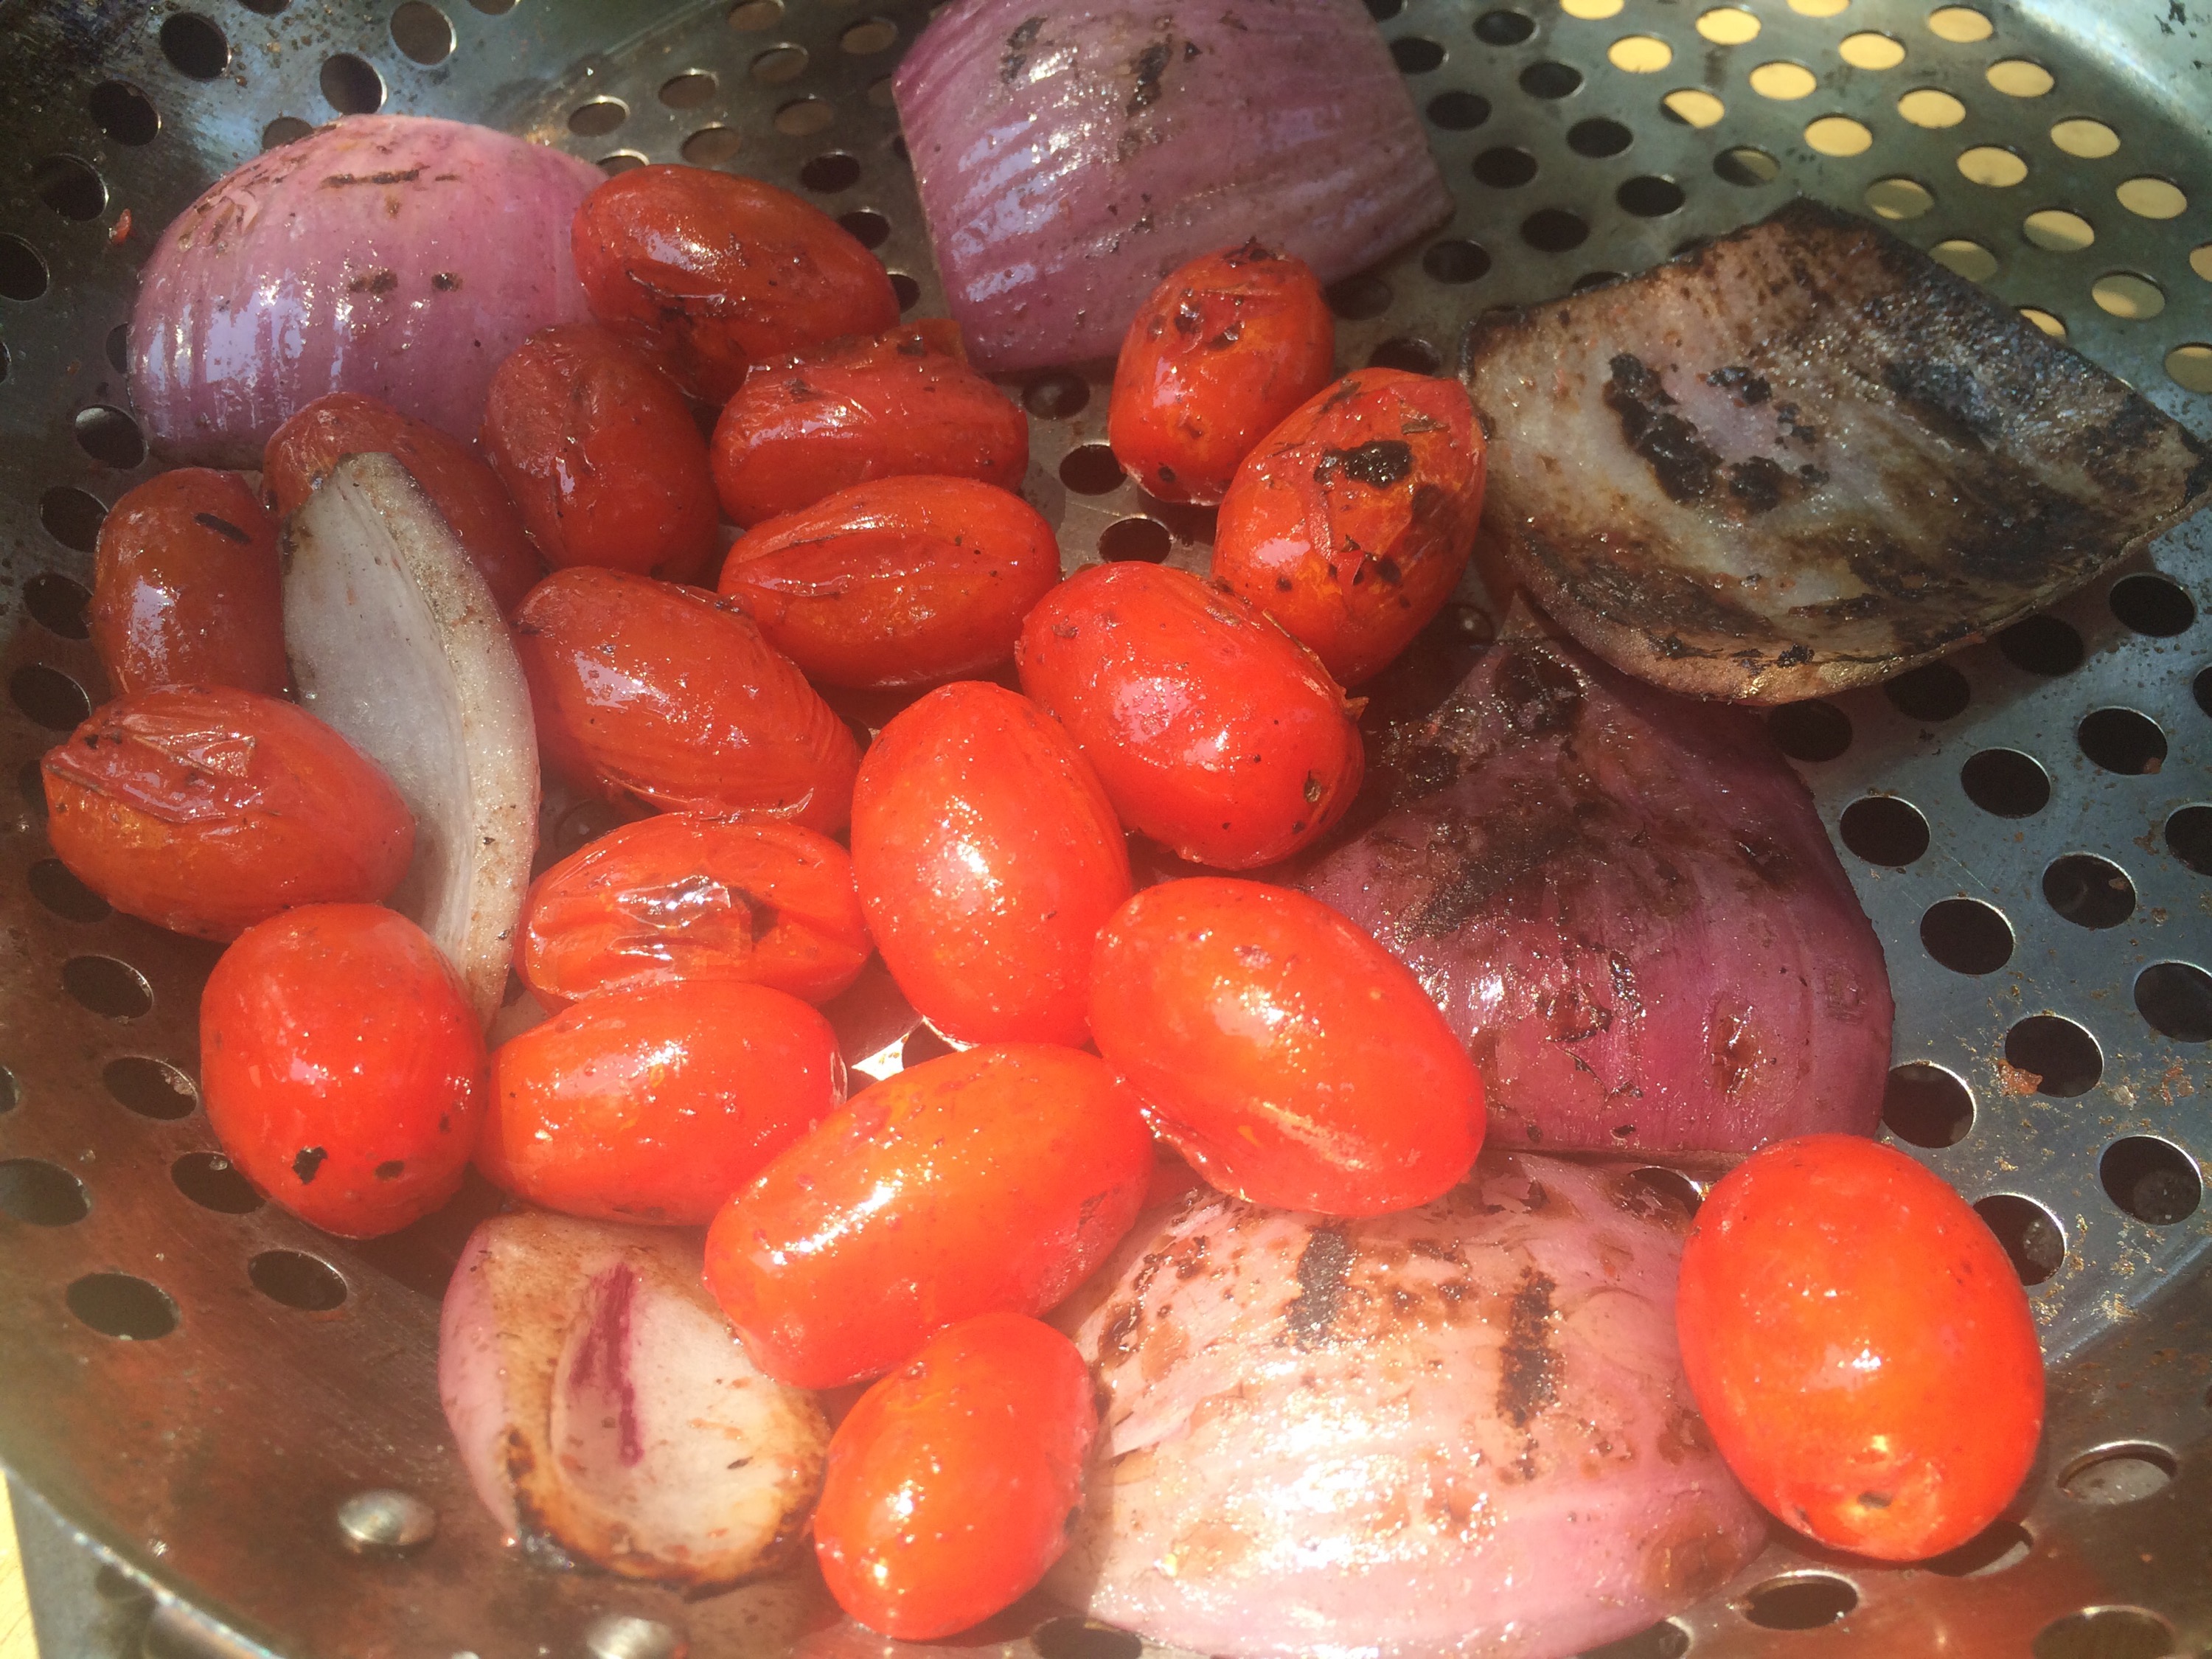
While the pepper is cooling, toss the tomatoes and onion in a little olive oil and sprinkle with salt. Cook them on the grill over high heat until onions are slightly charred and tomatoes are blistered, 2-5 minutes.
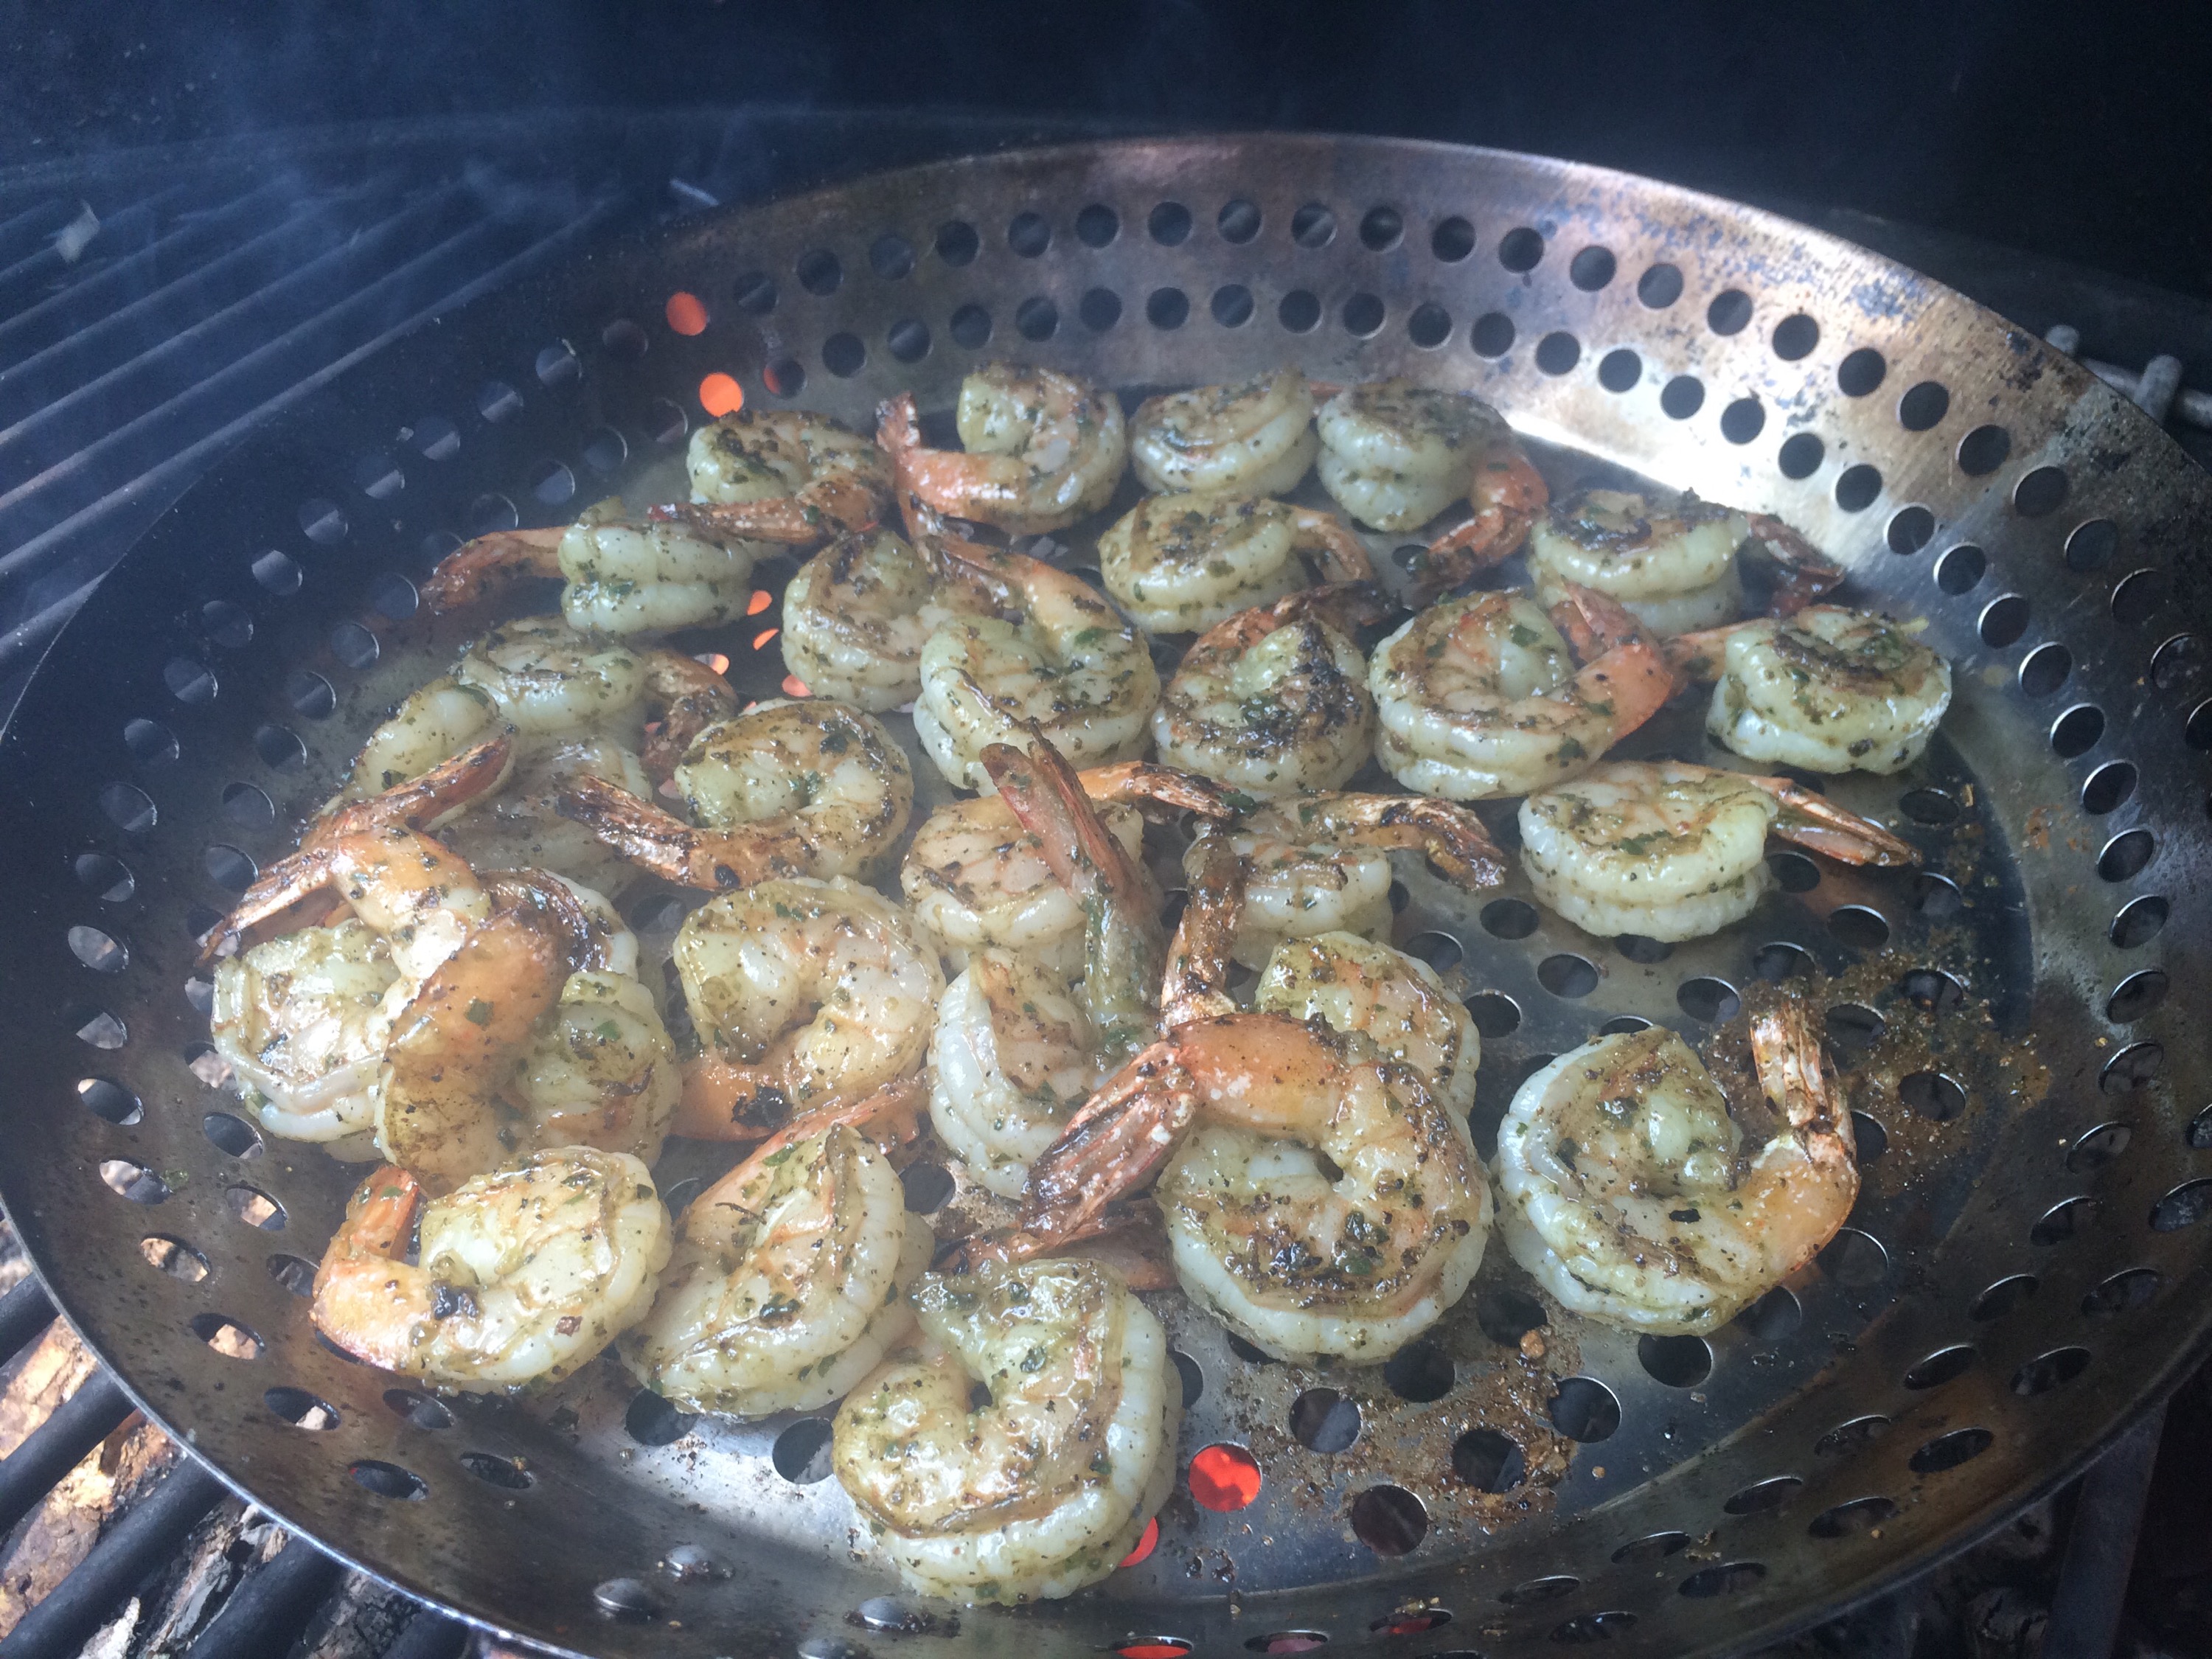
Toss the shrimp in pesto and a little olive oil and grill on both sides until fully cooked.
Meanwhile, bring a pot of salted water to a boil and slice the squash using a mandoline, julienne peeler or sharp knife into 1/8″ “noodles.” Discard the center containing the seeds.
Remove the skin from the pepper. It should slip off easily revealing a beautiful roasted pepper underneath. Don’t worry if a small amount of the black char remains. This is normal.
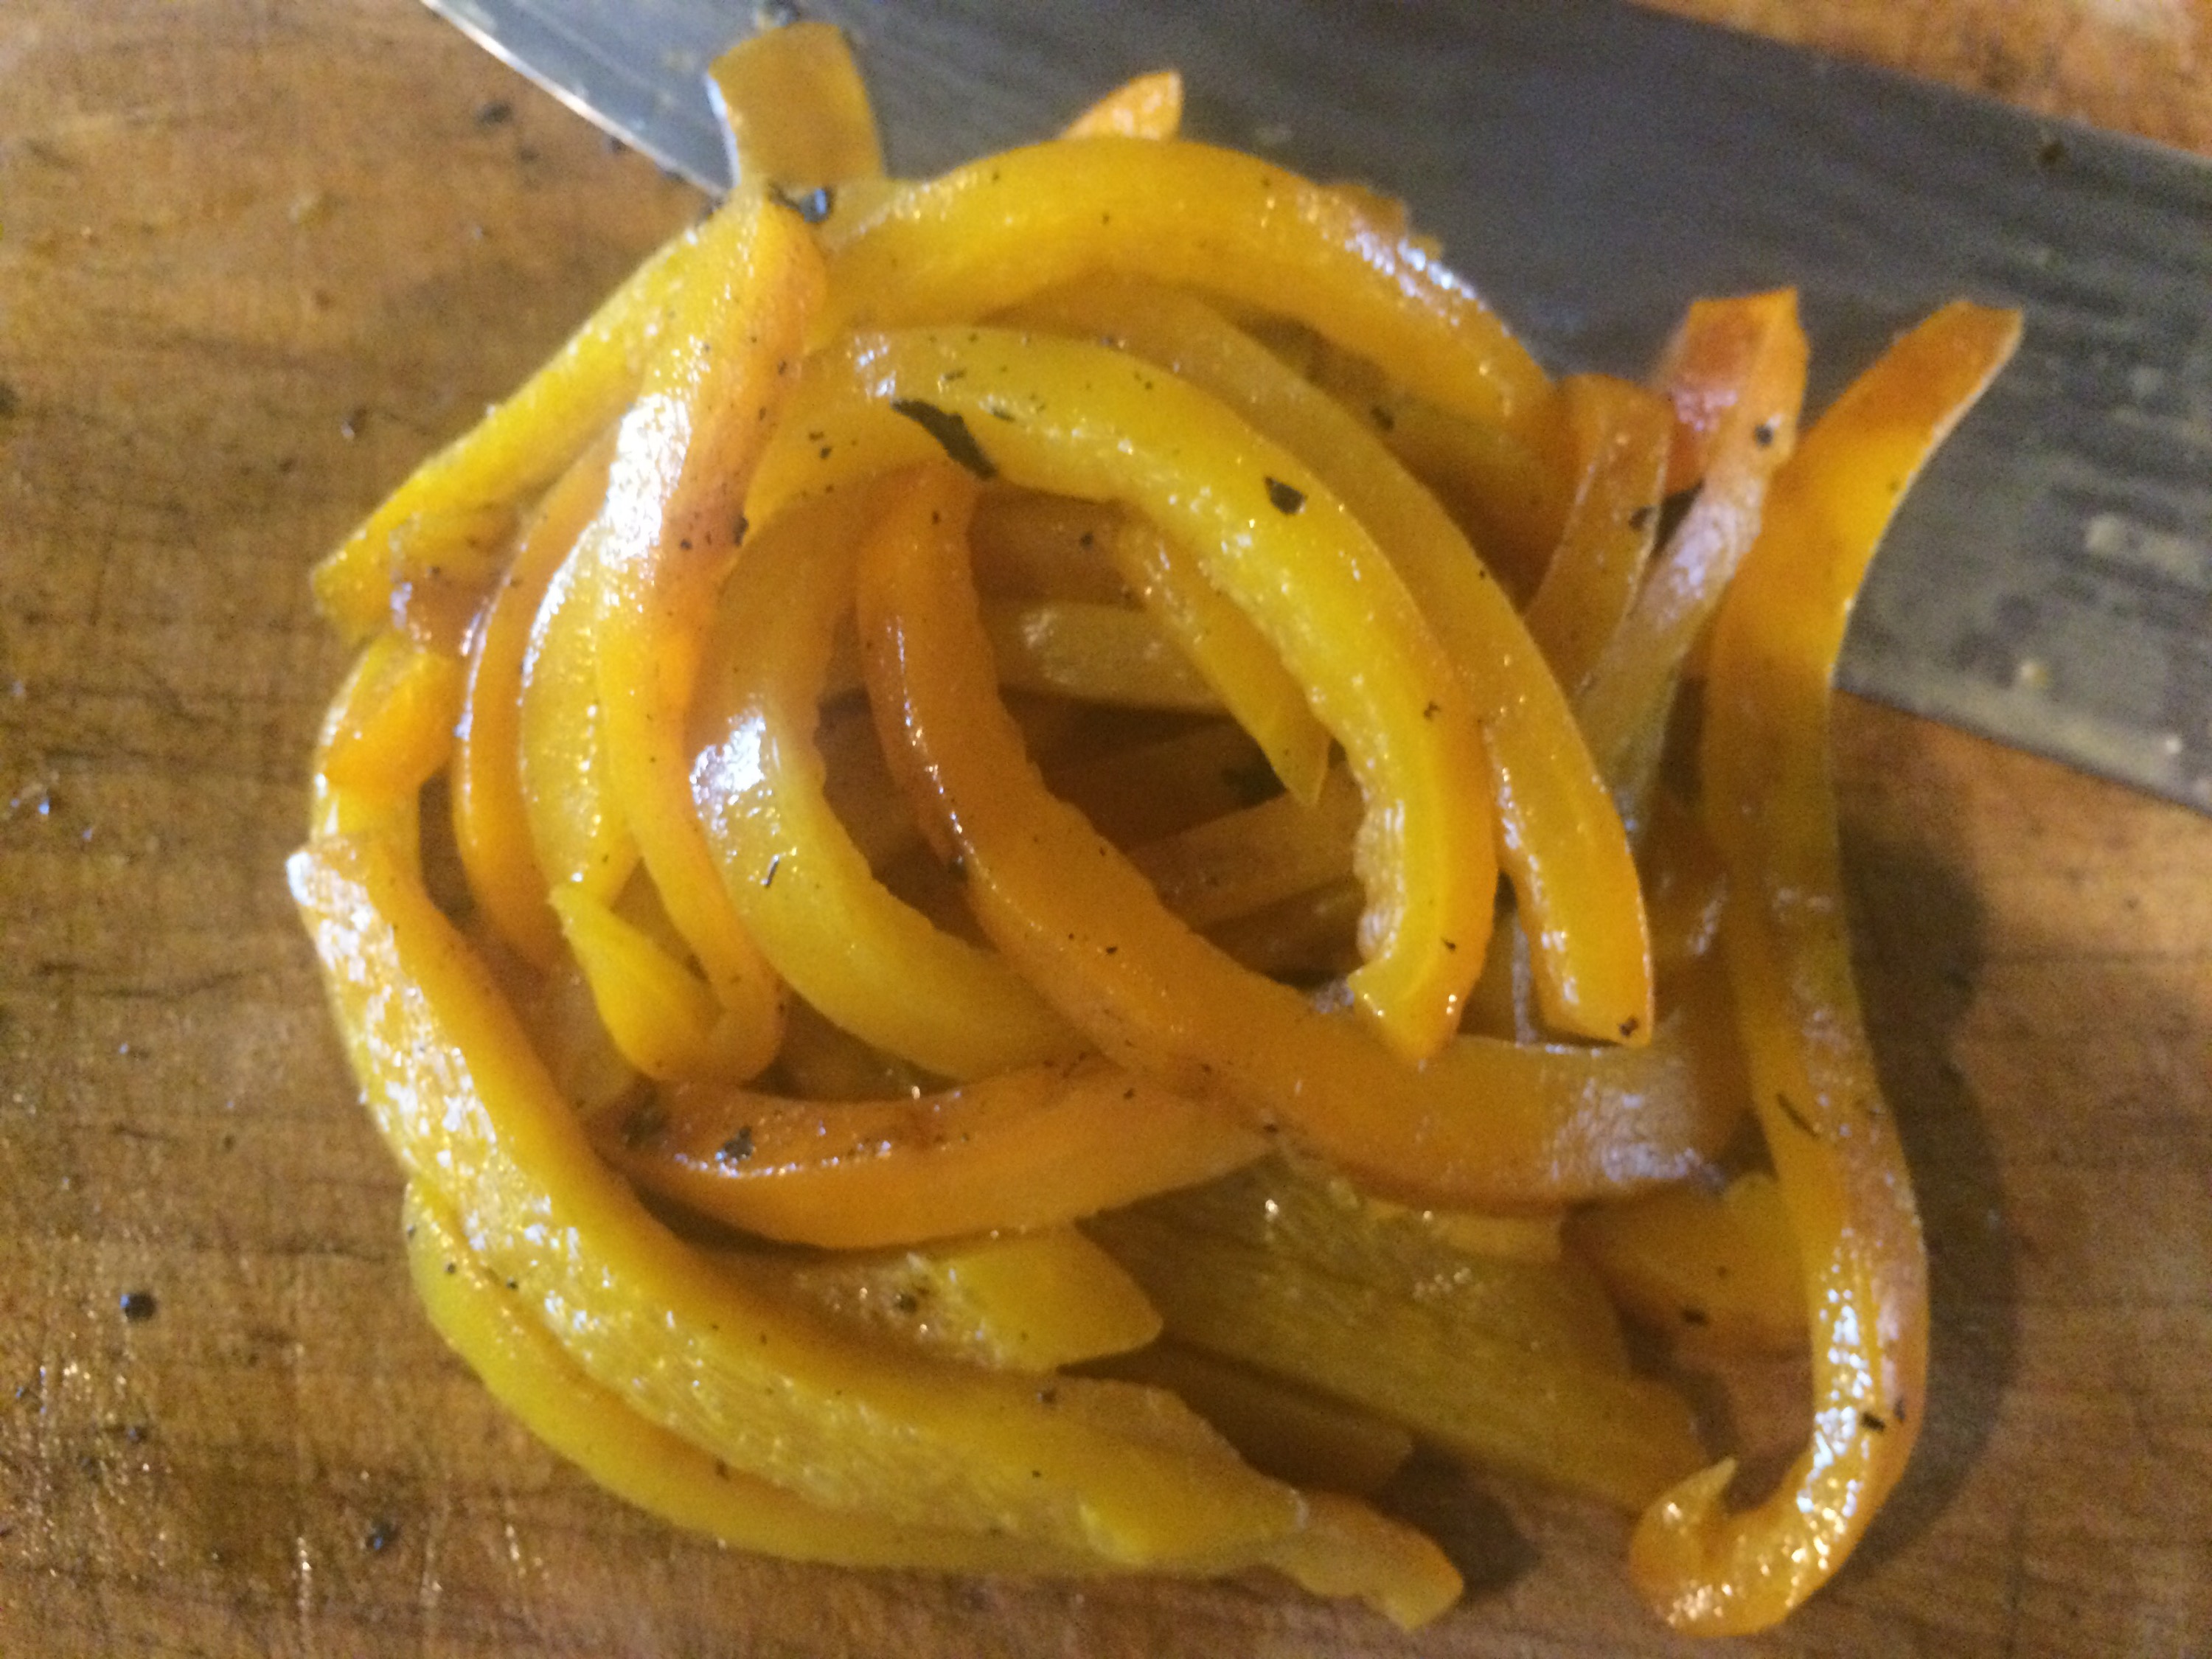
Remove the core and stem of the pepper and cut into strips.
Dice the onion and put in a large sauté pan with the pepper and tomato.
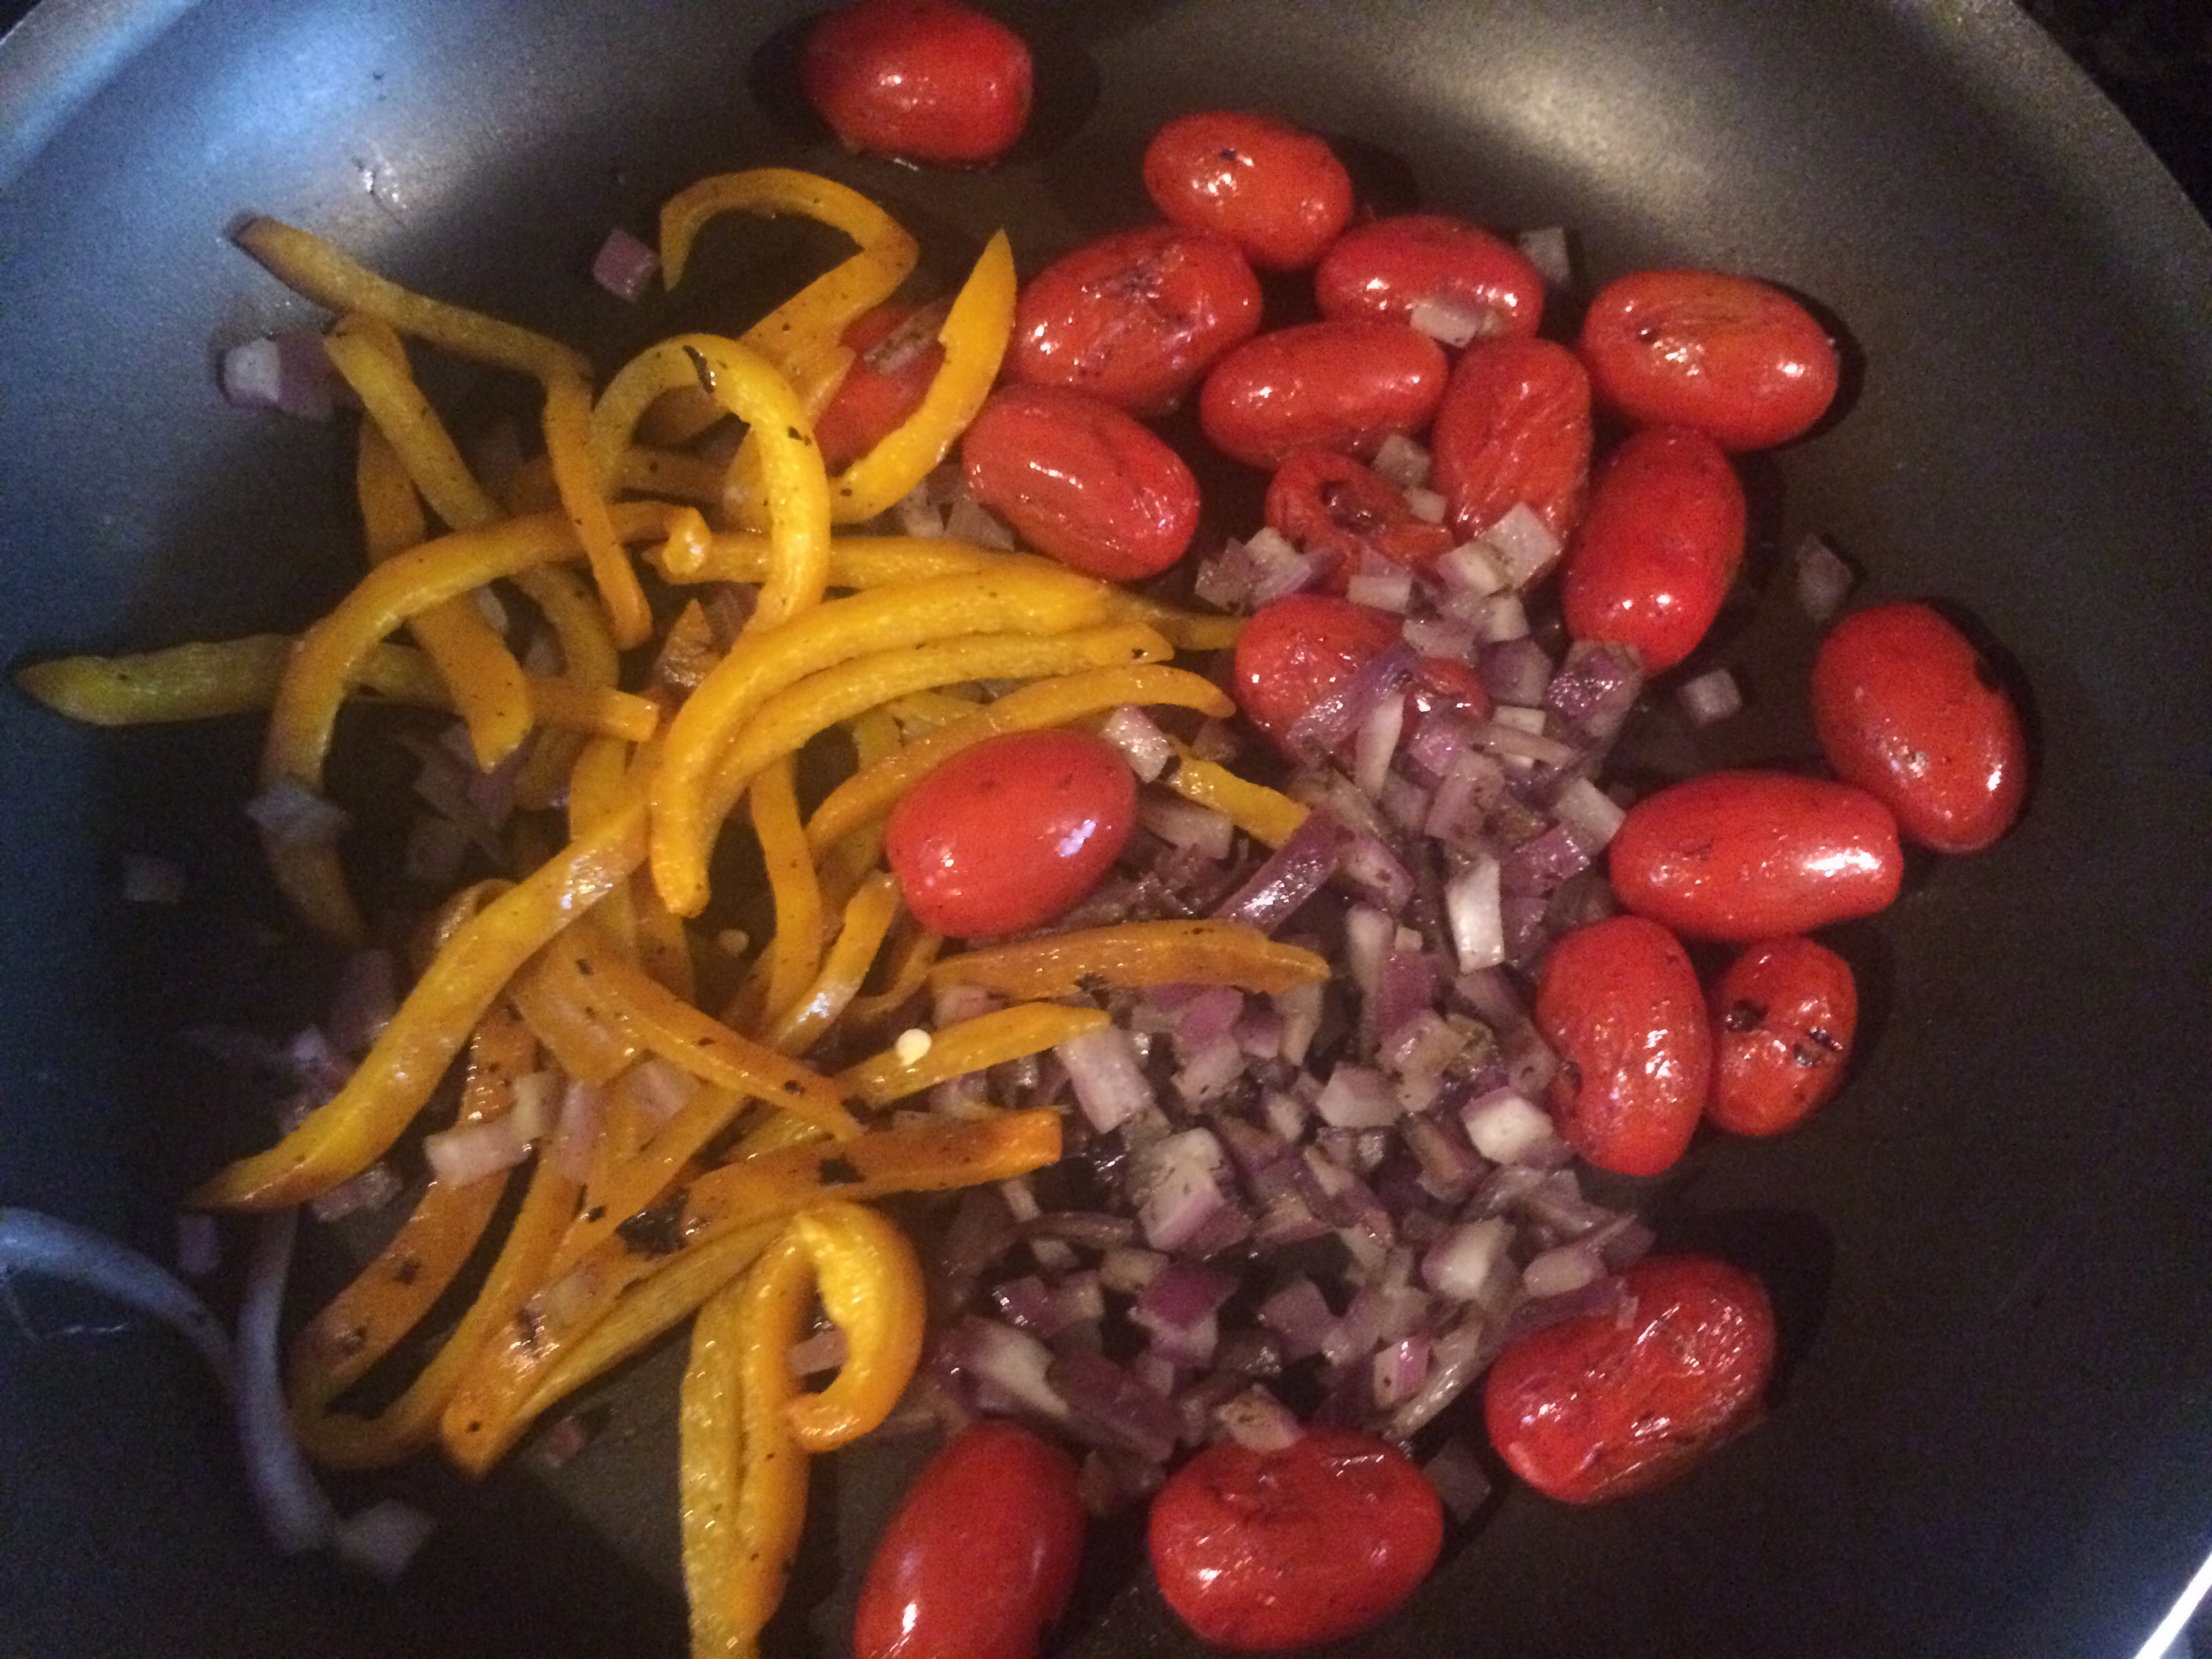
Turn on the heat and add the tomato sauce. I usually make tomato sauce in big batches and use as needed but your favorite store bought sauce will do just as well.
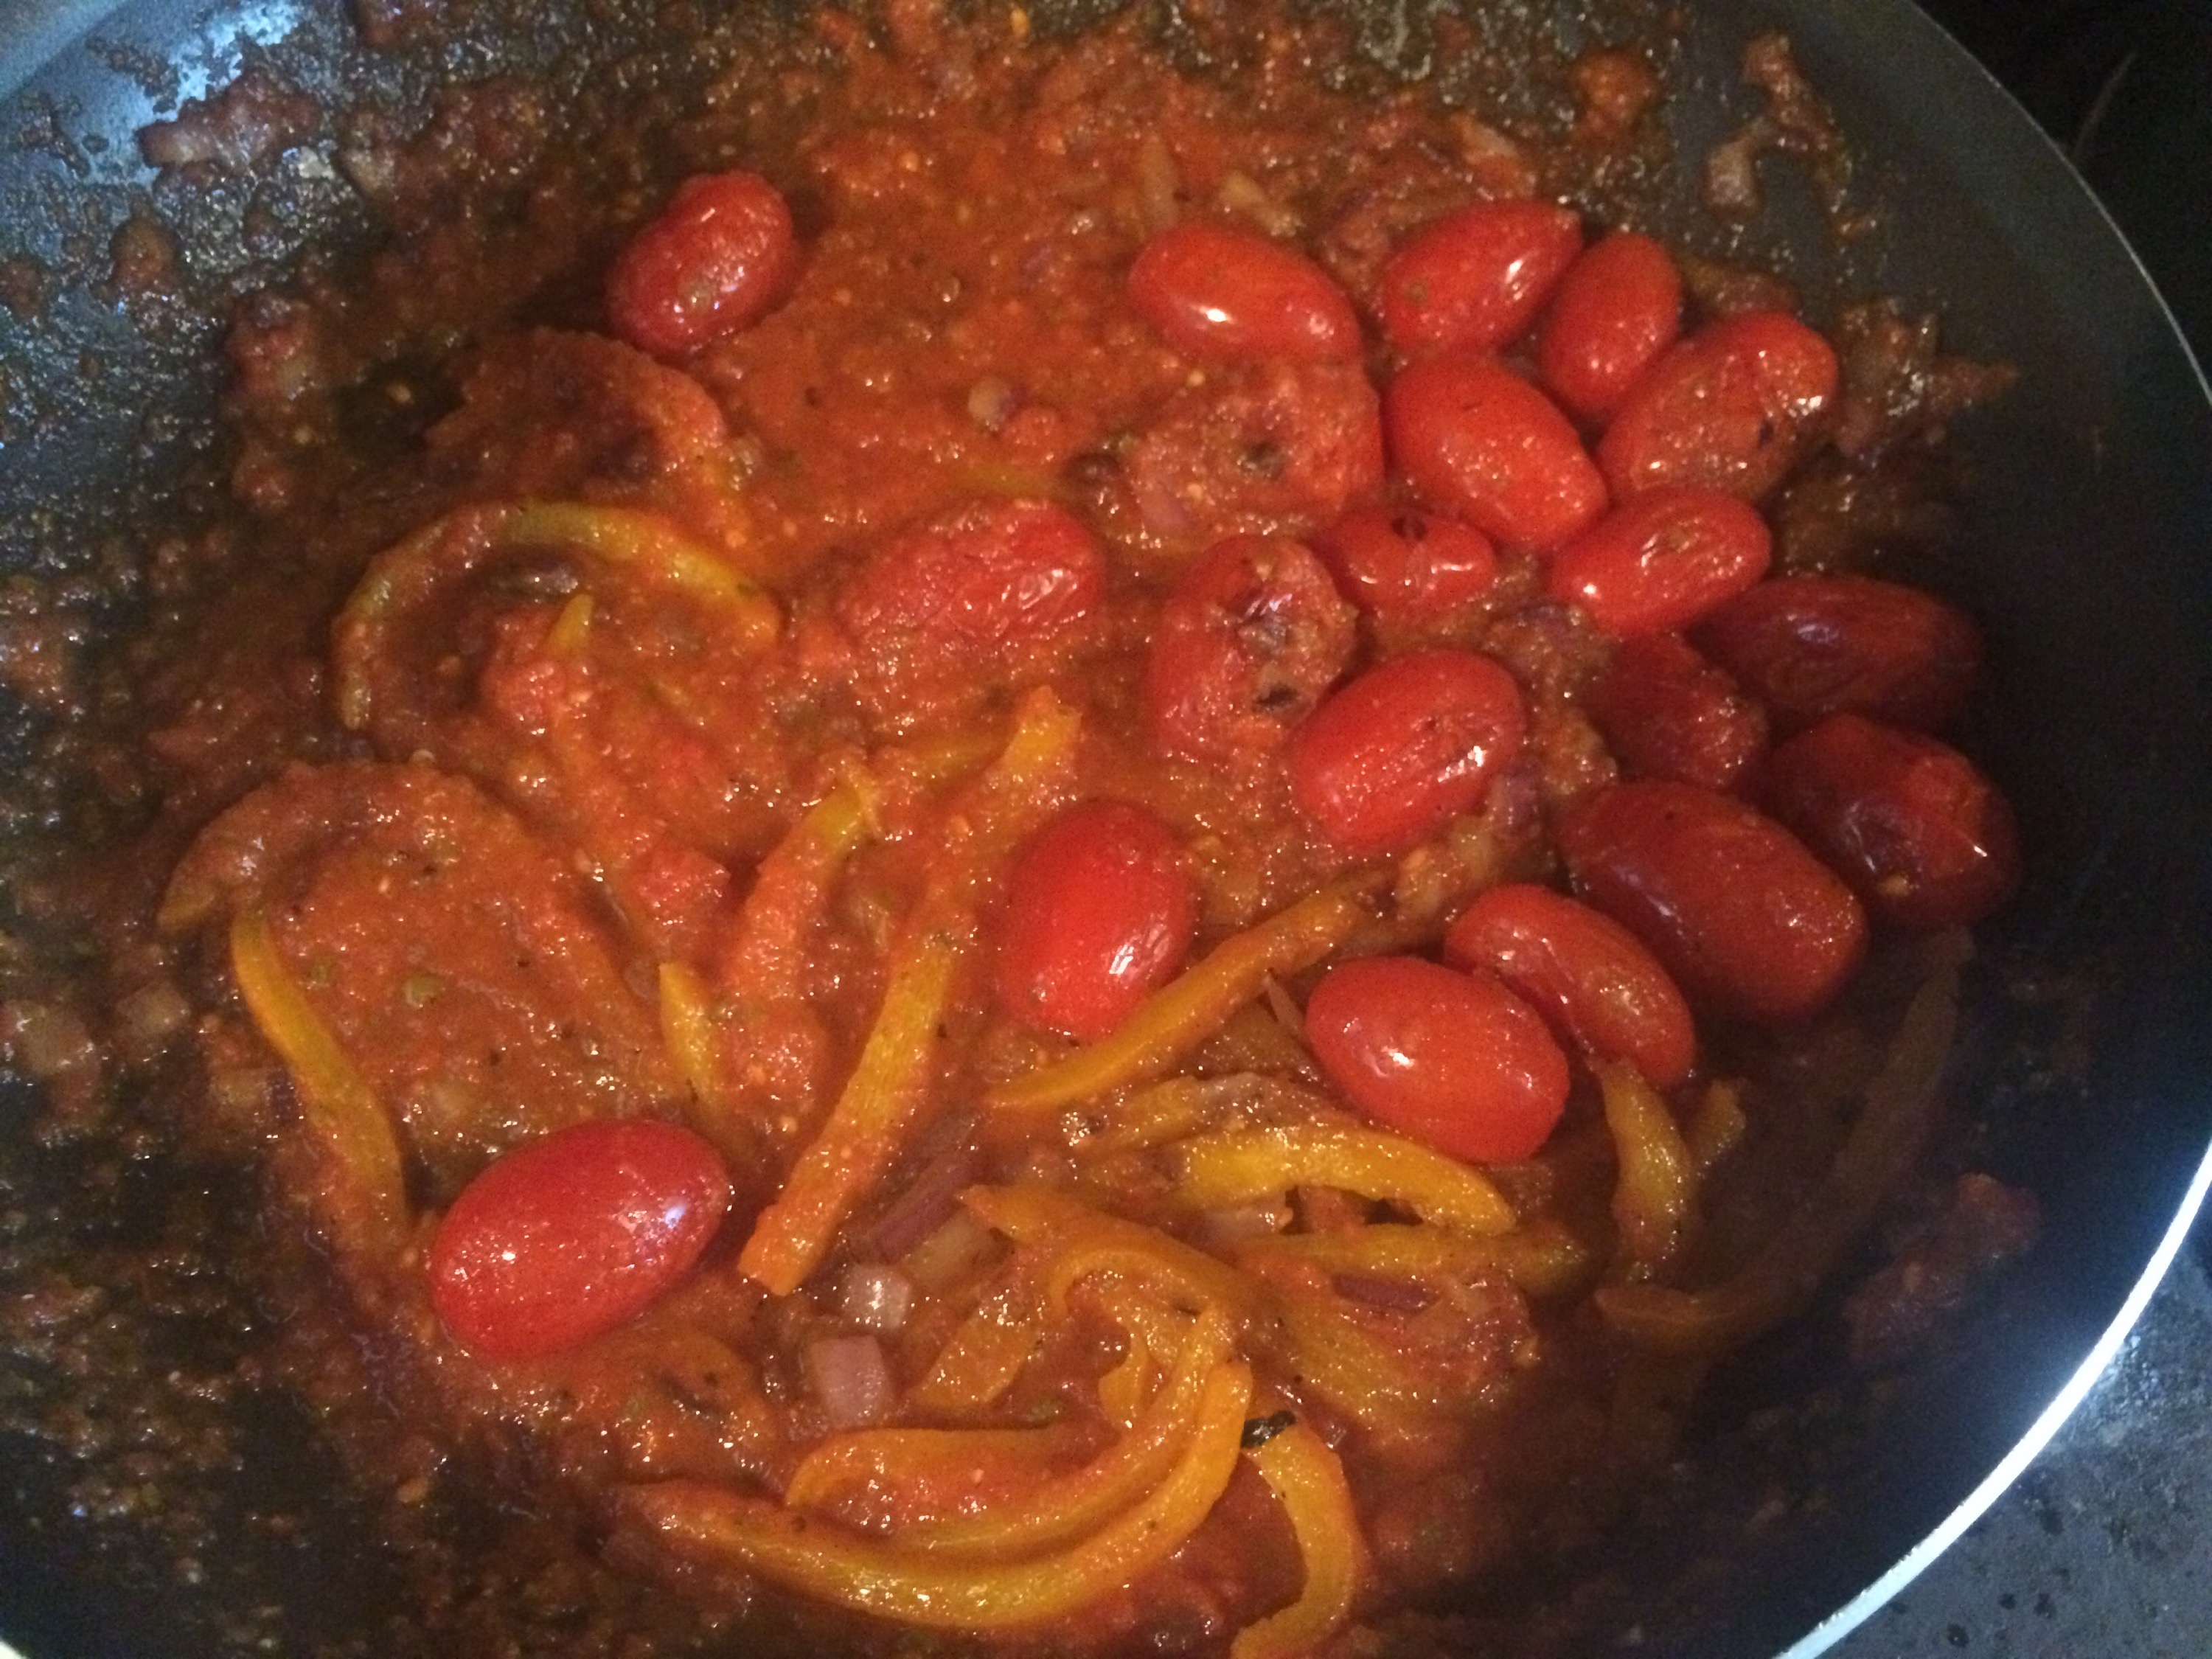
When the sauce is warm, put the julienne squash in the boiling water. Cook for two minutes and then transfer directly into the sauce, tossing to coat.
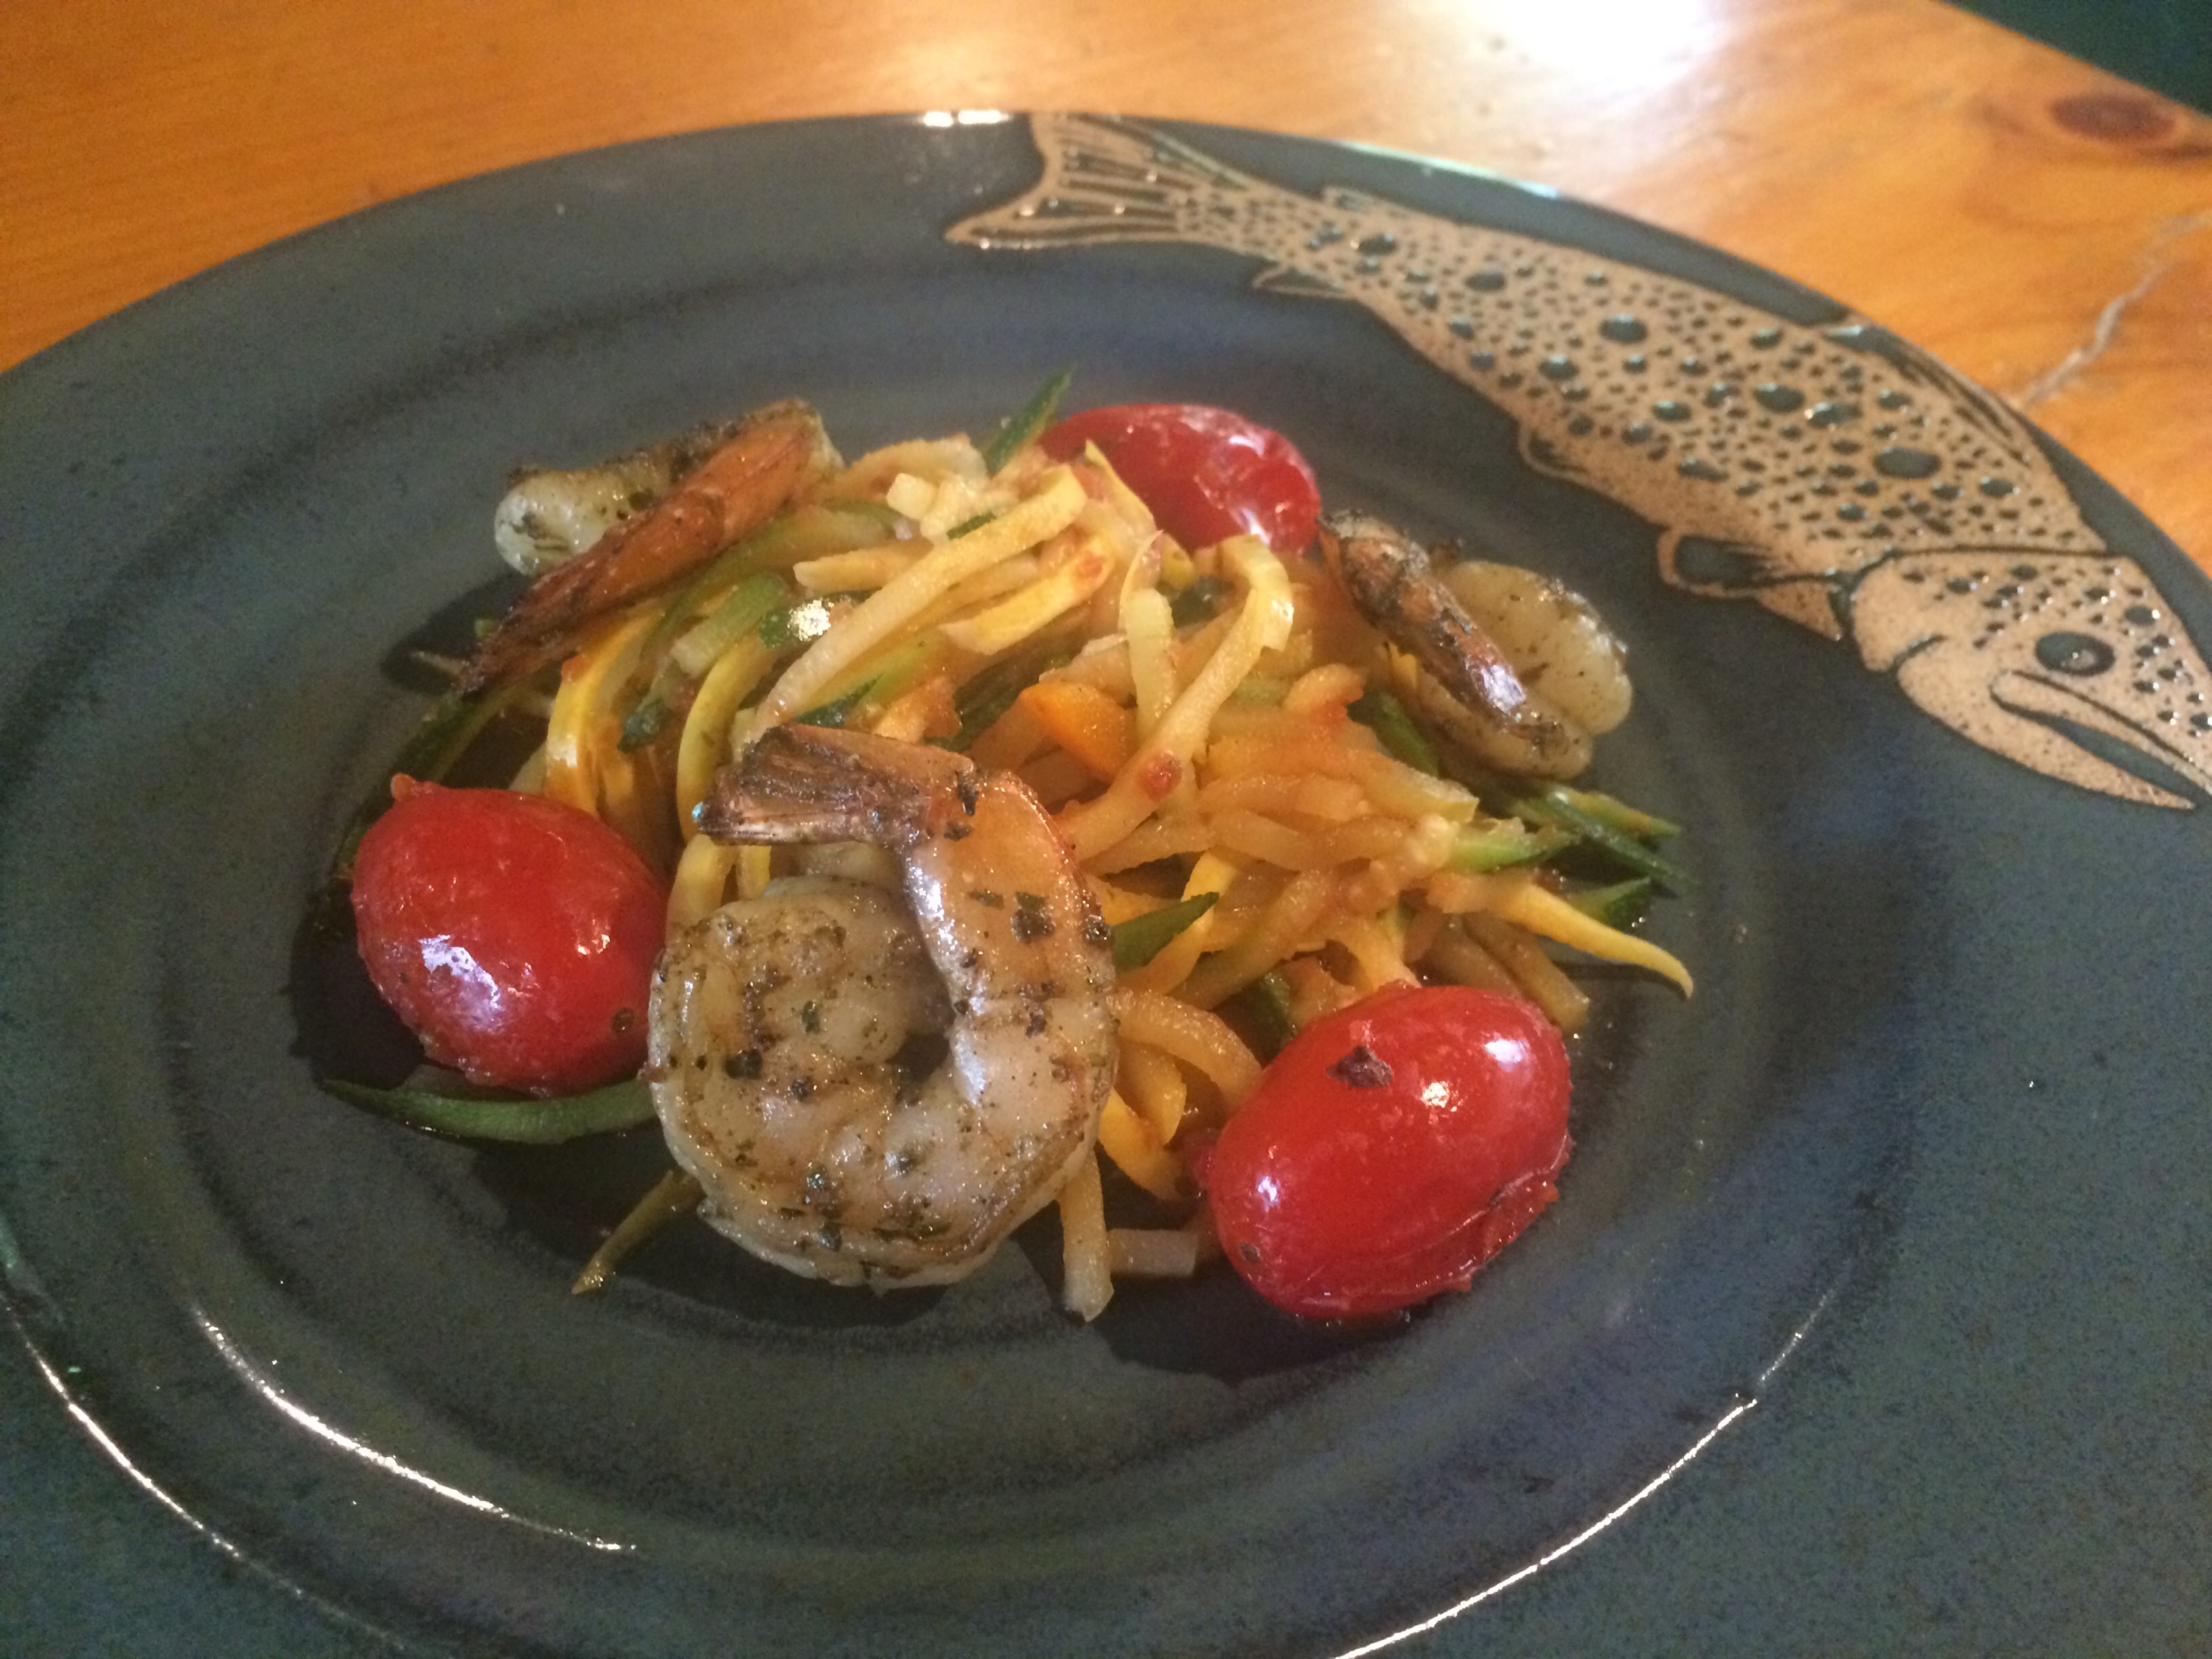
Place the finished “pasta” on a dish and arrange the tomatoes and shrimp around it. Top with extra tomato sauce and garnish with Parmesan cheese.
This recipe makes enough for two entrees.

When I arrived at the island yesterday, I was faced with a challenge that will probably seem all too familiar to any kitchen dweller in the summer. What do you do with all the fruit and berries that are a little past their plump, juicy, inhale straight from your fingers prime?
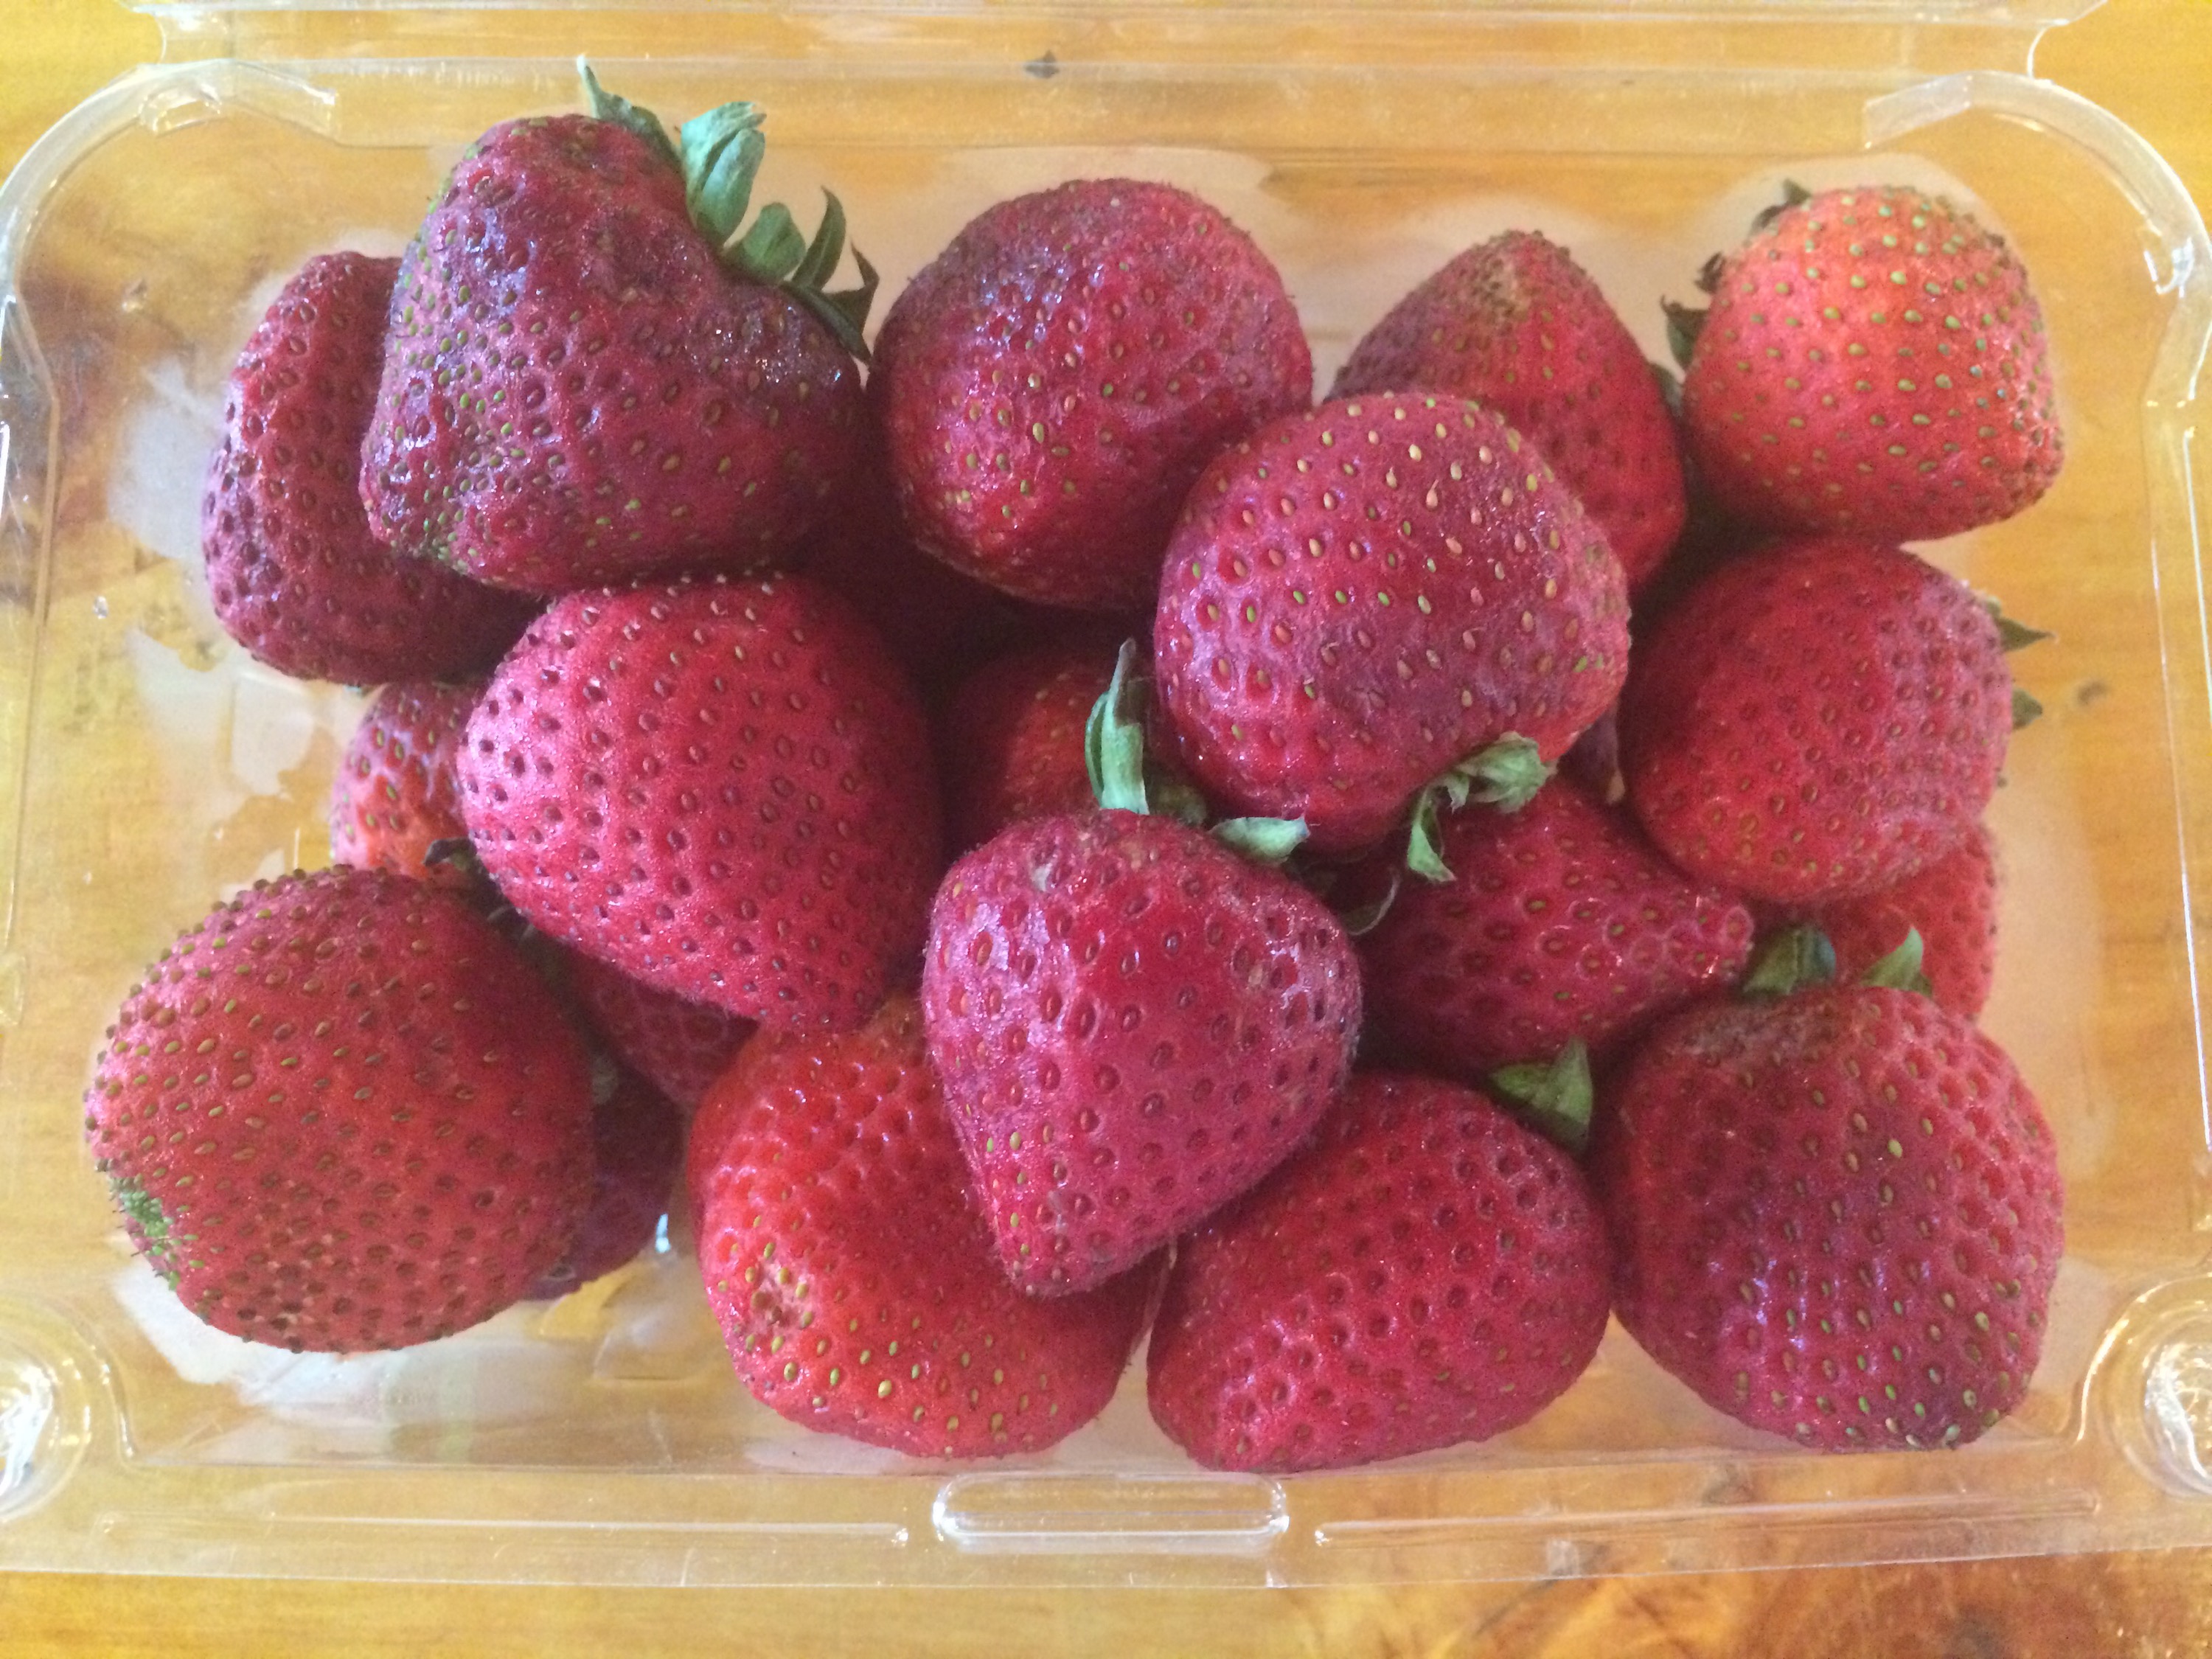
This particular day, it happened to be a pound of strawberries that somehow had been neglected the previous week. There they sat, staring at me from inside the refrigerator, daring me to make something delicious out of them before it was too late.
I did what I so often do when confronted with the endless possibilities of leftover usage. I looked around at what else might be hiding in plain sight, waiting to be transformed into something extraordinary. I quickly noticed the pint of heavy cream leftover from the whipped cream I made for an apple tart earlier that week and I knew that I was going to make strawberry ice cream.

I preheated the oven and cored the berries. I quickly cut each in half before tossing with some sugar, a vanilla bean and a splash of Grand Marnier. I let the berries macerate in the roasting pan while the oven heated up. When the oven was ready, I gave the mixture one last stir before placing it on the top rack to roast.
While the berries were cooking, I took a short walk down to the patch of wild mint that pops up through the stones near the end of the dock every summer. I cut off the ends of several hearty stems and carried them back to the kitchen. After rinsing them several times, I rolled them up in paper towels to dry while I removed the strawberries from the oven. I gingerly fished out the spent vanilla pod and transferred them into a bowl to cool.

I made some quick calculations for an ice cream base recipe that would allow me to use the cream I found as well as some leftover milk and sour cream. Then, I headed to the cabinet for my immersion blender. I added the milk and the sour cream to the slightly cooled berries and gave the mixture a quick stir before tossing in the mint leaves and letting the blender rip. I stirred in the heavy cream and transferred the finished strawberry mint cream to a sealed container to chill in the fridge overnight.

The next day, I could hardly wait to freeze the delicious concoction in my electric ice cream maker. It turns out that I had no choice but to be patient. I came in to a dark kitchen. There had been trouble with the generator overnight and I was on electricity lock down. I decided to organize the pantry while I waited and while I did, I found the final piece to the ice cream puzzle. Buried deep behind the baking supplies was a half used bag of mini chocolate chips. I could hardly believe I hadn’t thought of it earlier. Strawberry mint chocolate chip ice cream!
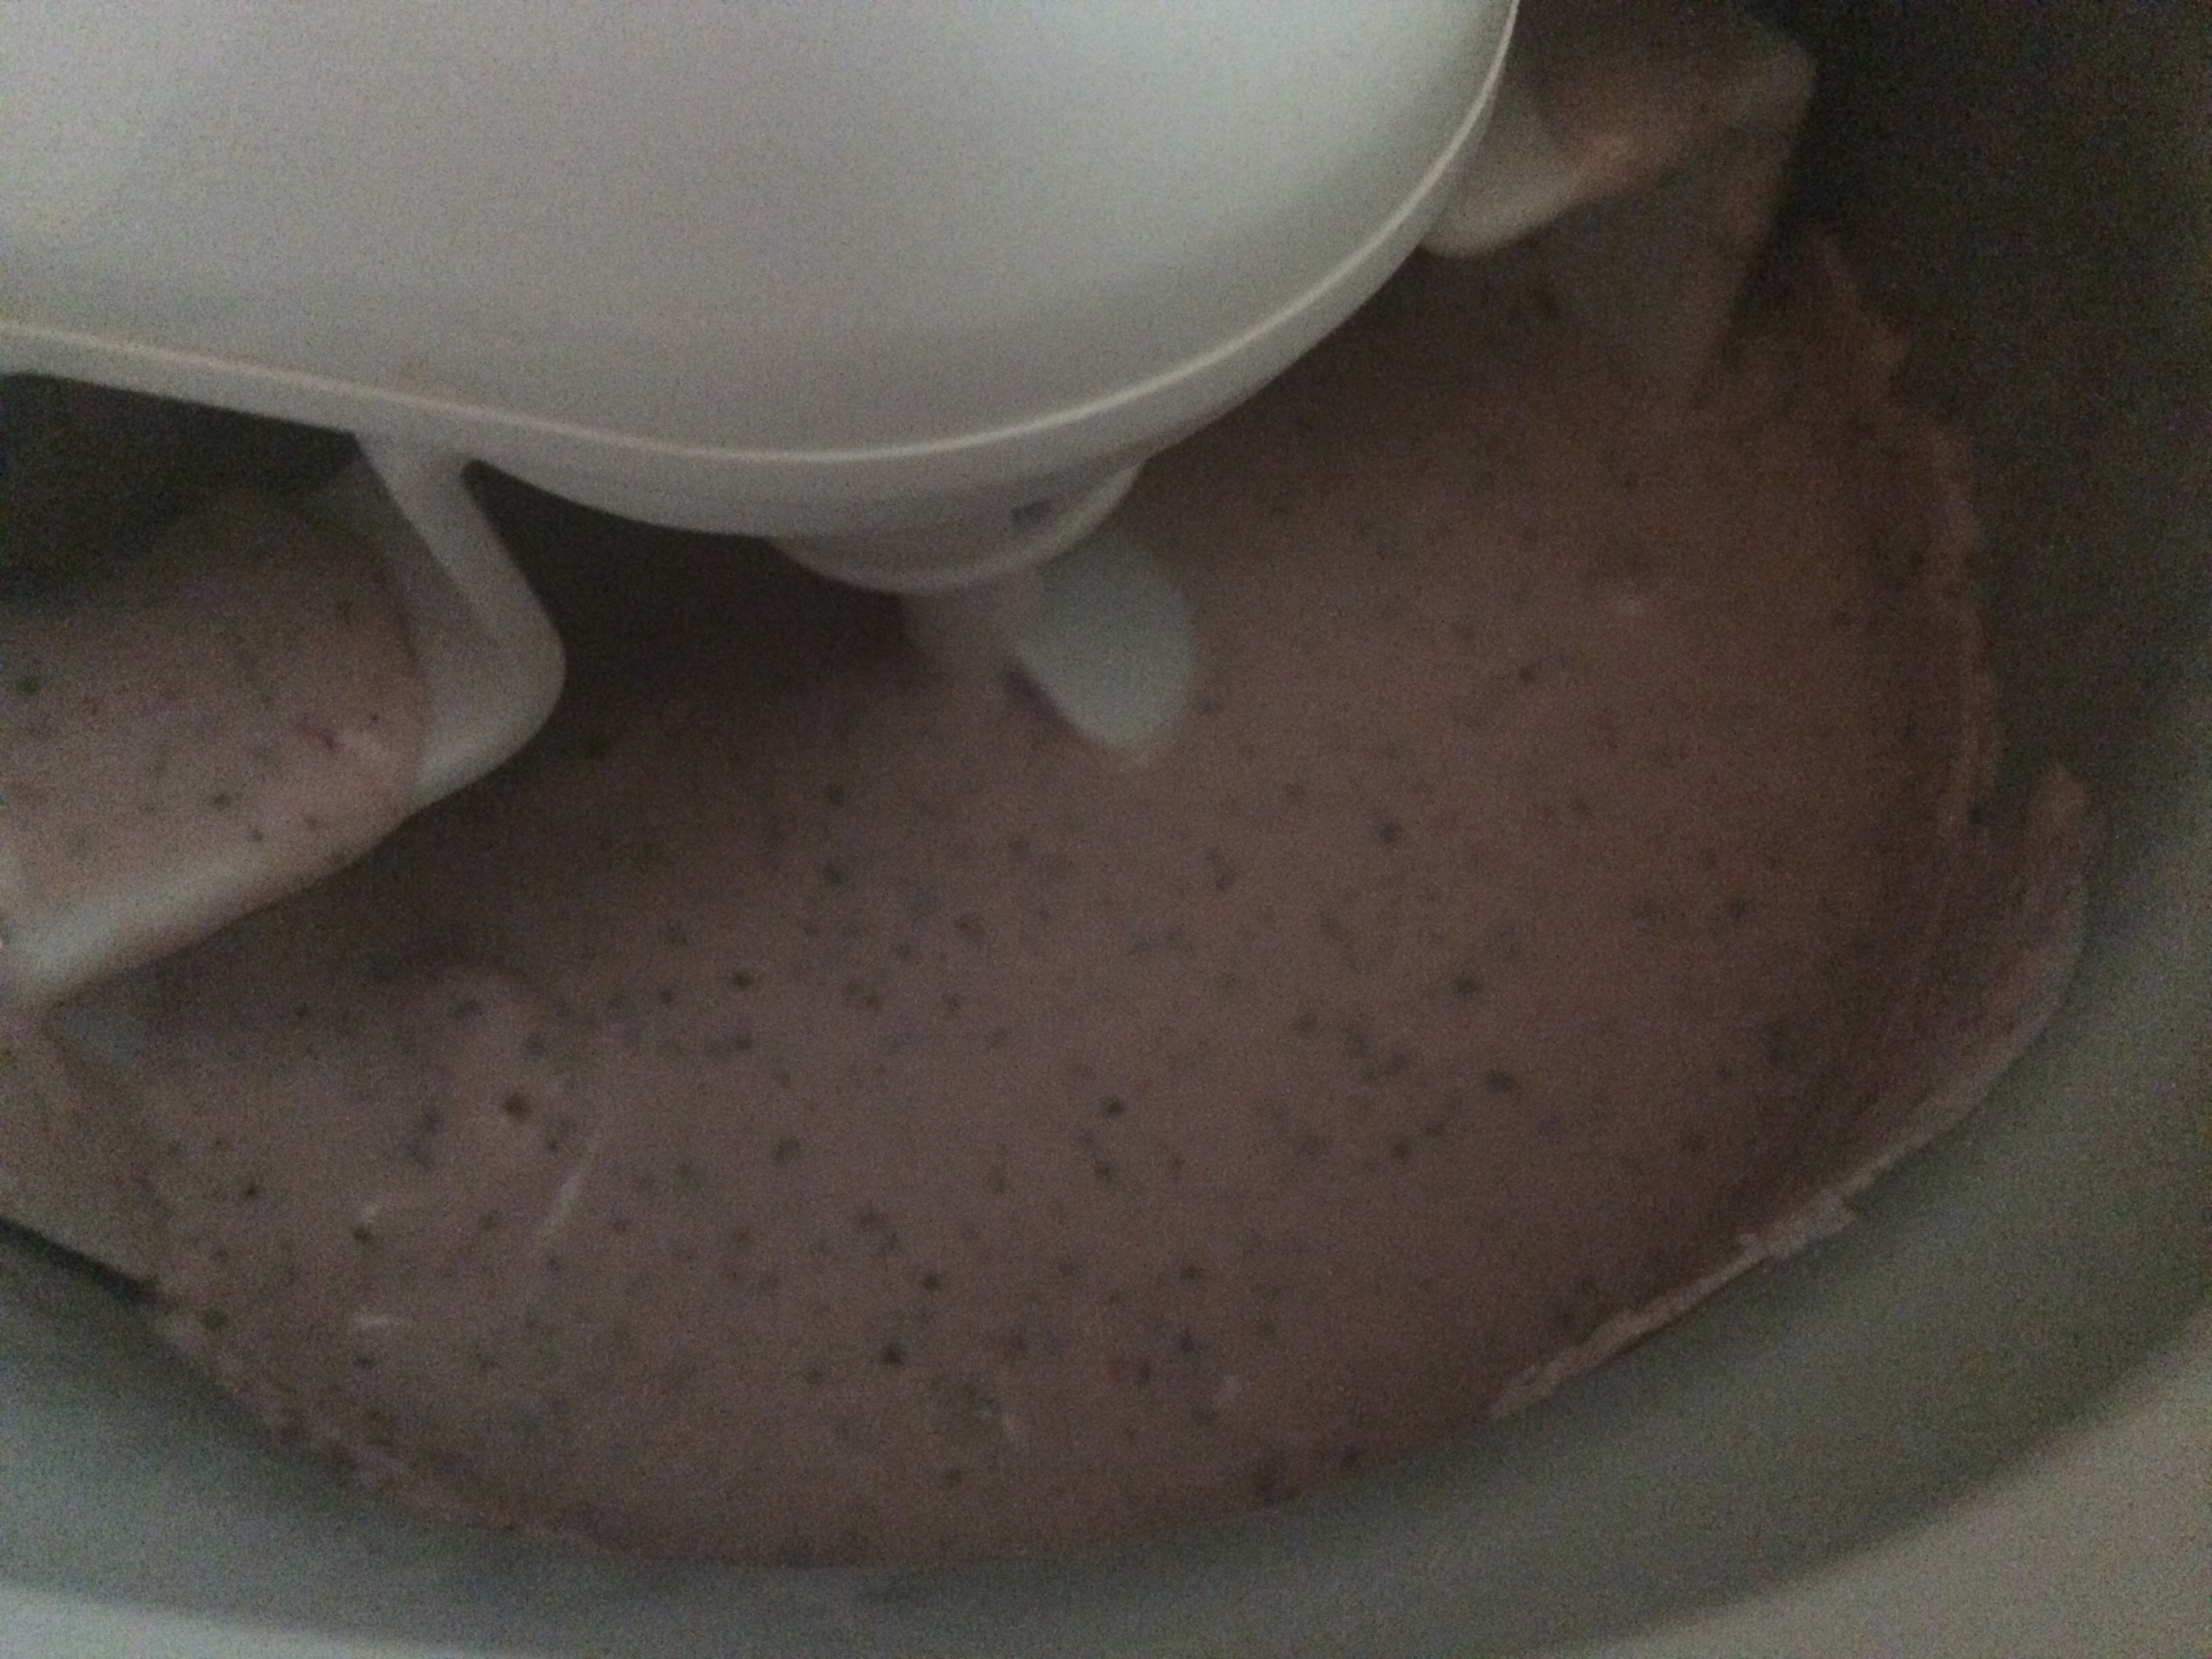
By the time I finished with the pantry, the generator was back up and running. I grabbed my strawberry mint cream and fired up the ice cream maker. I added the chocolate chips and waited patiently while the mixture froze. After about twenty minutes I could hear the motor starting to strain and I knew it was ready. I transferred the frozen cream into a lined container and put it in the freezer to store but not before taking a few glorious spoonfuls to reward myself for all my hard work!

Roasted Strawberry and Wild Mint Chocolate Chip Ice Cream
Ingredients:
1 Pound Strawberries
1 Cup Sugar
1 Vanilla Bean, split and scraped
2 Ounces Grand Marnier
1 1/3 Cup Whole Milk
2/3 Cup Sour Cream
1 Bunch Wild Mint (1 Cup, loosely packed)
2 Cups Heavy Cream
1 Cup Mini Chocolate Chips
Directions:
Preheat oven to 425
Combine strawberries, vanilla, sugar and Grand Marnier in an oven safe dish and roast for 15 minutes.
Remove from oven and transfer to a heat safe container and chill slightly.
Add milk, sour cream and mint and blend until smooth.
Add heavy cream and stir well.
Chill completely in refrigerator, several hours or overnight.
Freeze in ice cream make according to manufacturers instructions.
Makes 2 quarts.
